09/08/18
Voltage Regulation of lights:
**Note that this article was written using a linear regular which
wastes a lot of power. Your best bet is to replace the incandescent lights
with LED and use the appropriate resistor.**
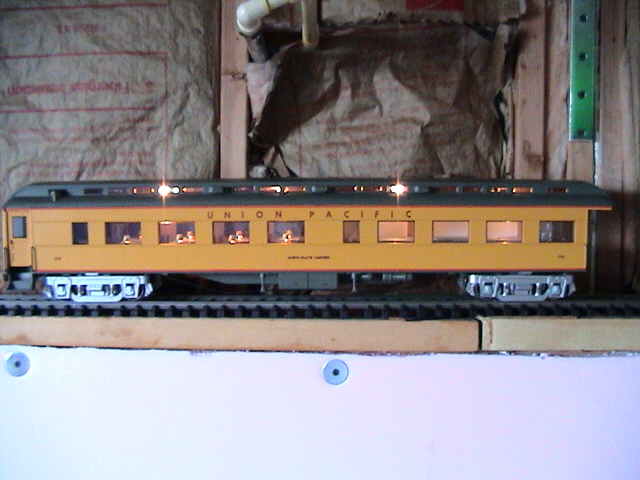
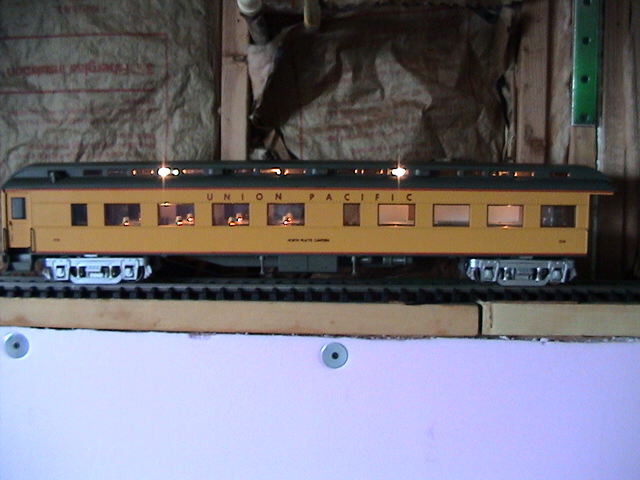
Aristocraft used 14v lights in their Heavyweights and run them
directly off track power. The problem with
this is if you want to run a Digital Controlled with a constant track voltage
that typically operate at 18-24v, the lights would be overdriven and burn out
too quickly.
You basically have 3 options:
-
Replace all incandescent lights with LED
and appropriate resistor. (can also use a voltage regulator w/capacitor to
eliminate light flickering) (This is the best option)
-
Replace stock 14v incandescent bulbs with
24v-28v versions.
-
Install a voltage regulator.
This
page has been updated to remove the old linear regular install photos and will
replace with example LED install.
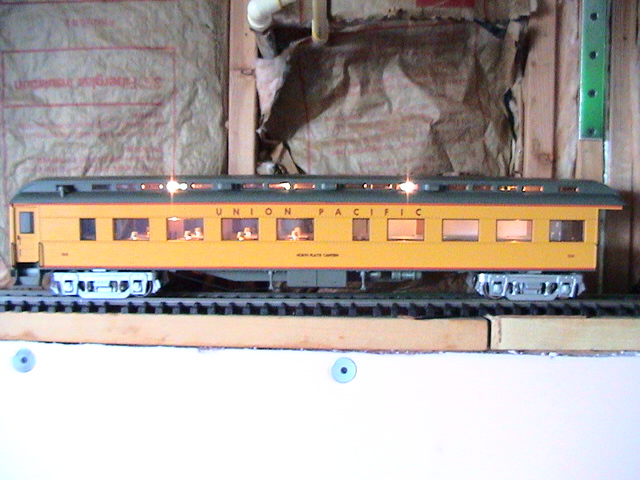
Diner car table LED illumination:
The Diner car table LEDs only light up at higher voltages (16-24v).
(This is an issue as the stock overhead lights are 14v, so under normal
conditions in order to get the table LEDs to illuminate, you have to overdrive
the overhead lights.)
If you attempt to drive the original overhead lights (or LEDs)
with a
voltage regulator then you will need
to install a jumper wire from one end of the car to the other so you can get
full track power to the dining table lights and still have the more limited
voltage to your LEDs or 14v lights. (You can replace original incandescent
bulbs with LEDs and not use a voltage regulator)
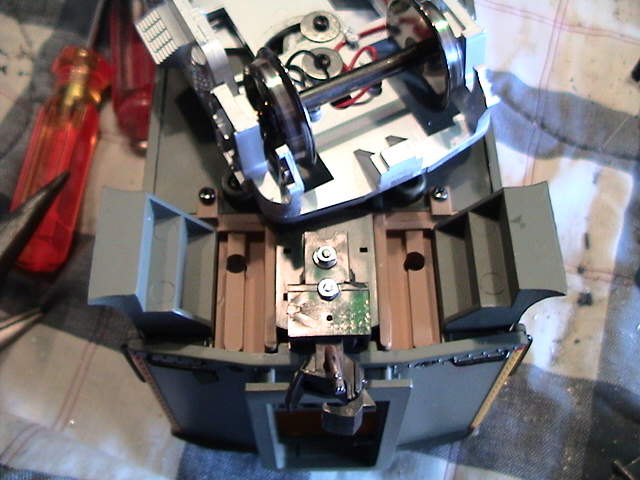
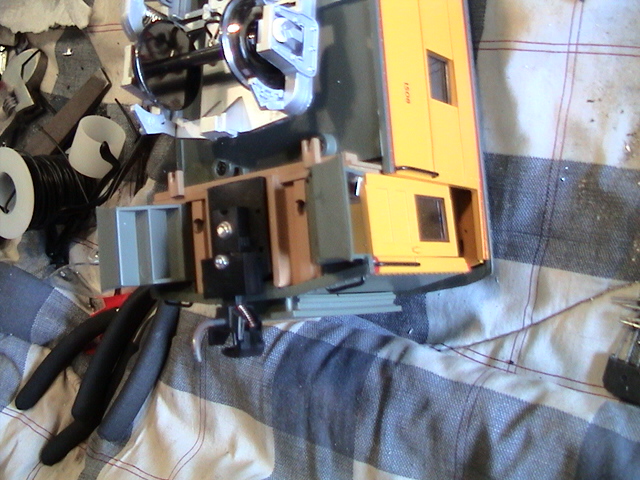
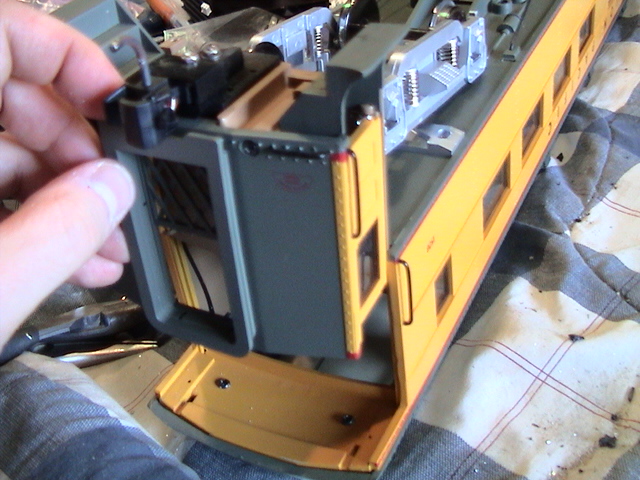
Disassembly:
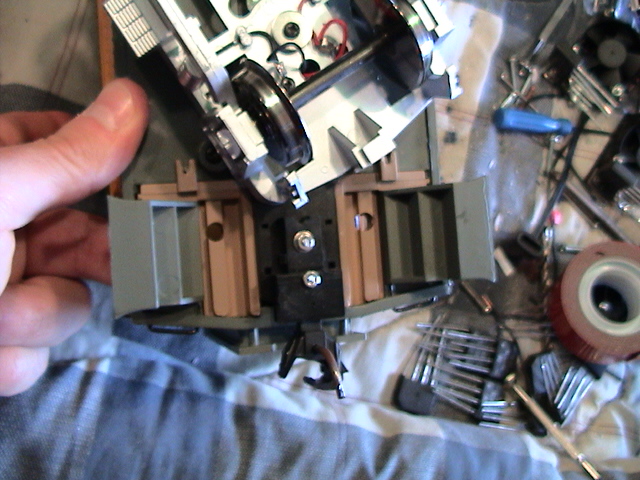
To remove the roof, Take the end of the car
off as noted below:
Then unscrew the four screws holding the roof on.
These can be found in the area you just gained access to by removing the car
end. (These two screws can also be accessed with the end of the car on by
using a long screw driver through the holes in the bottom of the car.)
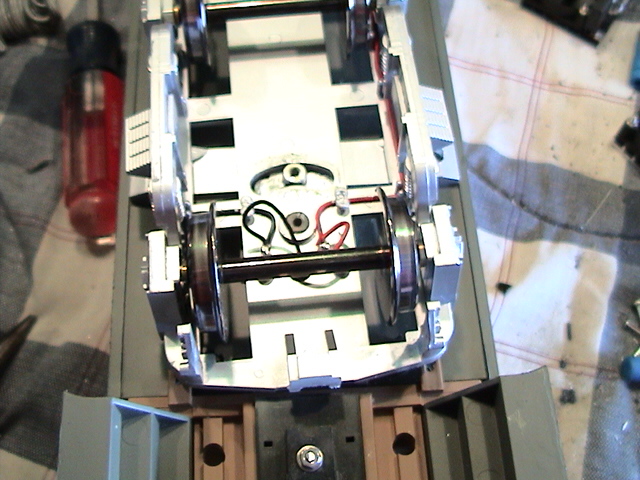
Next you will likely need to pry the tab (that is connected to the roof and is
inside the car) holding the center of the roof on with some sort of long screw
driver. (I wrapped a small flat-blade screwdriver onto the end of a long
screwdriver with electrical tape.) While bending the tab back, carefully
pry the roof off. (This can sometimes be difficult.)
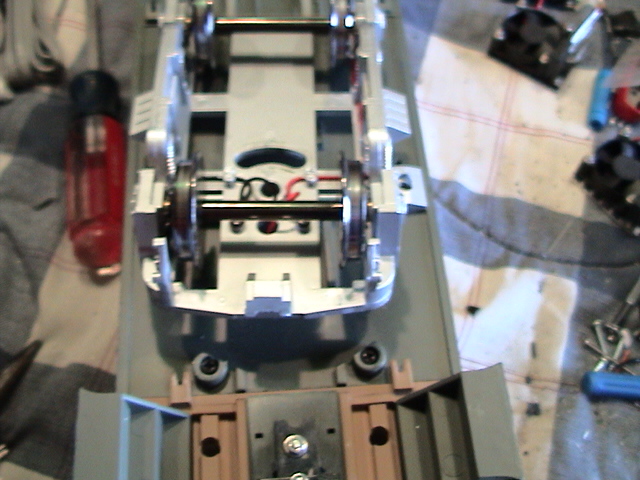
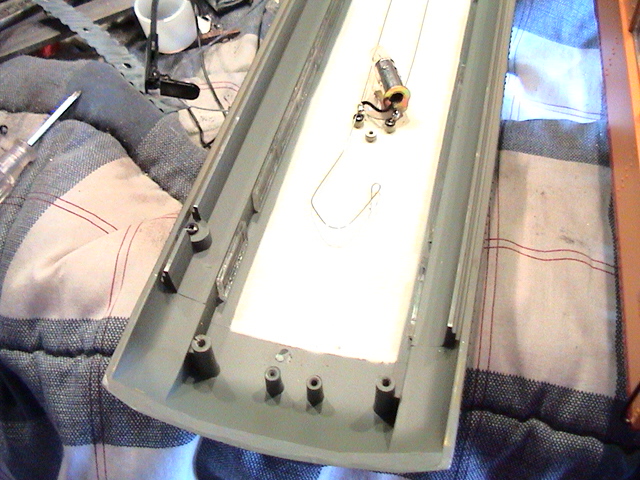
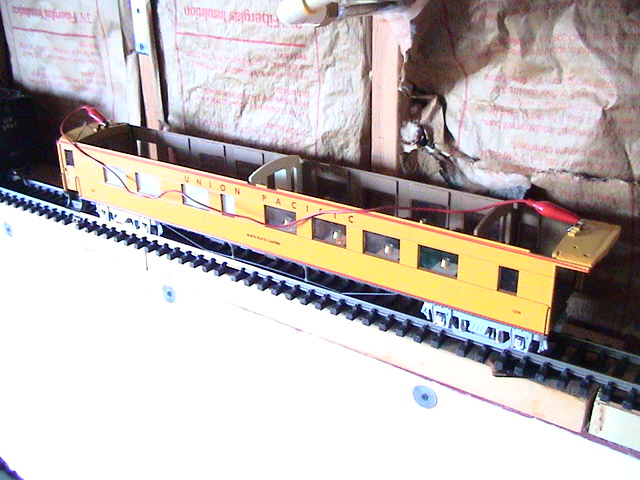
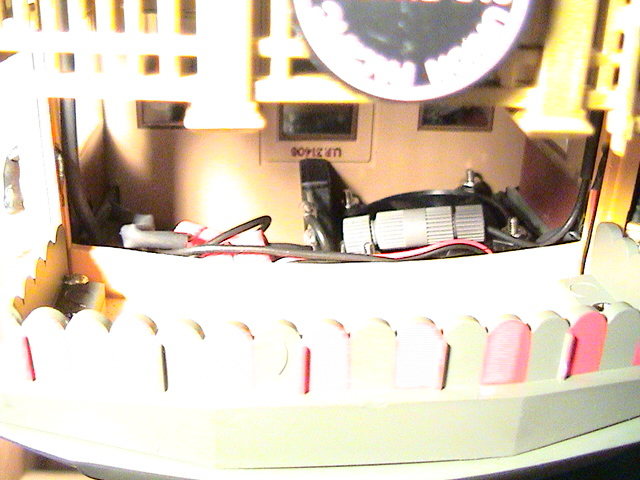
Once off, de-solder
the single power lead along the roof top that goes to the table lights and curl
it back.
Then solder another long wire lead to the connector and run the
new wire along the roof top to the other end. This wire lead will be used
to tap into the track power connection and bypass the voltage regulator
altogether. Put the roof back on.
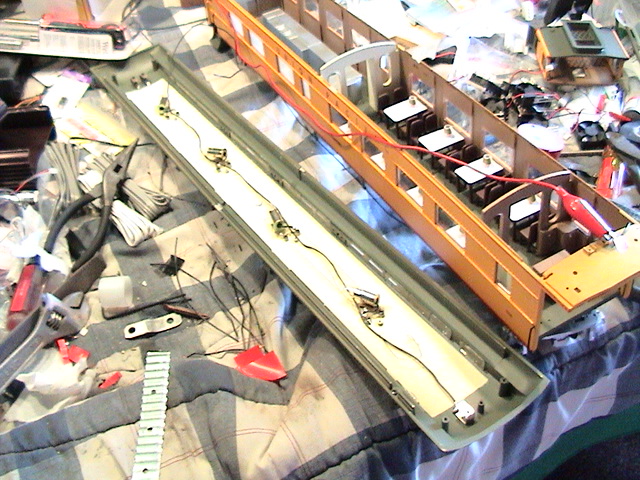
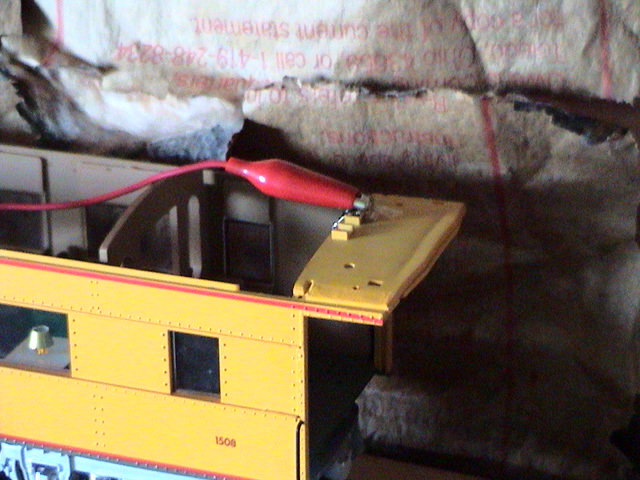
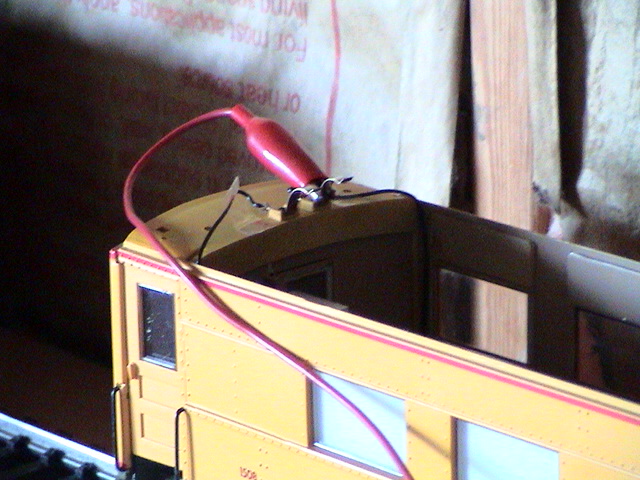
Here are pictures testing the table lights by jumping the
connectors.
Repeat the process noted above to install the voltage regulation
package with the exception of the extra lead wire that needs to be connected to
the track power connector.
If you want to install a voltage regulator on the Observation car
you can install in the back under the roof.
__________________________________________________________________________________
Return to Garden Railroad
Modification page.

Web Counter