05/07/04- 05/09/04
Basement feeder line construction photos:
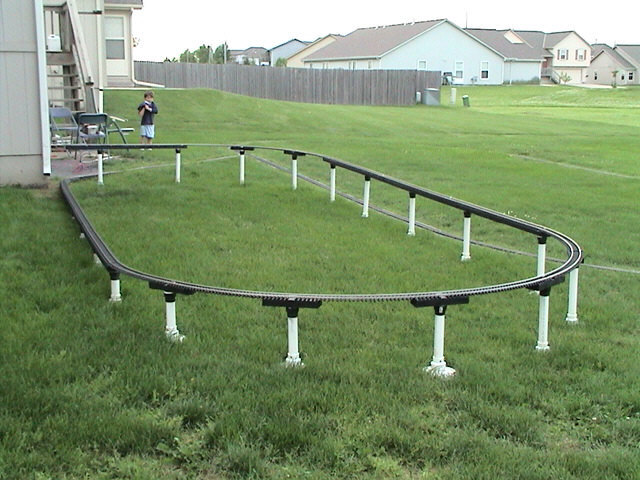
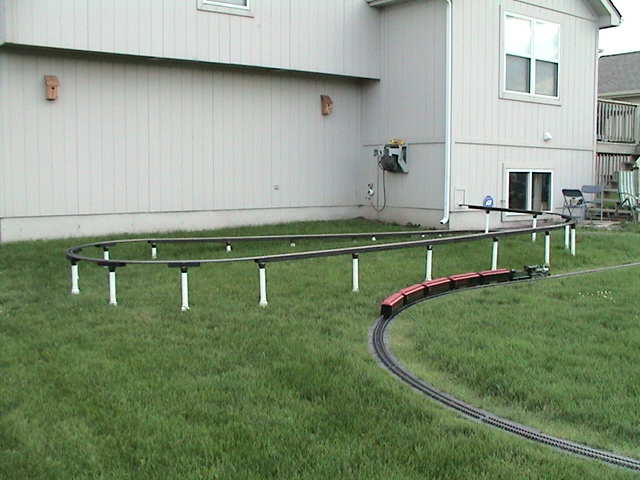
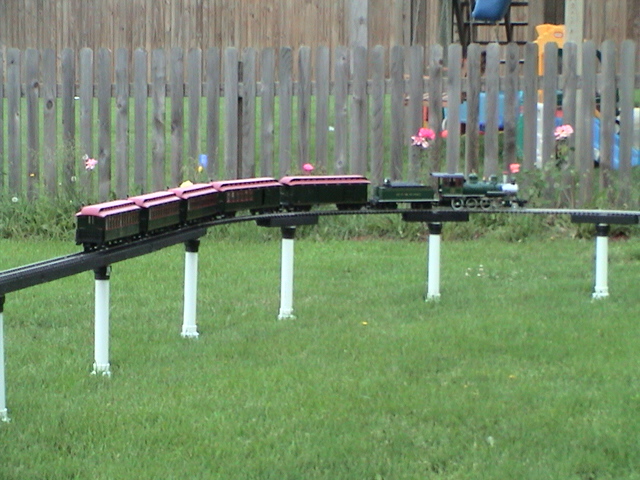
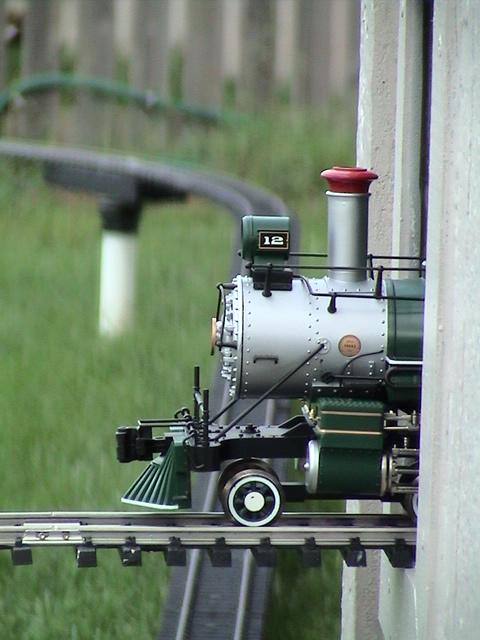
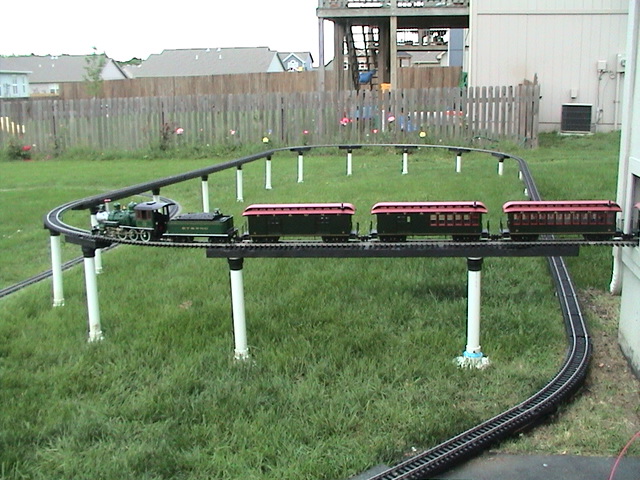
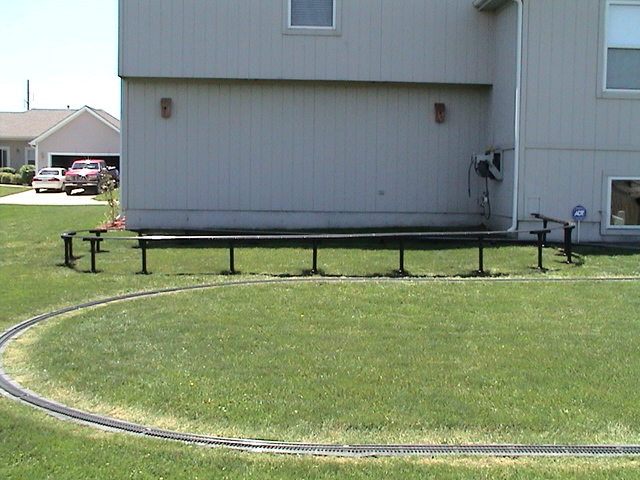
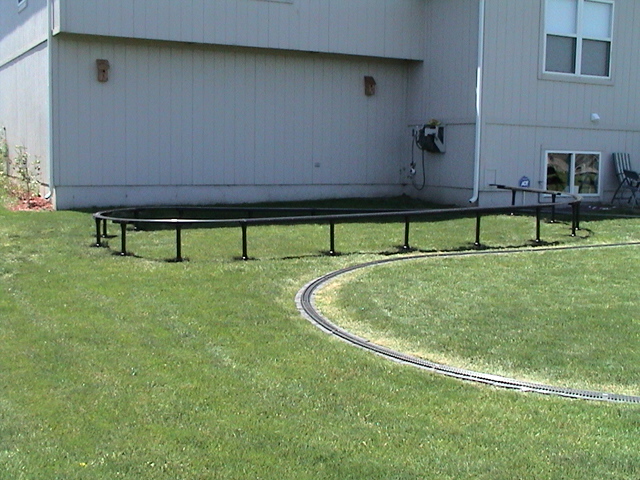
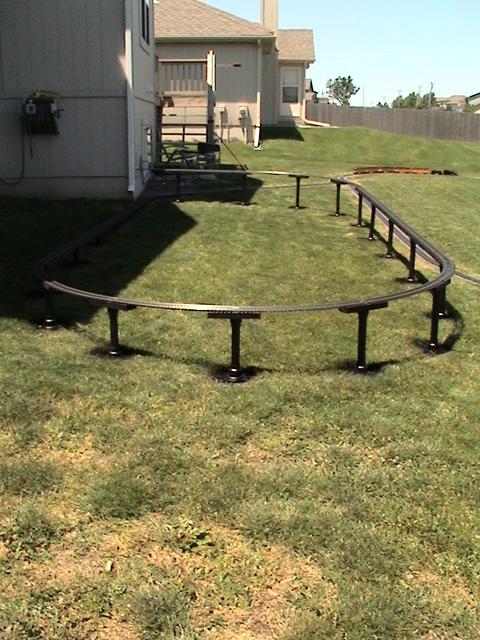
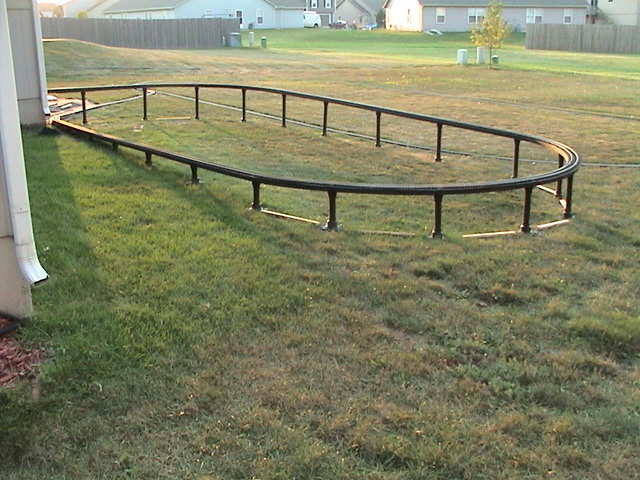
After a month break I was back working on the next project, another 100ft of track... this time it was from inside the basement to the outside oval.
Note on the inside basement pictures..... the PVC drain pipe next to the water heater had to be rerouted. In all, there is 16 feet of track on the basement wall.
(Click the picture to see more.)
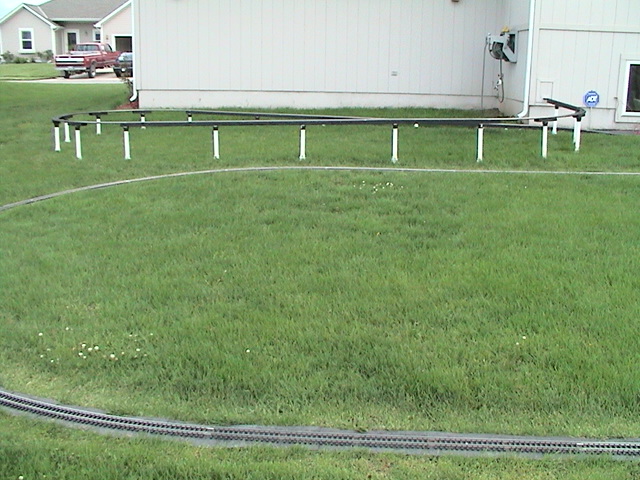
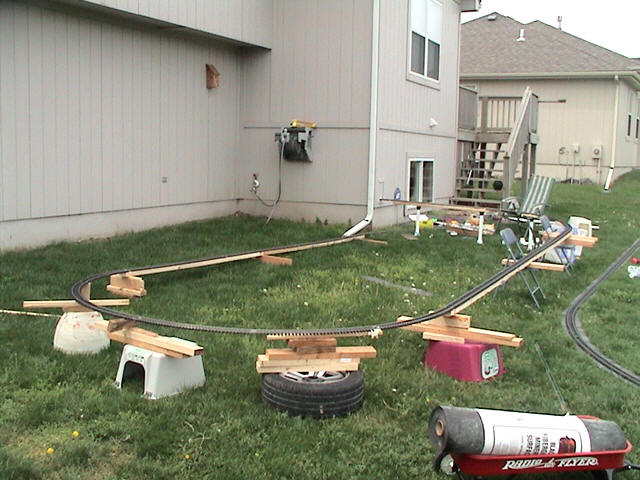
Instructions on how to build the bridge work for the basement feed line:
As far as determining the grade, I eye-balled it first, then took
a train and test drove it with all the temporary support structures in place.
(crossed my fingers there was no disaster!) The grade worked out to be
2.25% average from the access door at the basement to the ground level.
It drops/climbs
17.125 inches over 63.55 feet (762.6 inches). All the engines and their
consists run fine over it, but I don't think I
would want the grade any steeper. To get the track lifted where I wanted it, I
added and removed pieces of boards and supports to the various areas to slowly
raise and lower it till it the entire grade was smooth, gradual and consistent.
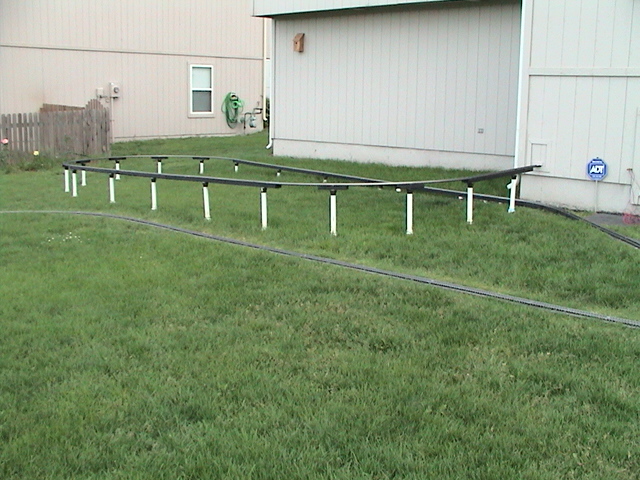
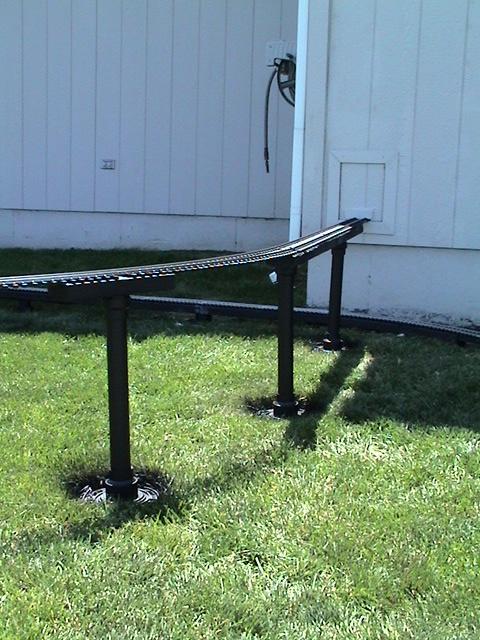
Now into the parts of bridge... I need to explain in detail the individual parts
used and how they are assembled...
- For the track, I simply screwed the track with drywall screws to proper length
2x4s.
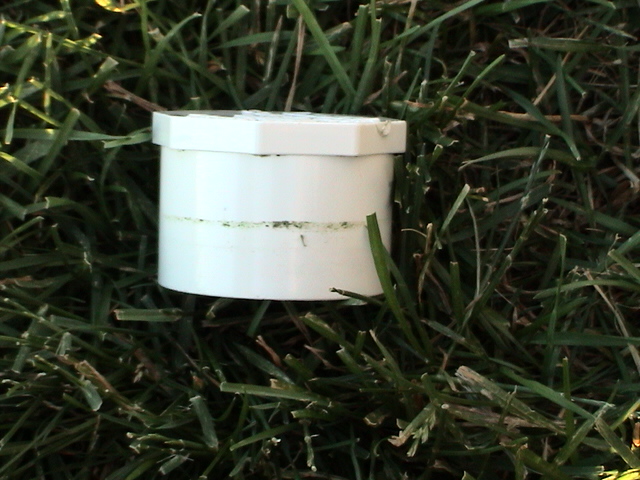
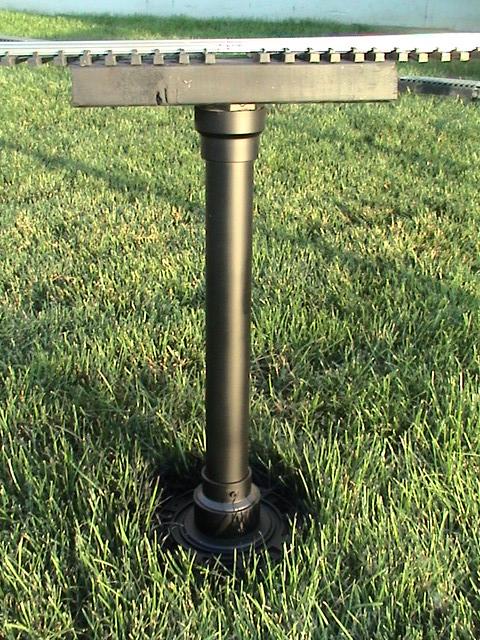
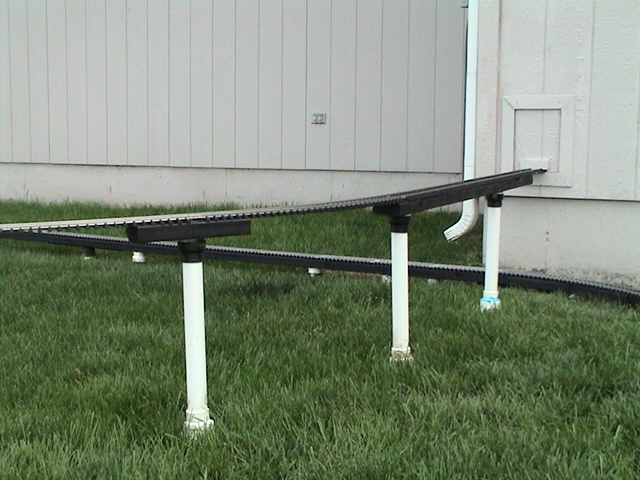
As far as the support posts:
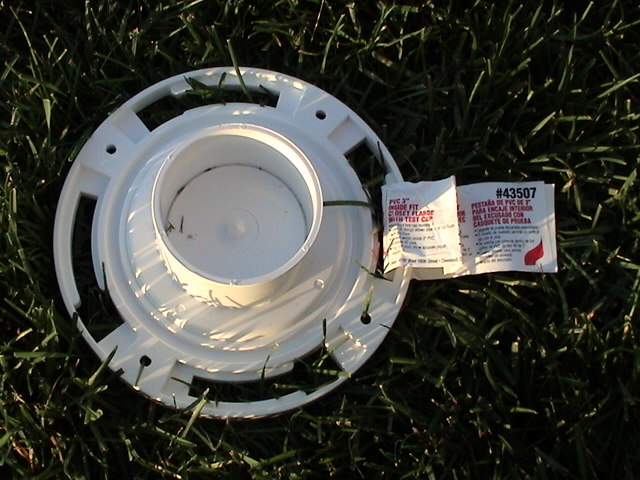
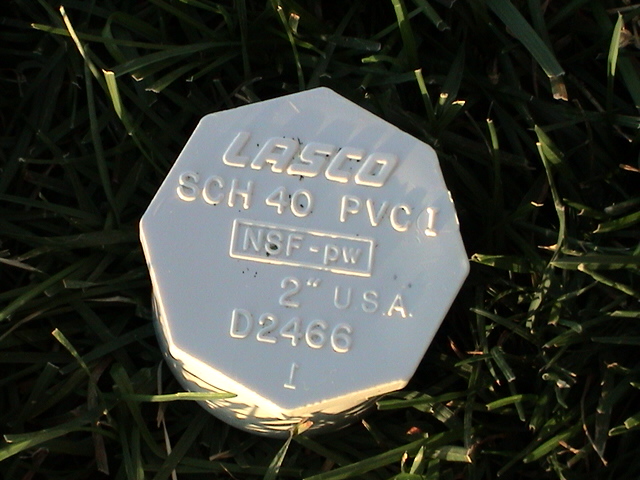
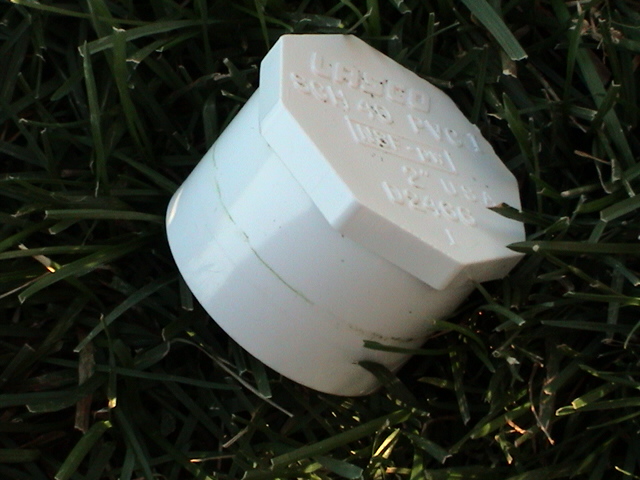
- The base piece I used (which is normally for toilet plumbing) could only be
found in the size I
needed at Home Depot. The base allows for a 2"-1.5" PVC adapter/reducer (can be found
at Home depot or Lowes) to fit perfectly in the topside of the opening. (The 2" side is what fits into the base) I used PVC adhesive
(the blue colored stuff) and put a generous amount around the outsides of the 2"
end of 2-1.5" adapter and inserted it into the base at the height I wanted it.
The adapter was inserted slowly
with a constant turning motion to spread the adhesive evenly inside the base. (I
didn't go all the way in as I wanted the transition of the base to the adapter
to the PVC pipe to look smooth.) I assembled a bunch of base/adapters at one
time and let the dry for 10 mins or so. (it drys very fast)
The now open end of the adapter is ready to accept the proper length section of
1.5" white PVC pipe. (I selected the white as
it was much stronger than the other black/gray type available) At
some point, drill a good size hole through the bottom of the base, otherwise it
will fill with water. In cold winter climates that could lead to that
water freezing and cracking the base. See/click
the pictures below:
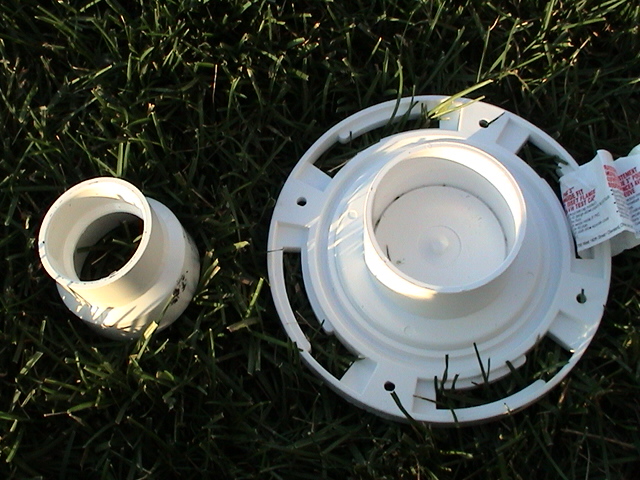
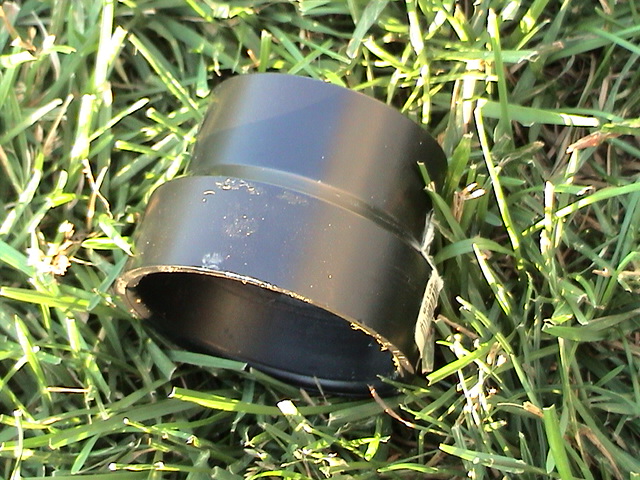
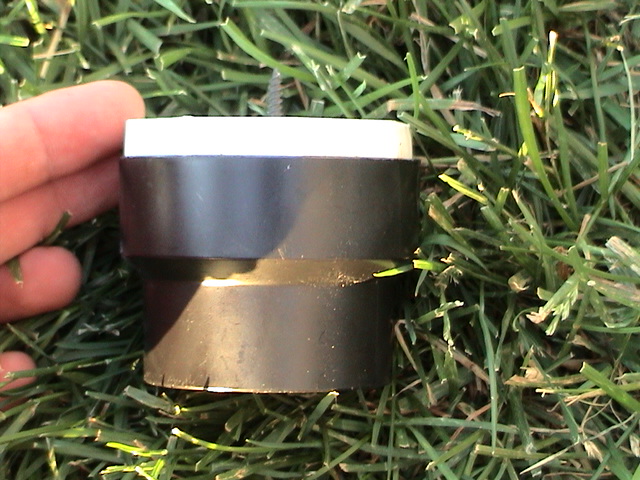
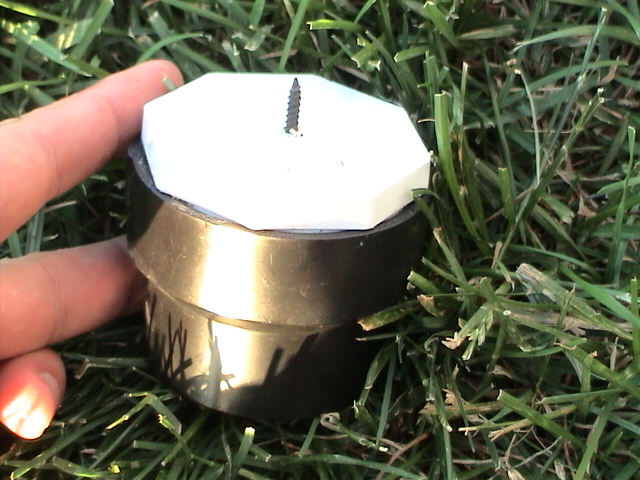
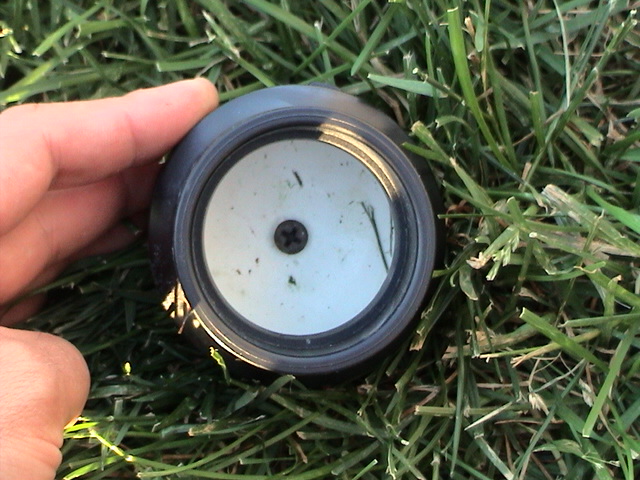
- Next, at the other end of where the length of 1.5" pipe goes,
another 2"-1.5" adapter is used to fit on the end to provide something to bolt
to the above track support. (In my case I happen to use a black PVC adapter for
the top as opposed to the whites on the bottom) I used a flat-topped 2"
cap/plug (style I used was only available from Lowes) and inserted it into the 2" side of
the 2"-1.5" adapter. (no PVC adhesive) To make the cap fit all the way into the
adapter, I had to cut half the length off the cap itself.
Otherwise, the top of the cap would stick out way to far and show the sides of
the cap and not look right in my opinion. (I put the cap in a vise-clamp and
used my sawsall to cut through it. Like a knife through butter...) With the cap length cut,
the cap would now fit all the way down into the adapter.
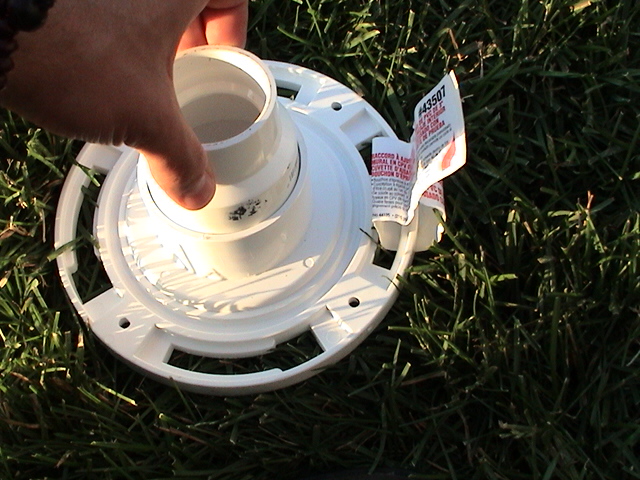
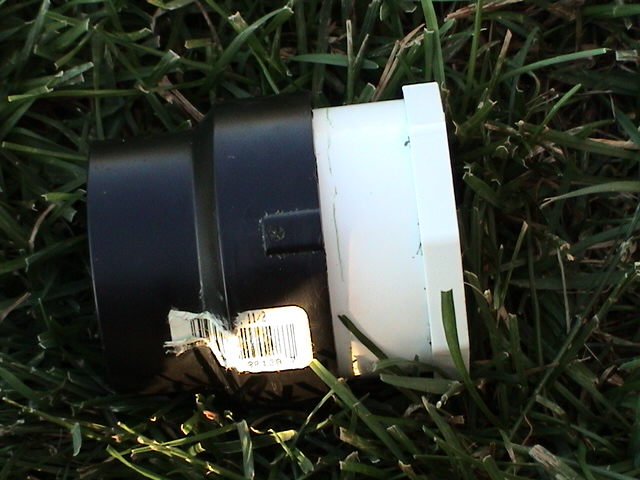
- I then drilled a small hole in the center of the cap so a drywall screw could
be screwed through the bottom (and what is now the inside of the assembled
piece) through the other flat side of the cap. With the screw through it, you
could then take your screw driver and screw it where you wanted the support to
be underneath the 2x4. The assembly will spin up to the bottom of the wood and
will pul up
tight to the bottom of the wood. See/click the pictures below:
(Note: in the side view of the 2" cap/plug, cut part of the length off at about where the line is that is marked on the 5th picture below. It will then fit all the way into the adapter as in the 6th picture.)
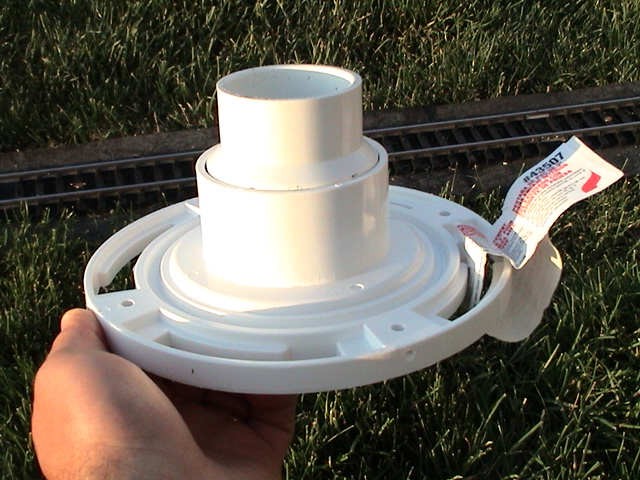
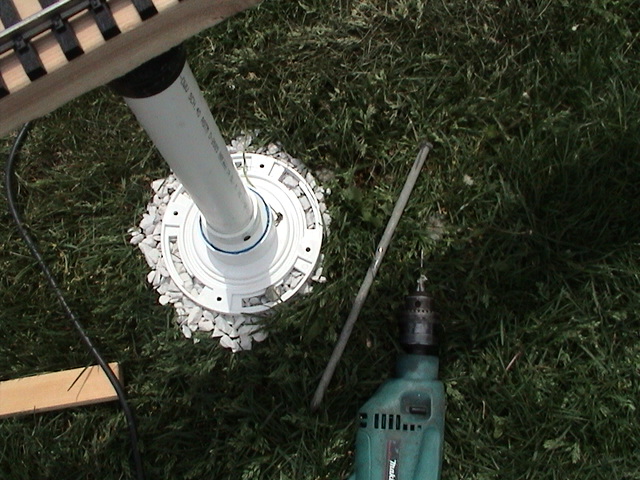
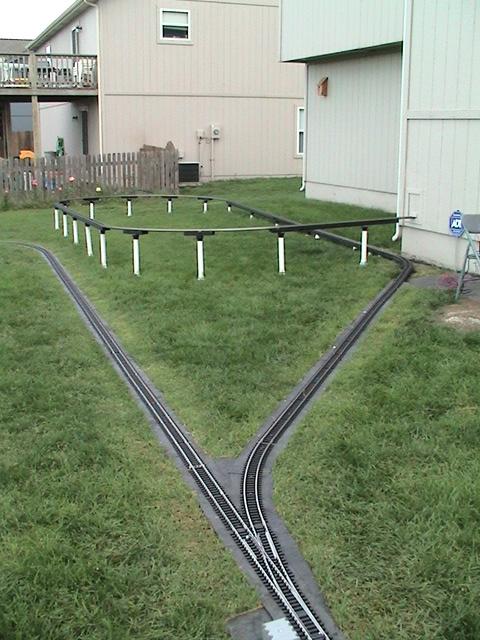
- Next, place the assembled base under where you want the support to be. Then screw the top assembly into the bottom of the support wood. I then put a bit of gravel (small rock) under the base to provide a solid foundation. Then measure the distance between the inside of the 1.5" end of the base where the pipe will be inserted to the inside of the 1.5" end of the inside of the top assembly where the pipe will go.
- Cut a length of 1.5" pipe to that length and fit in both ends. (no PVC adhesive unless you want it. I used a rotary saw to cut the PVC pipe) See/click the picture below:
- If it sways back and forth after it's assembled you may need
to drill a hole (or use adhesive) through the side of the 1.5" part of the
adapter and screw a drywall screw on each side of the pipe to keep it from
swaying. (put on the sides facing the outside of the bridge not facing the underneath
side.) I chose not to use adhesive so that it could be easily disassembled to
repair or replace sections if I need to. Like for instance if the ground settles under it, I
could replace the 1.5" pipe section with a longer one if need be.)
See/click the picture below:
- Make sure the track is level with leveler. You may have to slightly alter the
angle of the post to make sure the track is level.
- Once level, hammer a couple of stakes (I used two-13" stakes
- one on each side on the
outsides of the bridge as it needs side to side support) through the slot on the
sides of the bottom of the base to secure it. (Note the stakes on the ground and
in the base) See/click the picture below:
- Then push on the top of the track and wood support to force it together
securely. If it sways you can then put the screws through the adapters and pipe
to secure it.
Your done!
As you can see,
hardly any fabrication was necessary, it was more like putting a Lego set
together.... and Legos are something even I can handle...
![]()
As far as the paint, I used the 94 cent/can flat-black spray paint from Wal-Mart. To paint the wood and the posts it took about 18 cans. And even after a month or so, the paint seems to really adhere to the PVC so there appears to be a minimal risk of the paint peeling.
__________________________________________________________________________________
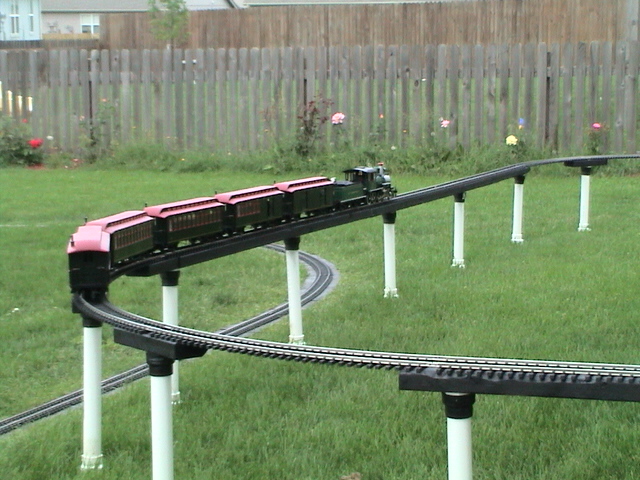
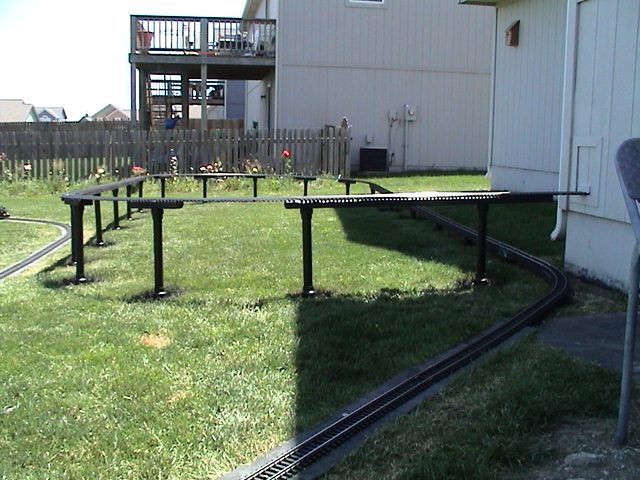
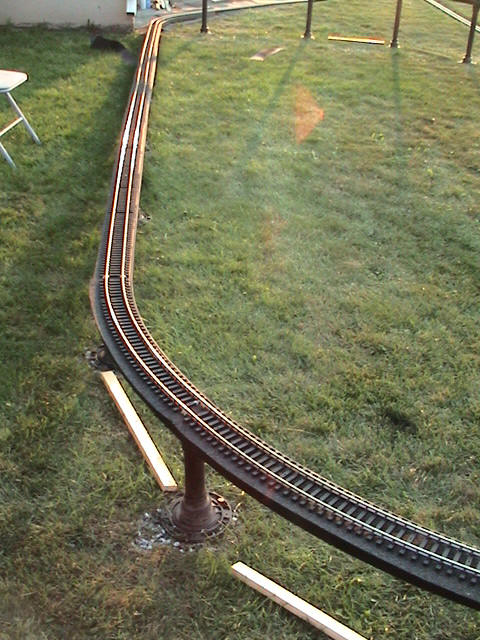
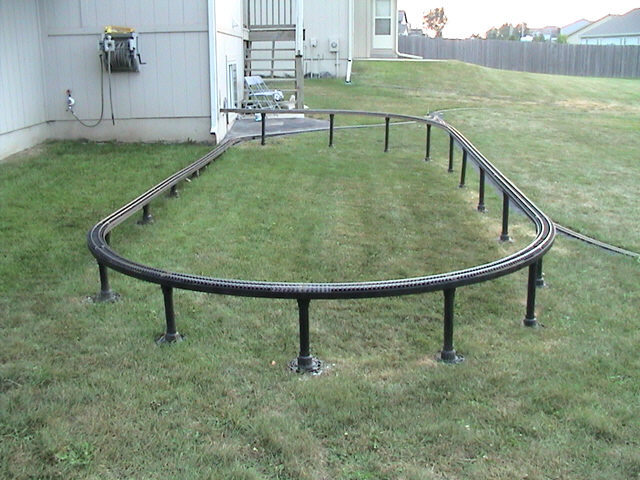
05/22/04
The wooden span track supports painted black.
|
|
|
|
|
|
|
|
|
|
|
|
|
|
|
||||||
__________________________________________________________________________________
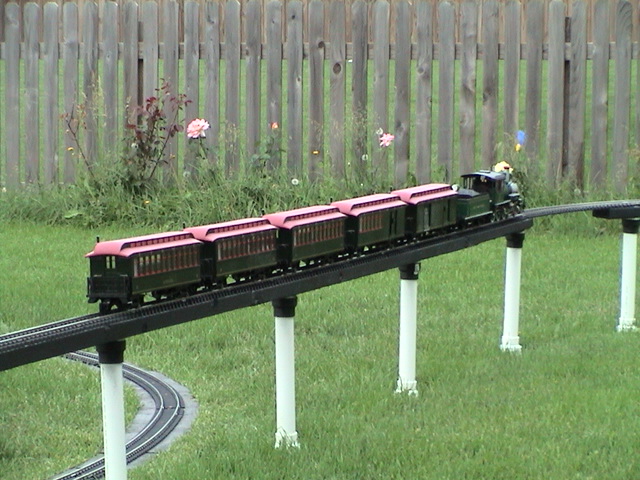
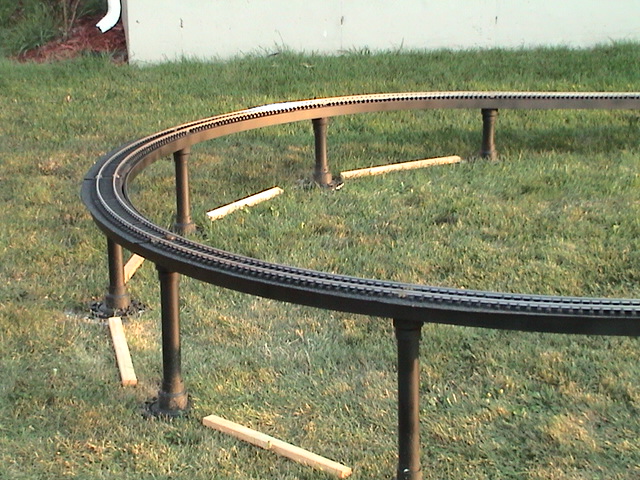
05/31/04
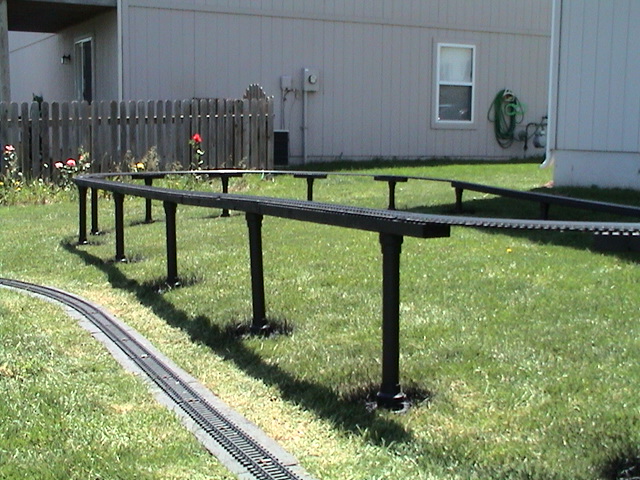
The bridge supports painted flat-black to match the wood.
|
|
|
|
|
|
|
|
|
|
|
|
||
__________________________________________________________________________________
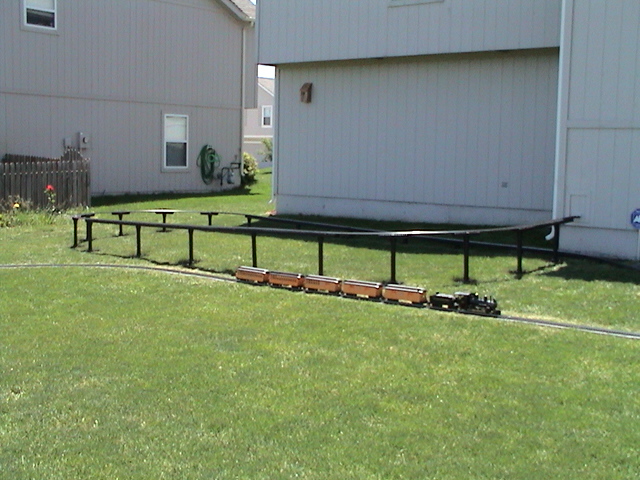
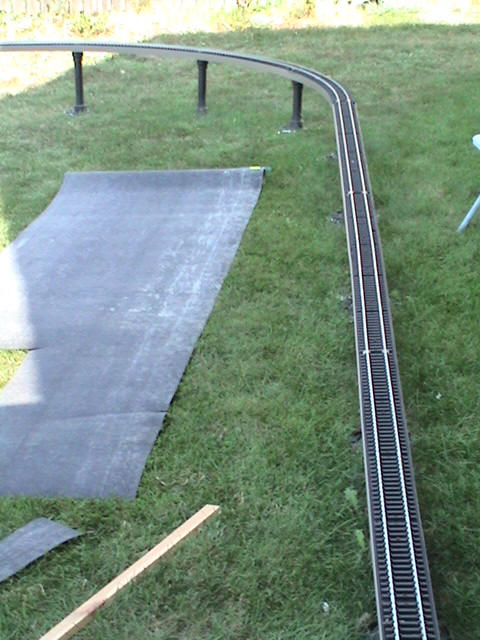
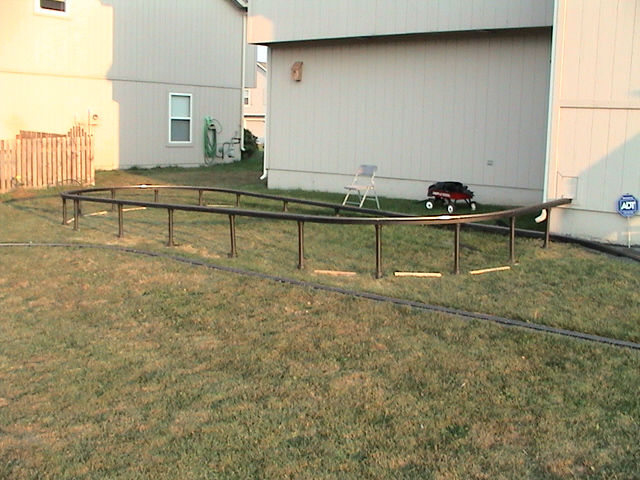
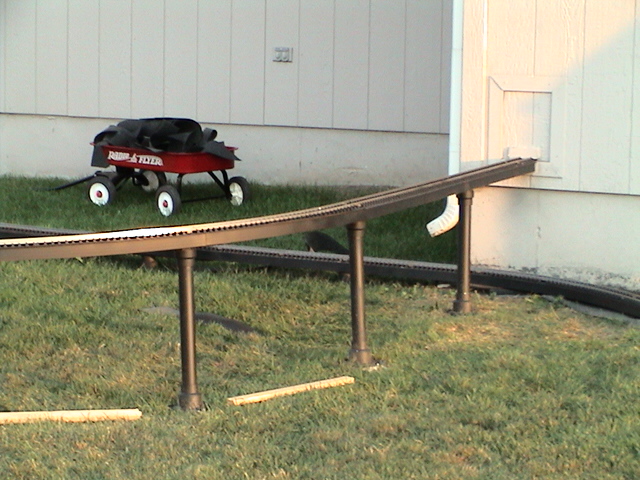
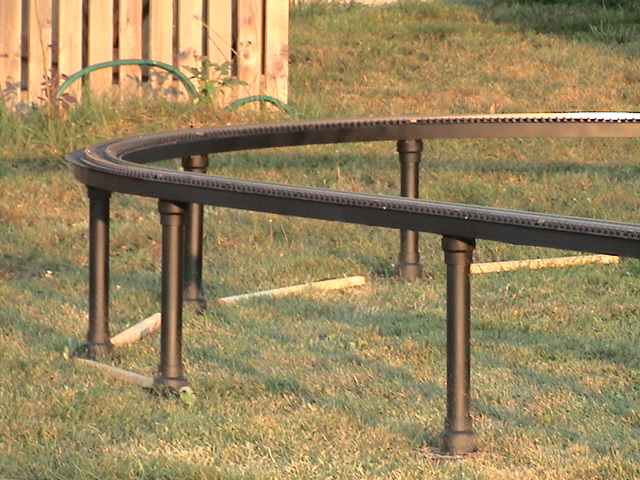
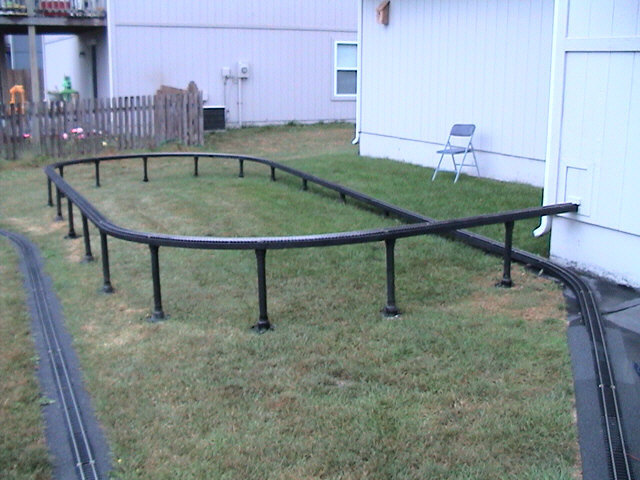
8/15/04
Basement feeder line revisited:
I decided to try and finish off the feeder line bridging to give it a more finished look.
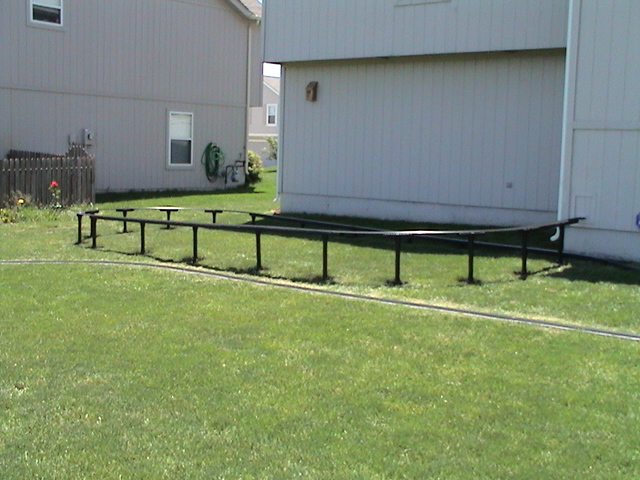
After a couple of hours browsing the local hardware store, I came upon these 1.5 inch wide x 8ft long plastic strips. These are normally used for installing bug screening you would use on a custom made enclosed porch or the like. It's made in two separate pieces, the first screws to the mounting surface, the second snaps in place and provides a continuous, smooth surface. A little black paint was applied to finish it off.
(Click the picture to see more.)
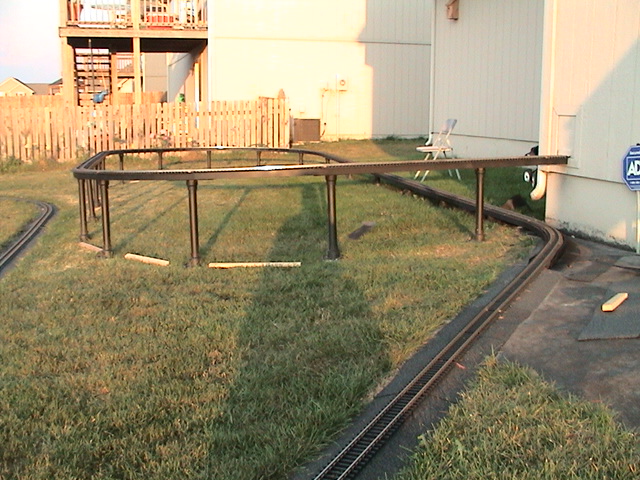
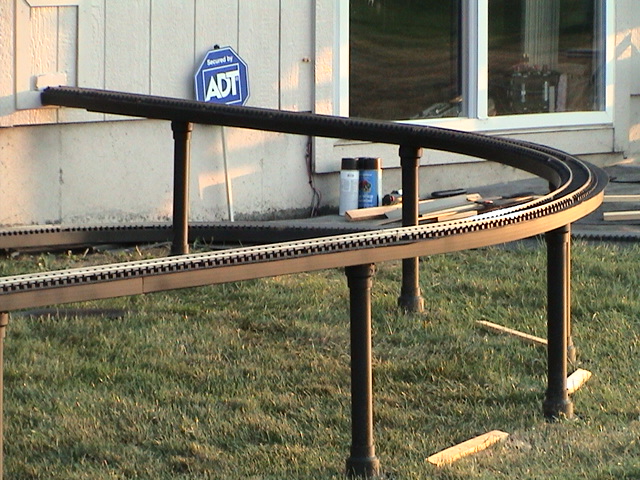
08/17/04
All painted and ready for final placement of the shingle strips and extra wood supports. You can see the supplemental supports under the curved section they will be placed.
Below is before the shingle strips were cut and the siding painted.
|
|
|
|
|
|
Almost done. All painted, and ready for assembly.
|
|
|
|
|
|
|
|
|
|
|
|||
08/18/04
Finished.
(Click the picture to see more.)
________________________________________________________________________________
Return to Rayman4449's home page.