|
|
|
|

|
|

|
|

|
|
|
|
|

|
|
|
|
|
Raymond's Garden Railroad (2004)
Welcome to my Garden Railroad page.
This page starts with the very beginning of my Garden Railroad build-out in 2004. For other years, see these links: (2005-2006) - (2007-2008) - (2009-current)
____________________________________________________________________________________________________________________
Events/progress on the layout: (2004)
04/03/04- 04/04/04
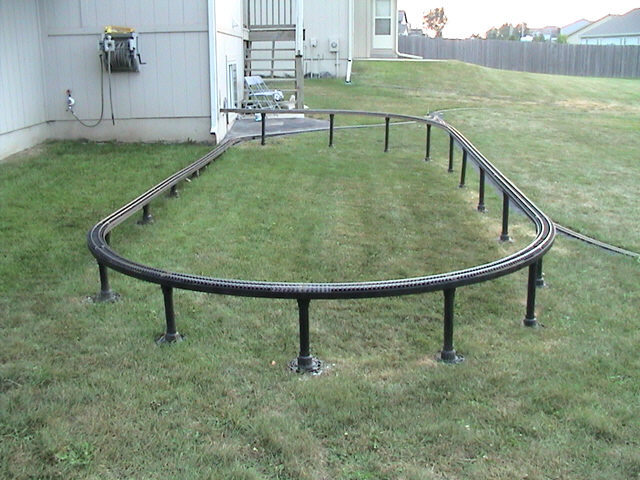
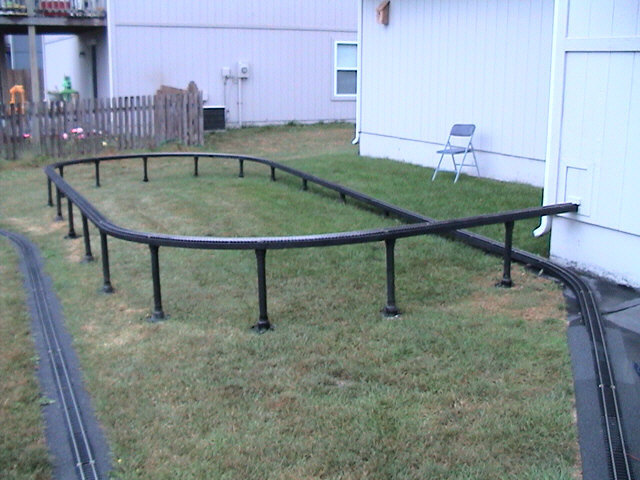
Initial construction photos:
*************************************************************************************
**Please note that I have gone with a different roadbed construction since this was posted. ***
See these links for more info: Roadbed , Track Expansion 2006 , Basement Ramp Rebuild - 2006
*************************************************************************************
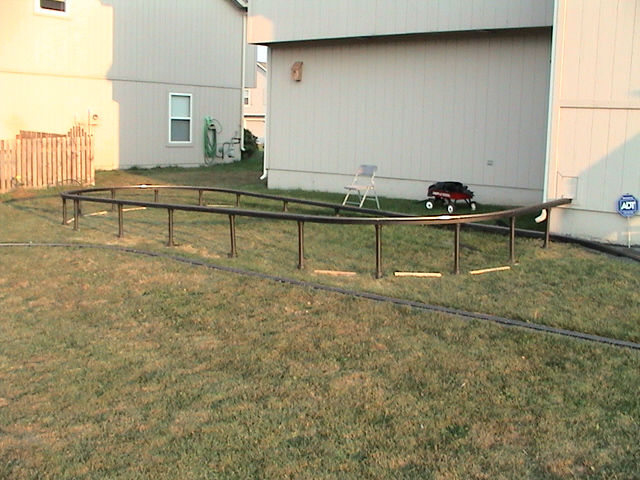
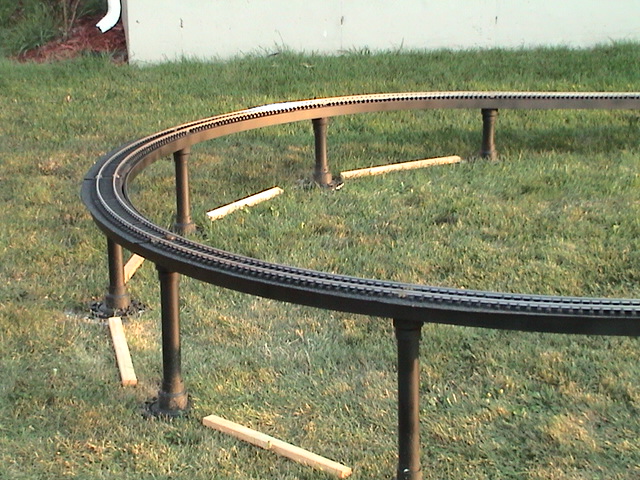
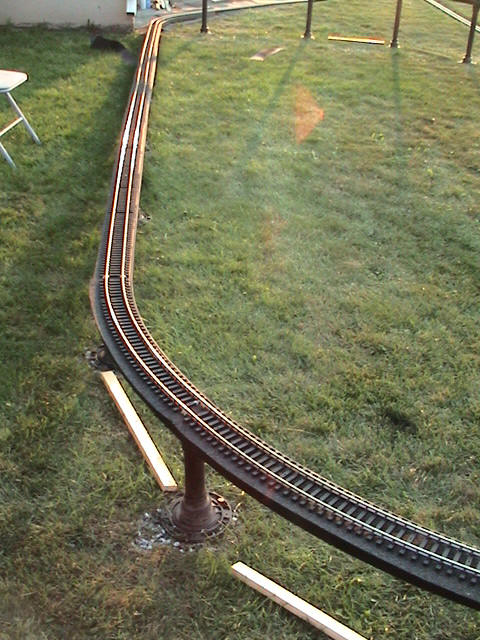
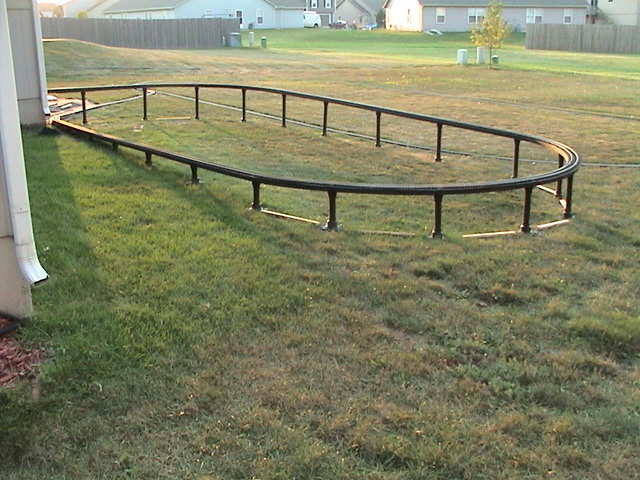
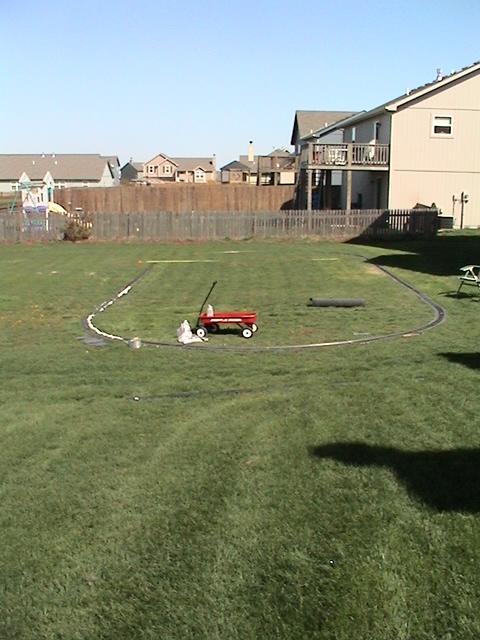
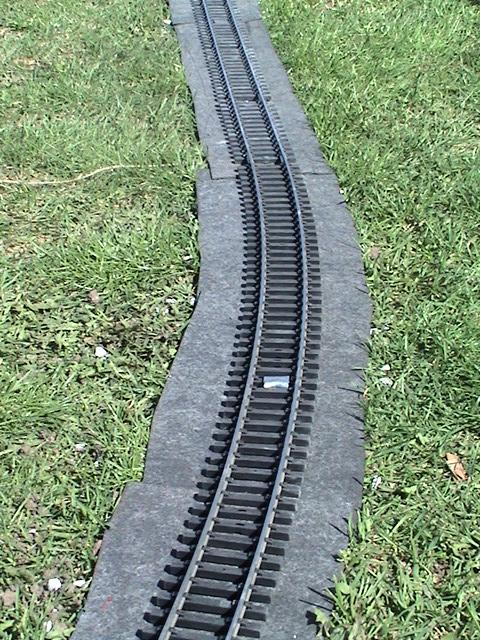
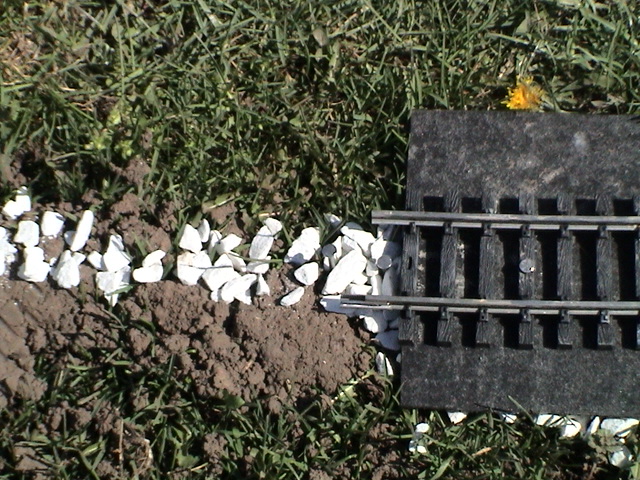
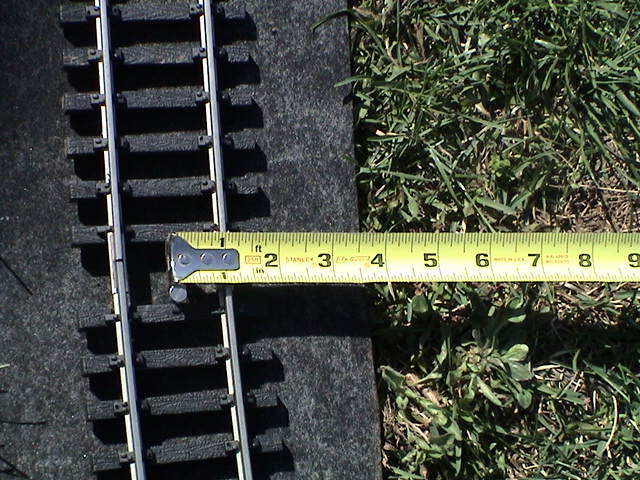
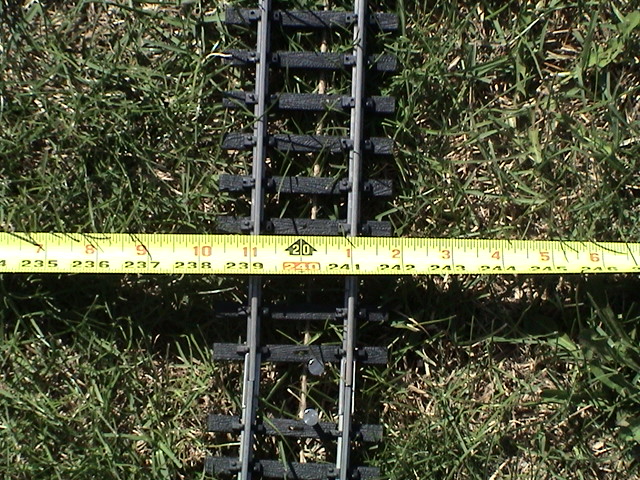
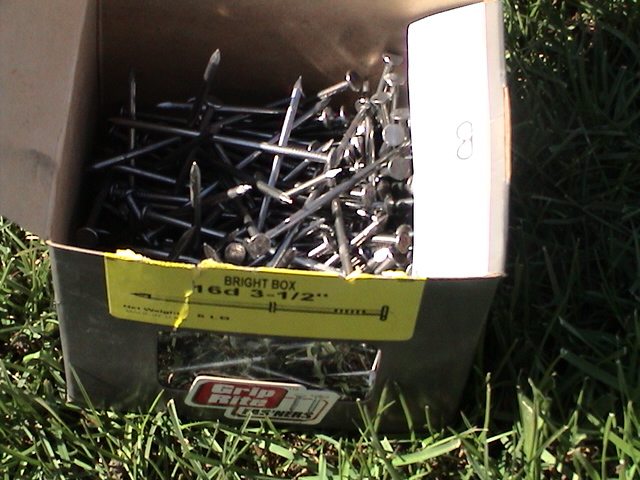
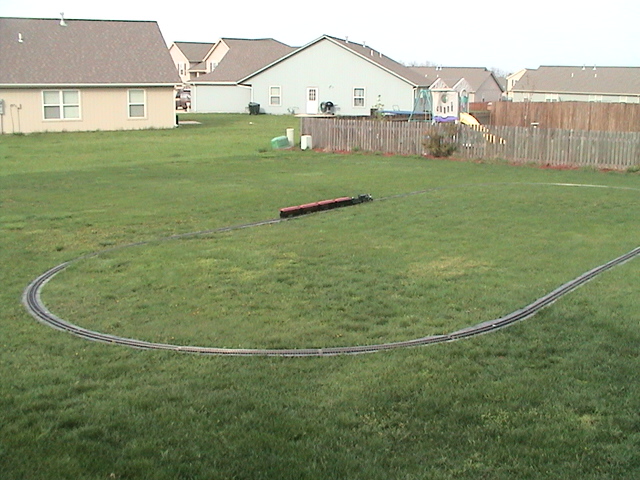
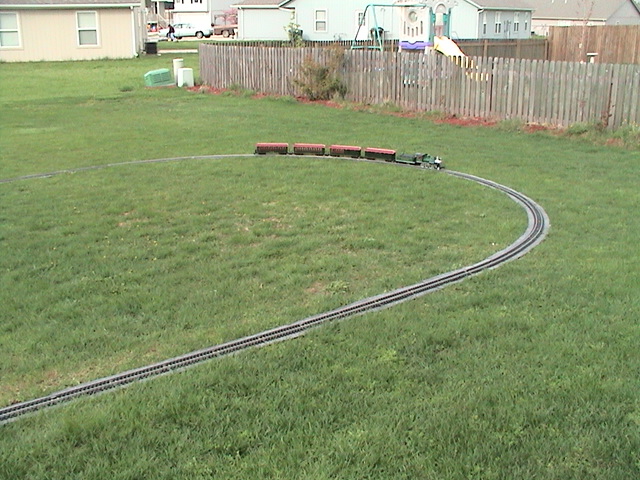
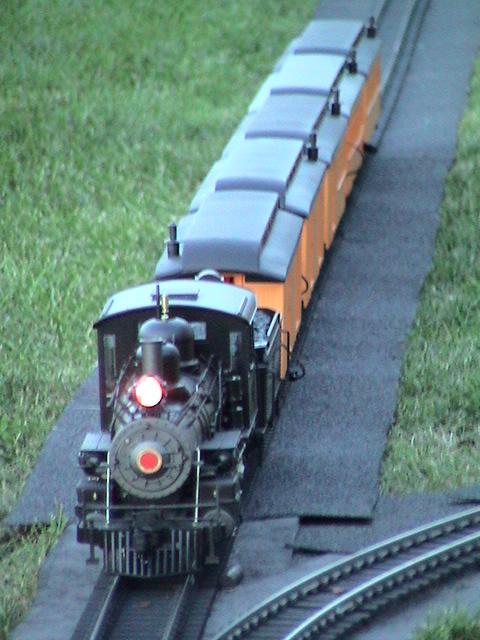
I started and completed the first oval for a garden railroad. Aristocraft Stainless Steel track with wide 20 foot diameter curves was used to be able to run the largest of the big G-scale engines without any worry of meeting the wide minimum radius requirements of the newer, larger engines. The total track length is about 210 feet (122 for the oval and 88 for the (new) basement feeder line. In the future, I look to add two additional ovals running the perimeter of the backyard.
(Note: See the roadbed widening project below.)
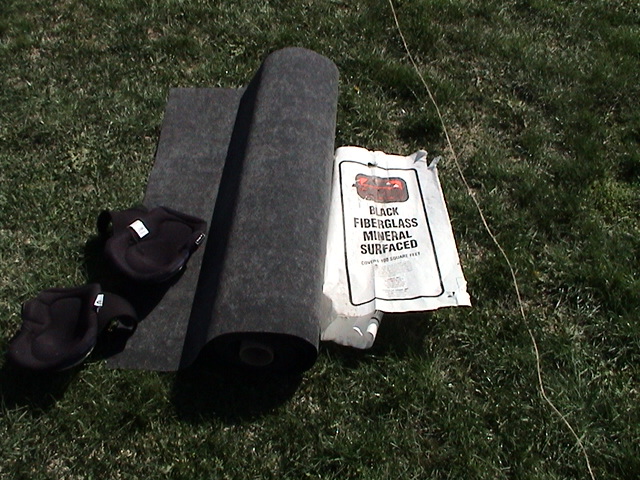
(*Update*) Regarding the roadbed, I have found that the quickest, easiest and most reliable way to level the track is to insert additional layers in sections of unused pieces of shingle under the areas where the track has sagged. It is much more effective than stuffing rock or dirt as it won't settle or wash away. I've come to believe this is the only way to go for roadbed. It's durable, cheap as well as quick and easy to install.
There are multiple photo Galleries on this page so scroll down.
|
|
|
|
|
|
|
|
|
|
|
|
|
|
|
|
|
|
|||
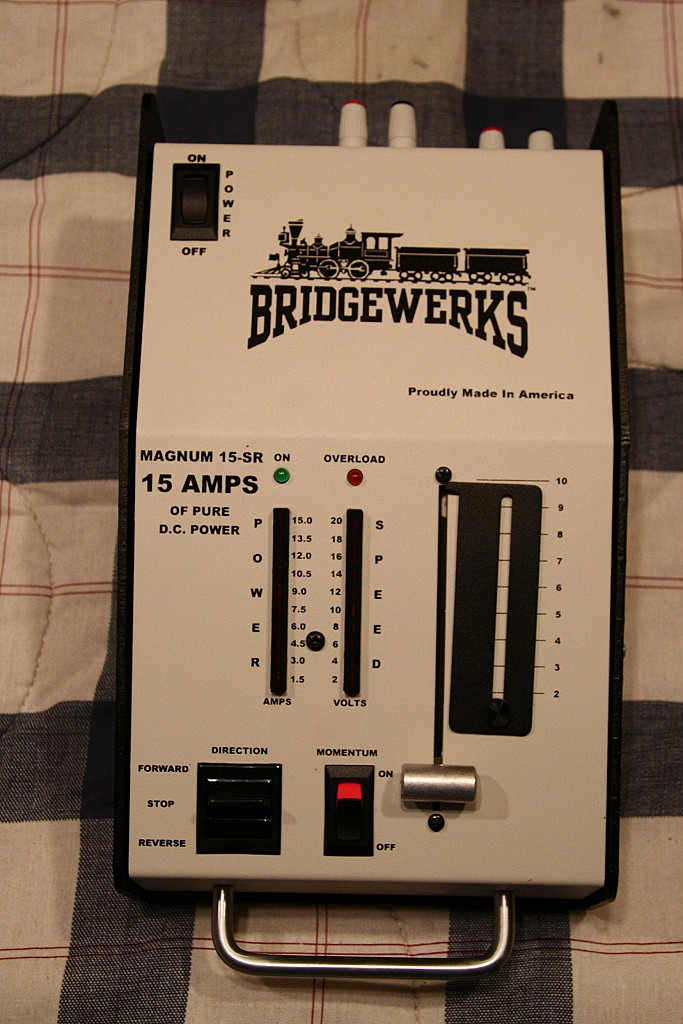
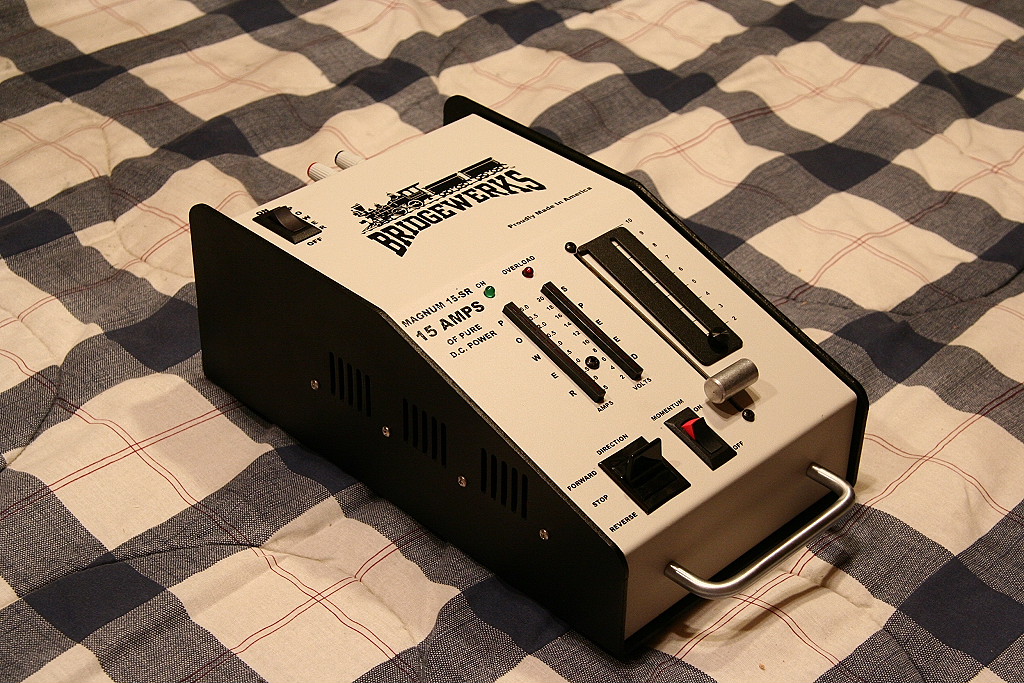
A Bridgewerks Mag-15 (15 amp) DC power supply provides the power. (Note: that a small voltmeter can be added to monitor the output voltage above 20v.)
|
|
|
||||
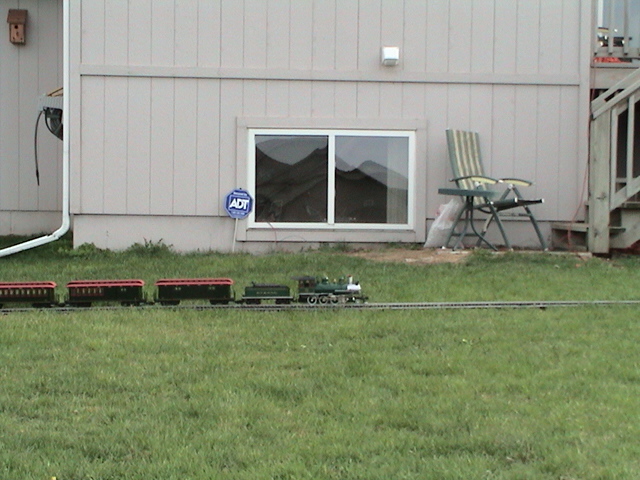
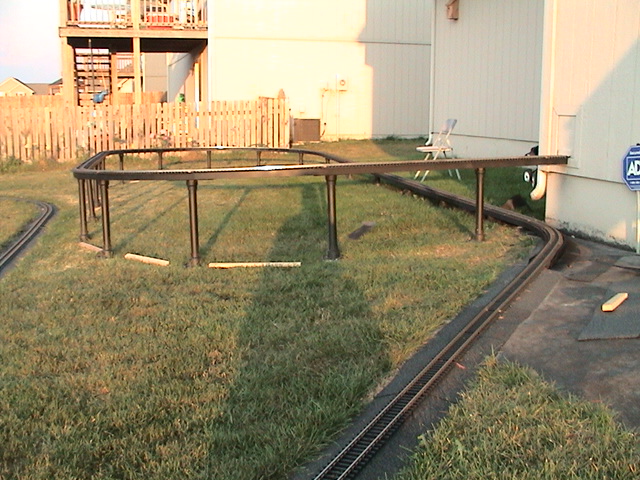
Pictures of the view area.
|
|
|
|
|
|
__________________________________________________________________________________
05/07/04- 05/09/04
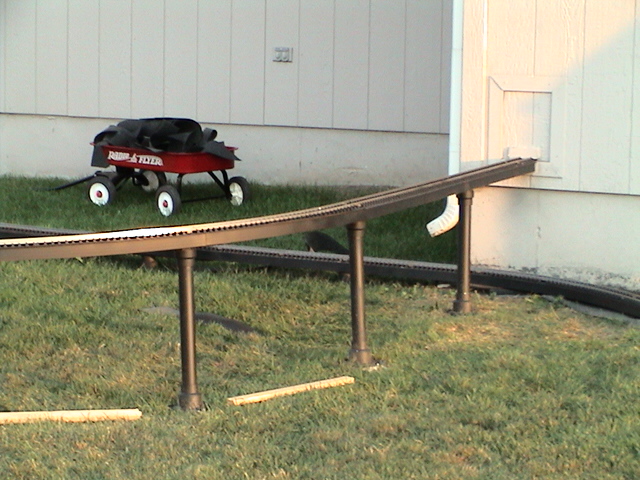
Basement feeder line construction photos:
Next addition to the layout, this time from inside the basement to the outside oval.
(Click the picture to see more.)
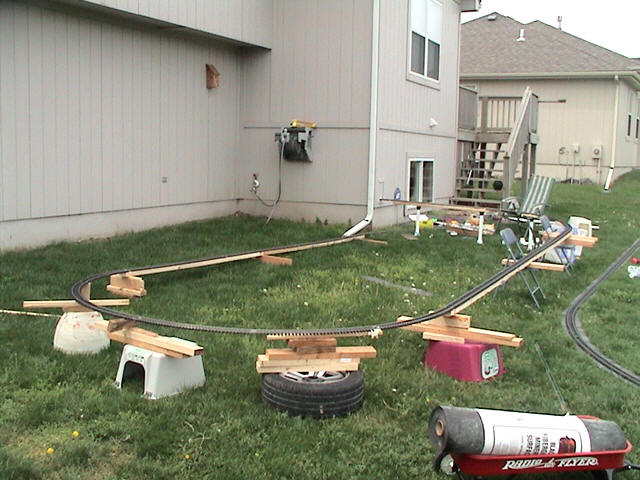
Instructions on how to build the bridge work for the basement feed line:
As far as determining the grade, I eye-balled it first, then took
a train and test drove it with all the temporary support structures in place. The grade worked out to be
2.25% average from the access door at the basement to the ground level.
It drops/climbs
17.125 inches over 63.55 feet (762.6 inches). This is a pretty steep grade
and would not want it any steeper. To raise the track to the desired
height, I slowly raised it by adding and removed pieces of temporary boards and supports to the various areas till the entire grade was smooth, gradual and consistent.
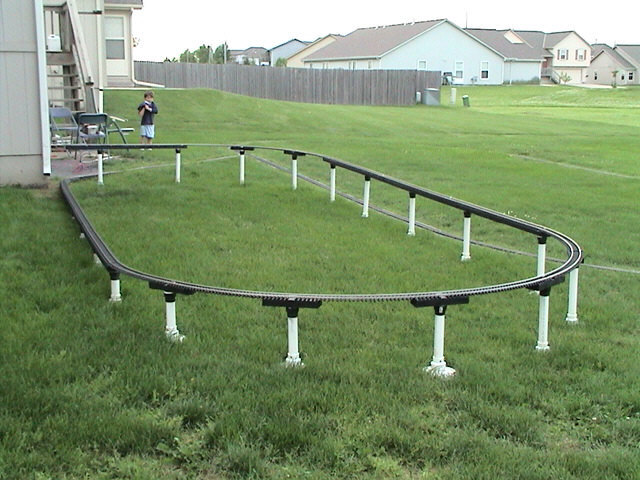
Bridge construction:
- The track is screwed with small head screws to proper length
2x4s.
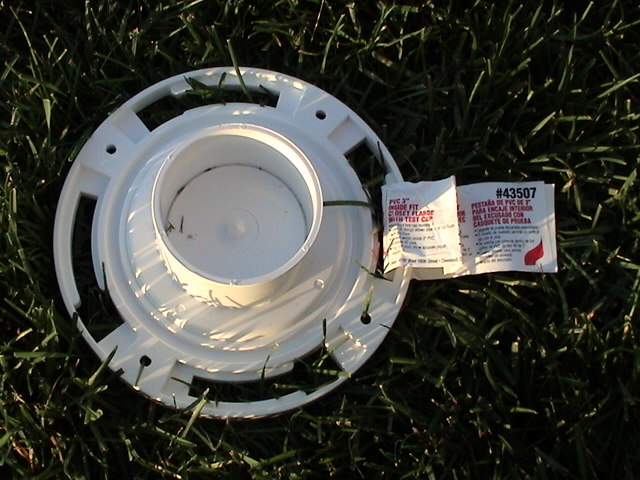
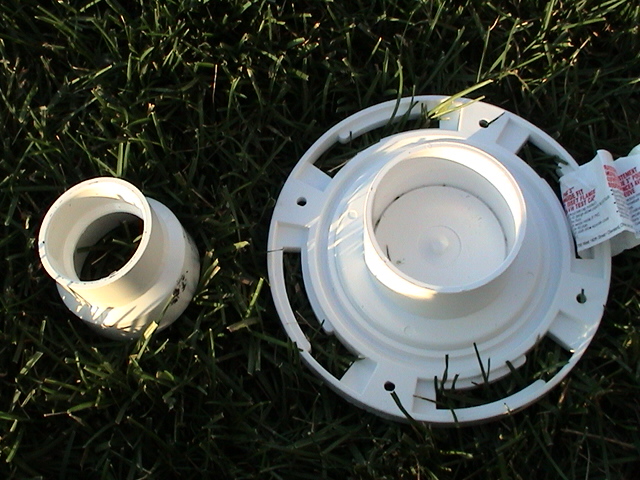
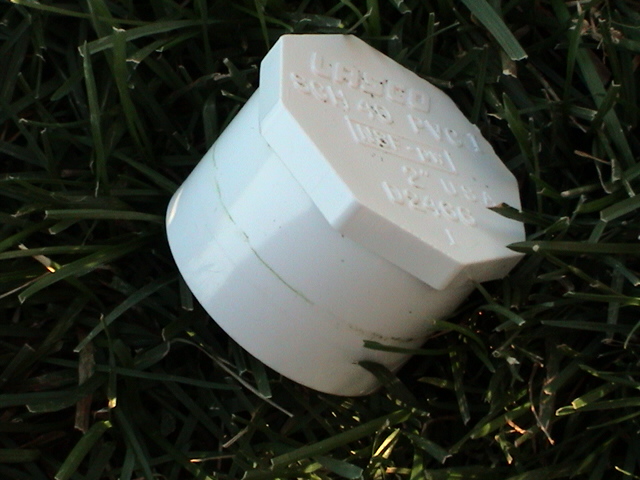
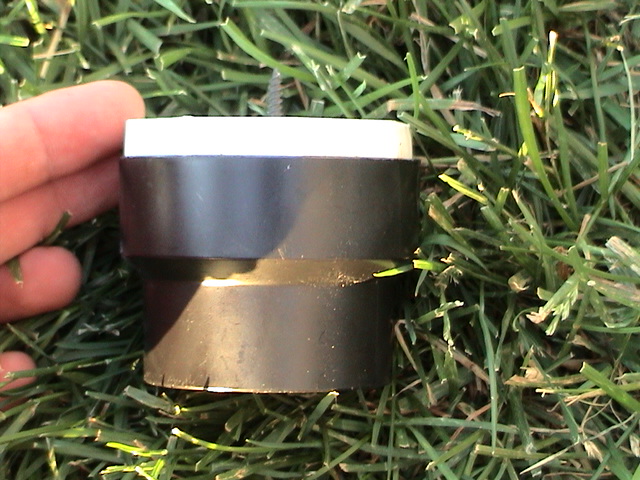
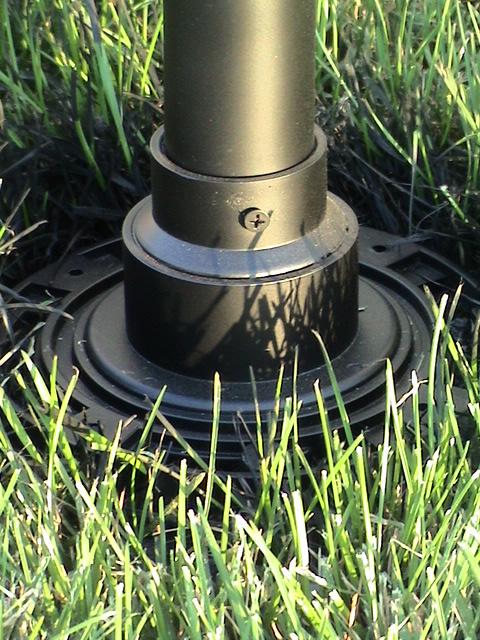
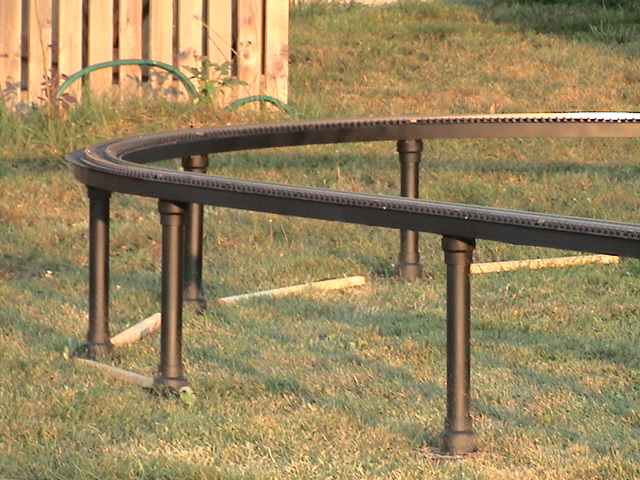
- For support posts: The base piece (toilet base) could only be
found in the size I
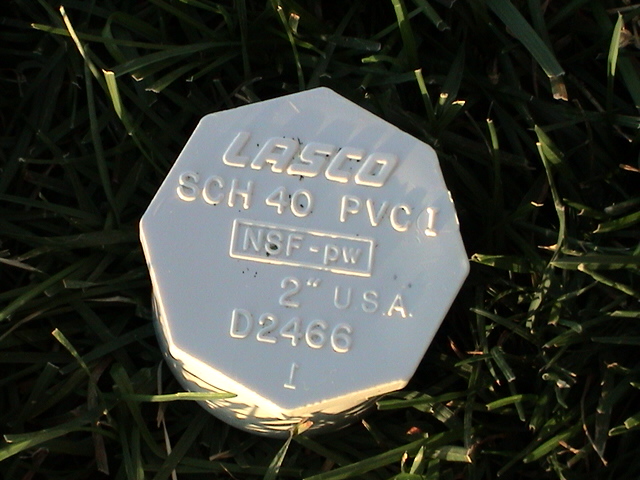
needed at Home Depot. The base allows for a 2"-1.5" PVC adapter/reducer (can be found
at Home depot or Lowes) to fit perfectly in the topside of the opening. (The 2" side is what fits into the base) PVC adhesive
was used (blue colored) in generous amounts around the outsides of the 2"
end of 2-1.5" adapter and inserted it into the base to the desired height.
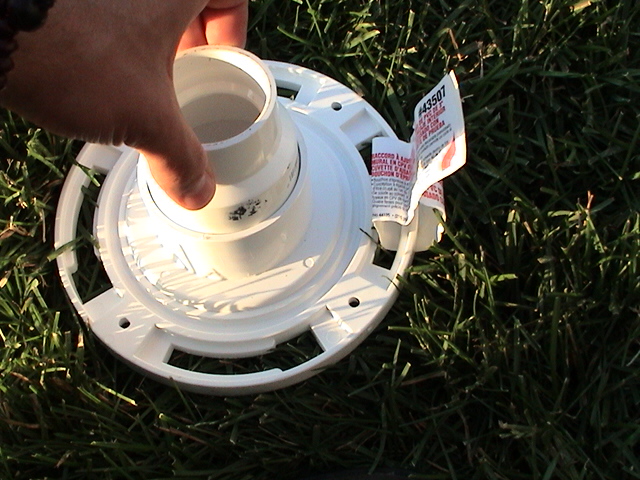
The adapter was inserted slowly
with a constant turning motion to spread the adhesive evenly inside the base.
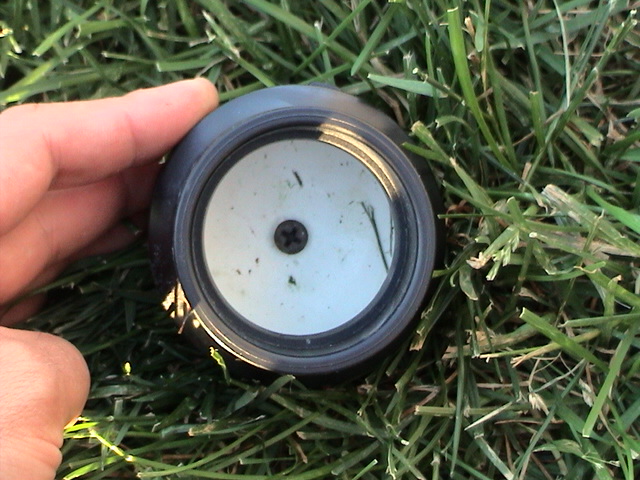
The now open end of the adapter is ready to accept the proper length section of
1.5" white PVC pipe. A hole was drilled in the bottom of the plate to
allow water to drain.
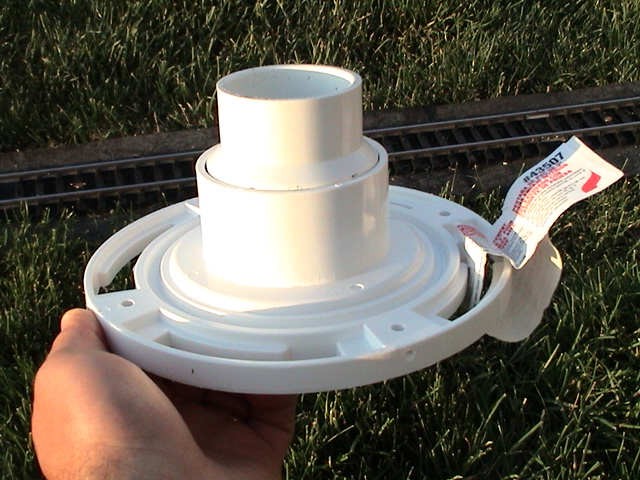
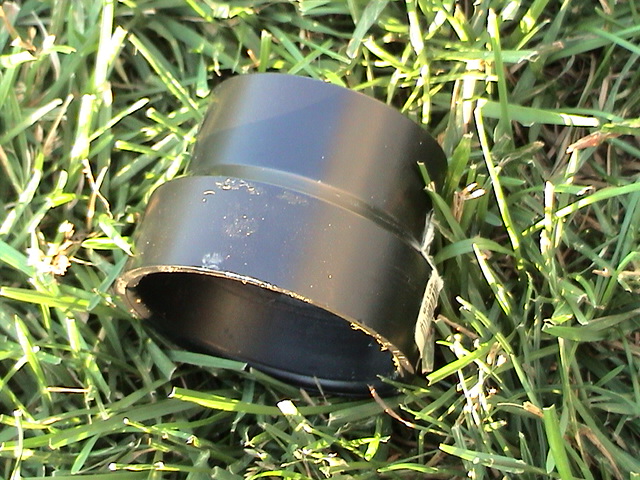
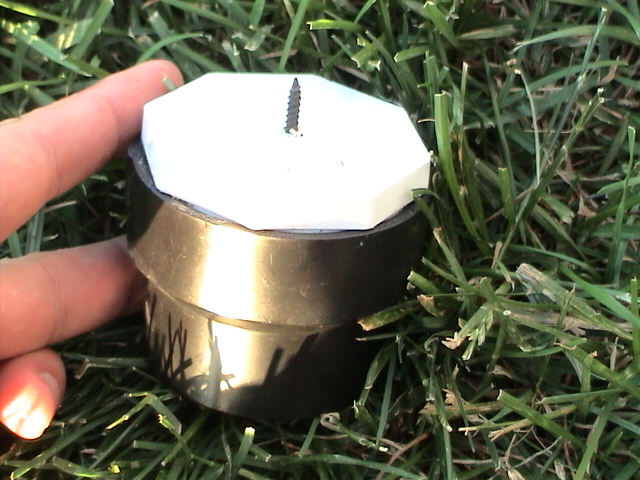
- Next, at the other end of where the length of 1.5" pipe goes,
another 2"-1.5" adapter is used to fit on the end to provide something to bolt
to the above track support. (In my case I happen to use a black PVC adapter for
the top as opposed to the whites on the bottom) I used a flat-topped 2"
cap/plug (style I used was only available from Lowes) and inserted it into the 2" side of
the 2"-1.5" adapter. (no PVC adhesive) To make the cap fit all the way into the
adapter, I had to cut half the length off the cap.
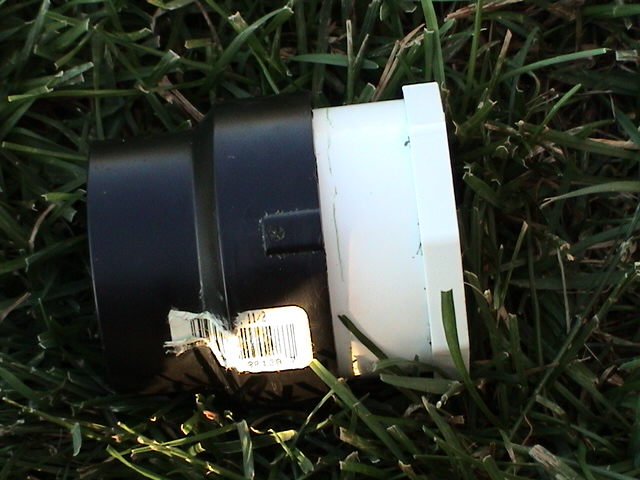
- I next drilled a hole in the center of the cap so a drywall screw could be screwed through the bottom (and what is now the inside of the assembled piece)
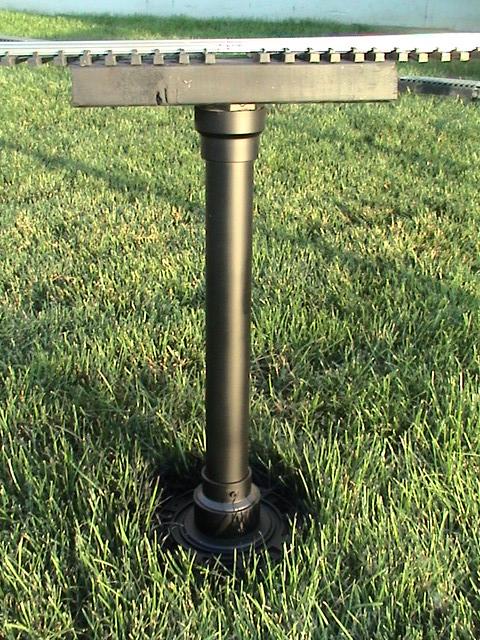
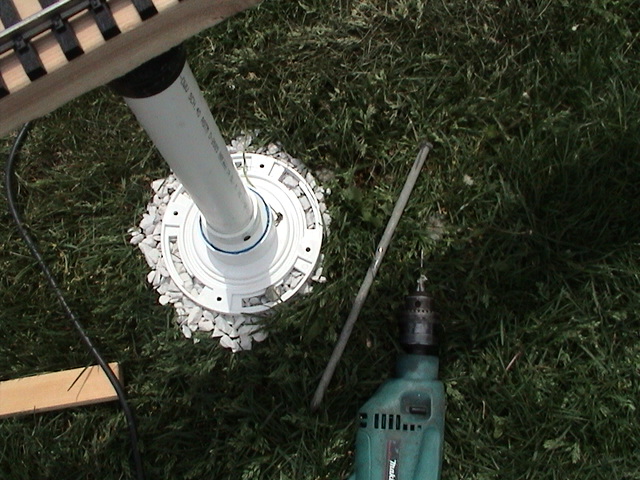
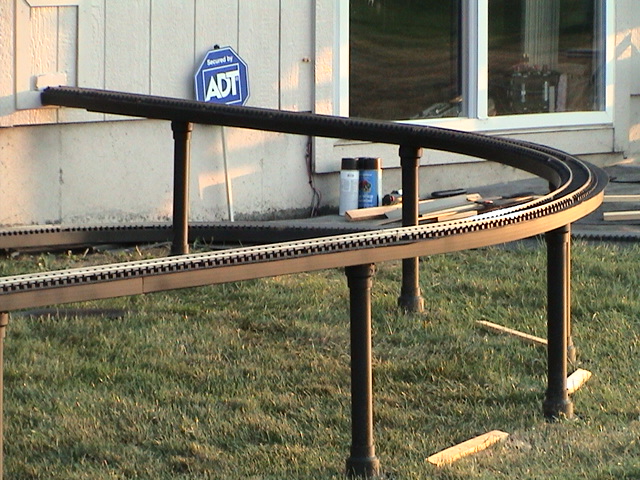
- Next, the assembled base was placed next to the desired location and the top plate screwed into the bottom of the 2x4. I then put a bit of gravel (small rock) under the base to provide a solid foundation. I then measured the distance between the inside of the 1.5" end of the base where the pipe will be inserted to the inside of the 1.5" end of the inside of the top assembly where the pipe will go.
- Cut a length of 1.5" pipe to that length and fit in both ends. (no PVC adhesive unless you want it. I used a rotary saw to cut the PVC pipe) See/click the picture below:
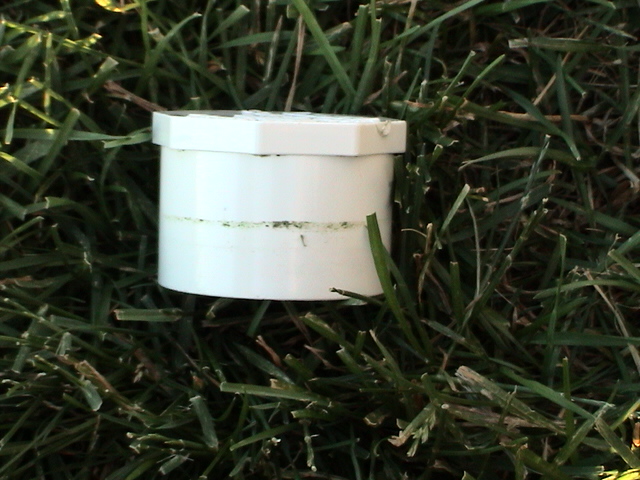
- If it sways back and forth after it's assembled you may need
to drill a hole (or use adhesive) through the side of the 1.5" part of the
adapter and screw a drywall screw on each side of the pipe to keep it from
swaying. (put on the sides facing the outside of the bridge not facing the underneath
side.) I chose not to use adhesive so that it could be easily disassembled to
repair or replace sections if I need to. Like for instance if the ground settles under it, I
could replace the 1.5" pipe section with a longer one if need be.)
See/click the picture below:
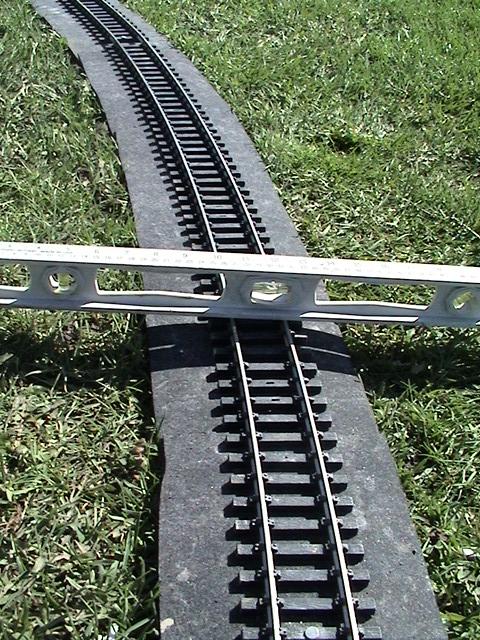
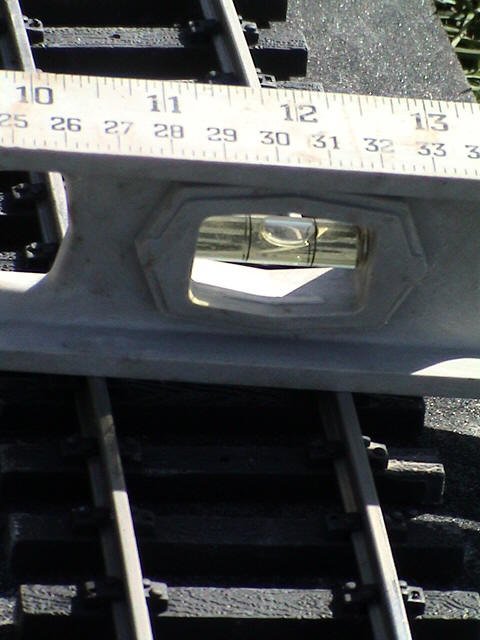
- Make sure the track is level with leveler. You may have to slightly alter the
angle of the post to make sure the track is level.
- Once level, hammer a couple of stakes (I used two-13" stakes
- one on each side on the
outsides of the bridge as it needs side to side support) through the slot on the
sides of the bottom of the base to secure it. (Note the stakes on the ground and
in the base) See/click the picture below:
- Then push on the top of the track and wood support to force it together
securely. If it sways you can then put the screws through the adapters and pipe
to secure it.
As far as the paint, I used inexpensive flat-black spray
paint from Wal-Mart.
__________________________________________________________________________________
05/19/04
An MTH Union Pacific 4-6-6-4 Challenger has been added to the fleet. As far as a review of the engine.... it has excellent sound quality and running characteristics (the motors are very quiet, even at high speeds). It handles the 10ft diameter corners on the elevated portion of the layout without any problems and looked good (minimal boiler overhang) on the 20ft diameter curves that are on the main oval. The front set of drivers do loose traction much more easily than the rear set, so I've made additional provisions to stop the slippage. See my Garden Railroads Modifications and Repair page for more information.
Click here to see a video of the Challenger in action---->
Note: if the video skips, right click on the link and select "save target as" and save it to your local drive, then play it.
 Challenger
MPG VIDEO #1 (38MB)
Challenger
MPG VIDEO #1 (38MB)
Challenger MPG VIDEO #2 (29MB)
Challenger MPG VIDEO #3 (111MB)
Challenger MPG VIDEO #4 (134MB) - With smoke unit mod
You can find additional videos on the Garden Railroad Videos page:
http://www.rayman4449.com/Garden_Railroad_Videos.htm
(Click the picture to see more of this engine.)

__________________________________________________________________________________
05/22/04
The wooden span track supports have been painted black.
(Click the picture to see more.)
__________________________________________________________________________________
05/31/04
The bridge supports have been painted flat-black to match the wood.
(Click the picture to see more.)

__________________________________________________________________________________
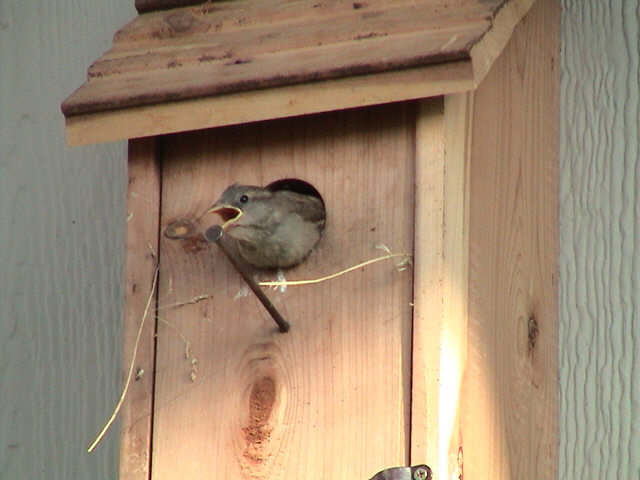
06/14/04
A new family has taken up residence.
(Click the picture to see more.)
__________________________________________________________________________________
06/21/04
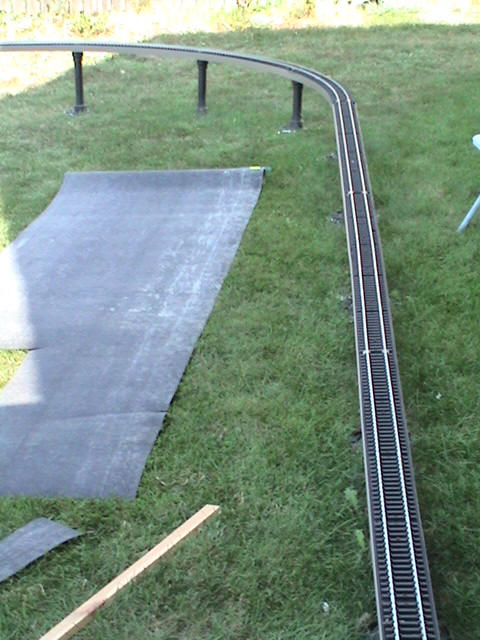
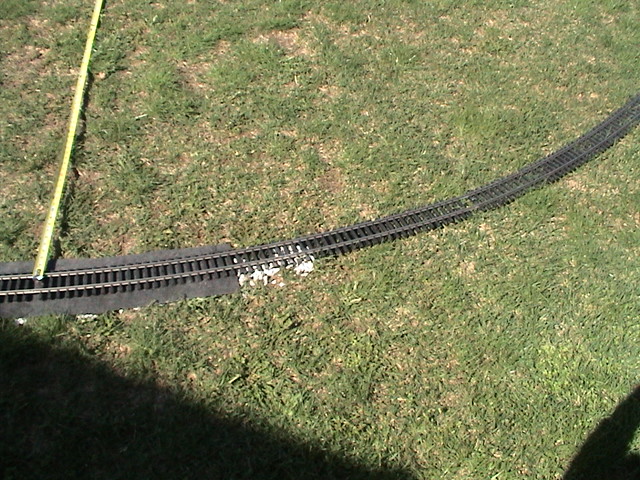
Upgraded Roadbed project:
I found that the 7" wide strips of shingle material has not really been wide enough to keep the grass from reaching the track so I went with a wider 18" layer on top of the existing strip.
Note: I've found that the best way to level the track is to insert additional strips of shingle in sections under the areas where the track has settled and sagged. It is much more effective than stuffing rock or dirt as it won't settle or wash away.
(Click the picture to see more.)
__________________________________________________________________________________
8/15/04
Basement feeder line revisited:
Some additional strips were added to the sides of the basement line to give a better appearance.
(Click the picture to see more.)
08/17/04
Progress after day 1.
|
|
|
|
|
|
Almost done. All painted, and ready for assembly.
|
|
|
|
|
|
|
|
|
|
|
|||
08/18/04
Finished.
(Click the picture to see more.)
__________________________________________________________________________________
9/04/04
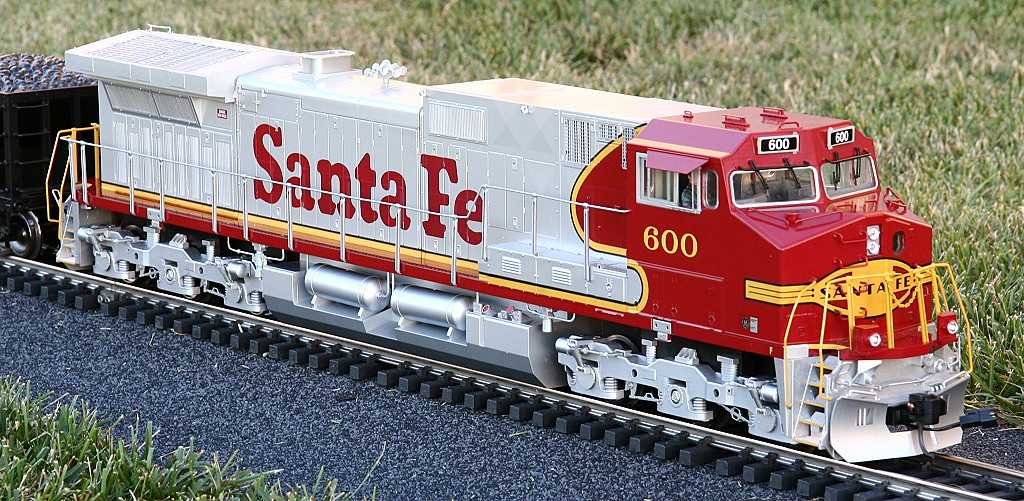
Aristocraft ATSF Dash-9:
This is the latest addition to the locomotive roster, an Aristocraft 1:29 scale model of the General Electric Dash 9-44CW.
(UPDATE 03/19/2005: The Dash-9 has been lowered 1/4" to bring it closer to proper scale height which gives it a better look. See the mods section for how-to steps.)
(Click the picture to see more.)
Here is a quick video of the Dash-9 pulling the visiting heavyweights.
You can find additional videos on the Garden Railroad Videos page:
http://www.rayman4449.com/Garden_Railroad_Videos.htm
__________________________________________________________________________________
10/16/04
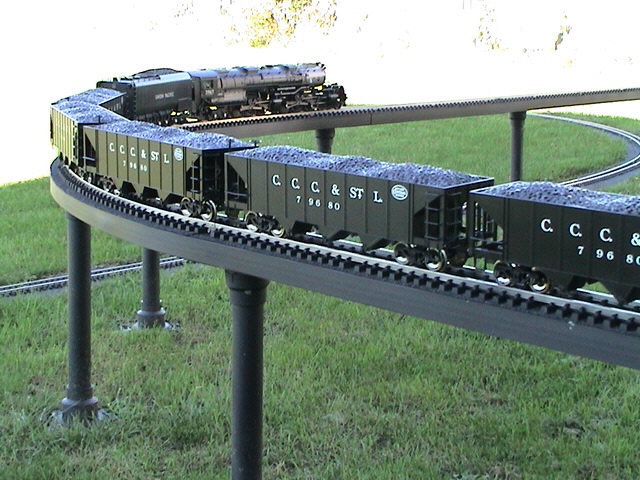
Bachmann Coal Hoppers:
The first run of my new Bachmann coal hopper cars all with body mount Kadee couplers. These cars look good in overall appearance with the 1/32 scale Challenger and 1/29 scale Dash-9.
(Click the picture to see more.)
__________________________________________________________________________________
11/24/04
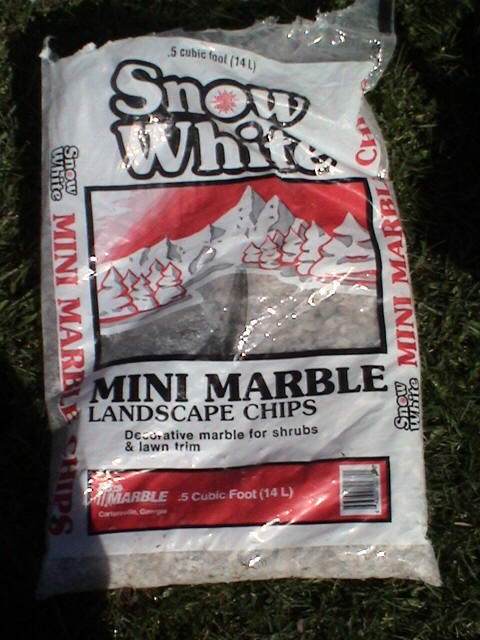
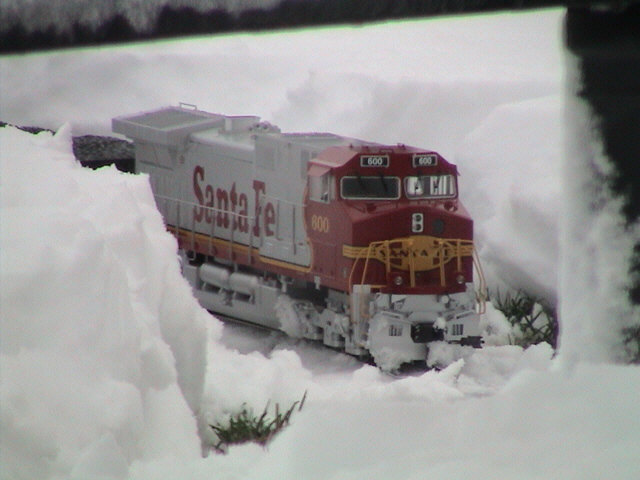
First Snow Fall:
The railroad has seen its first snow fall.
(Click the picture to see more.)
__________________________________________________________________________________
![]() For other years, see these links:
(2005-2006) -
(2007-2008) -
(2009-current)
For other years, see these links:
(2005-2006) -
(2007-2008) -
(2009-current)
or go to:
![]() Garden Railroad Modification, Repair & Maintenance
Garden Railroad Modification, Repair & Maintenance
__________________________________________________________________________________
Return to Rayman4449's home page.