Garden Railroad:
Roadbed
____________________________________________________________________________________
This is mainly a rehash of my 2006 Garden RR expansion project
but with additional information and focus on the roadbed.
My Requirements:
- To keep the modification to the yard at an absolute
minimum. (So as not to affect house resale value)
- Keep maintenance down to an absolute minimum.
- This includes no weeding
- No weedeating
- Keep track re-leveling to a minium
- No rebalasting
- No track cleaning
- Keep trains, bearings etc as clean as possible by
keeping dirt from ballast and ground away from track.
- Ease of install
- Ease of removal if I need to move
- No landscaping to keep maintenance and cost down
Materials and my solution:
After much time spent reading, in Home Depot and talking with
my friend Dan, I came up with this solution for my layout.
Materials:
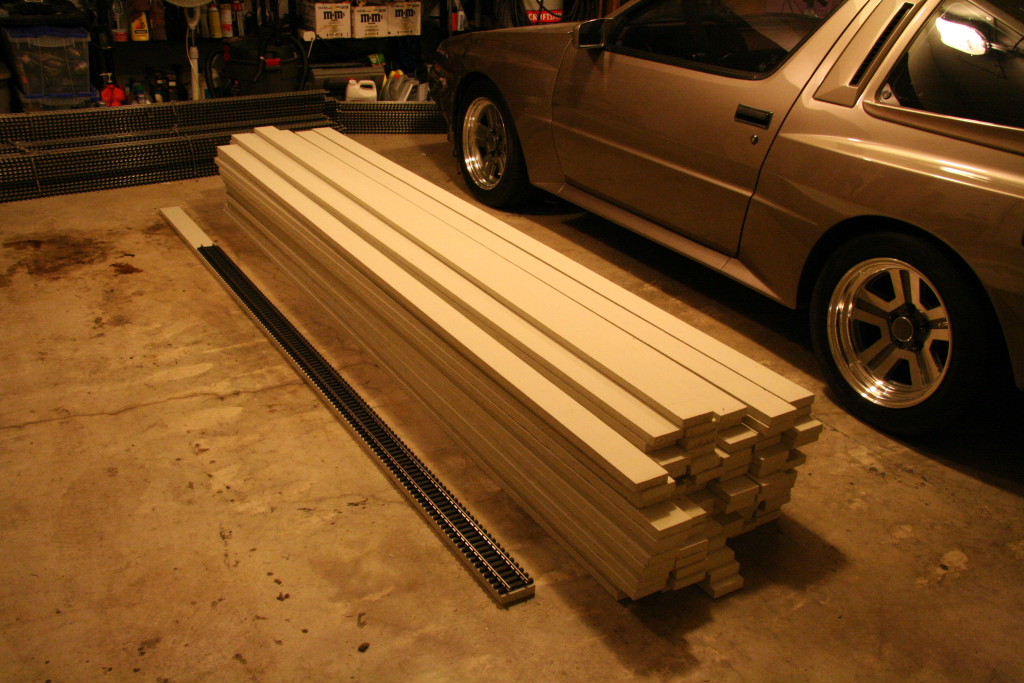
- 5/4 Hardiplank boards - this is a 90% concrete / 10%
wood fiber board.
- 10ft long
- Very strong
- Has some flexibility over long distance but still
very rigid.
- Relatively low cost (~$1.00/ft from Home Depot)
- *** Note: If I had to do it over again, I would
completely paint the boards to protect them from moisture before
install. ***
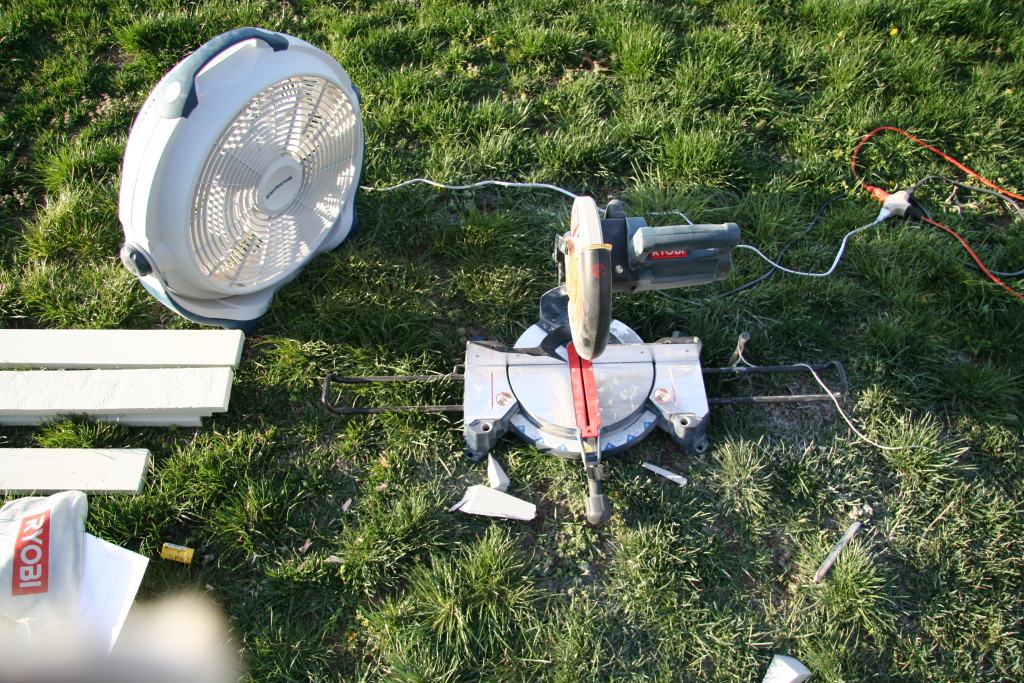
- Note: Concrete board dust contains silica which
can cause lung cancer, use a respirator and maybe a fan to blow dust
away from you when cutting.
- Purchase a special Hardiblade for your miter saw.
(~$89 but worth the cost)
- Purchased a Compound Miter saw to cut boards
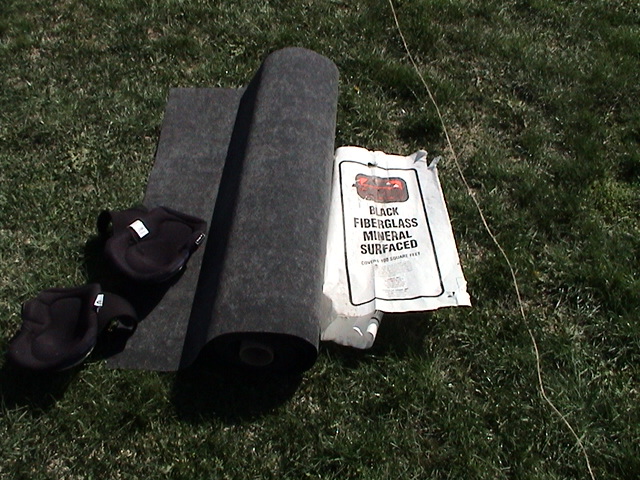
- Rolled shingle material
- Available in 35ft long rolls and about 36 inches
wide.
- ~$26.00 per roll
- Will keep grass, weeds and dirt away from track
and trains.
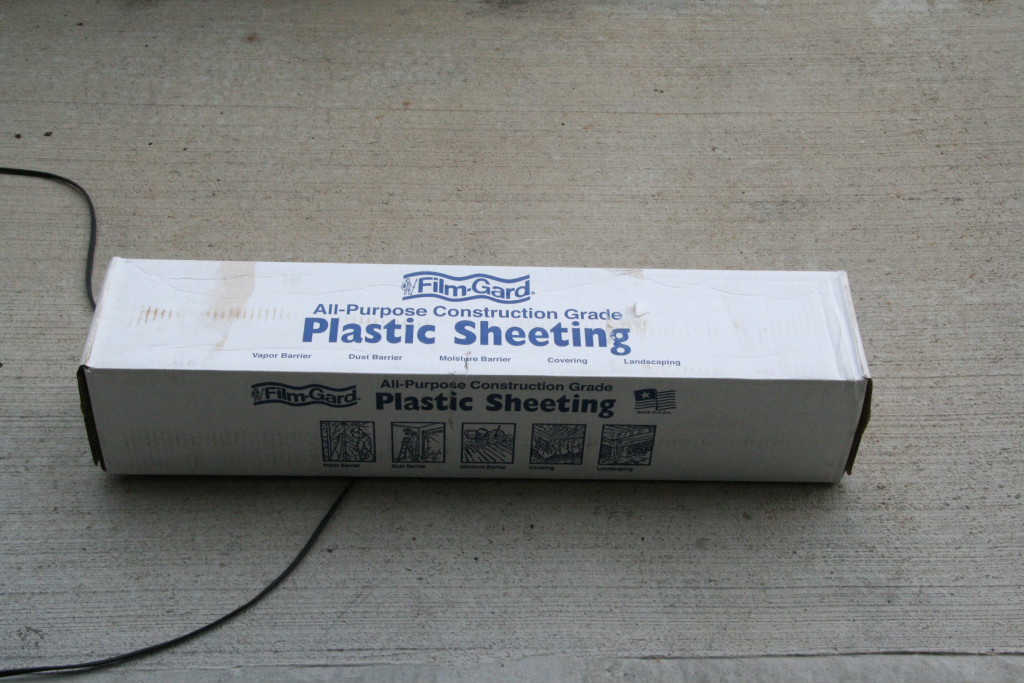
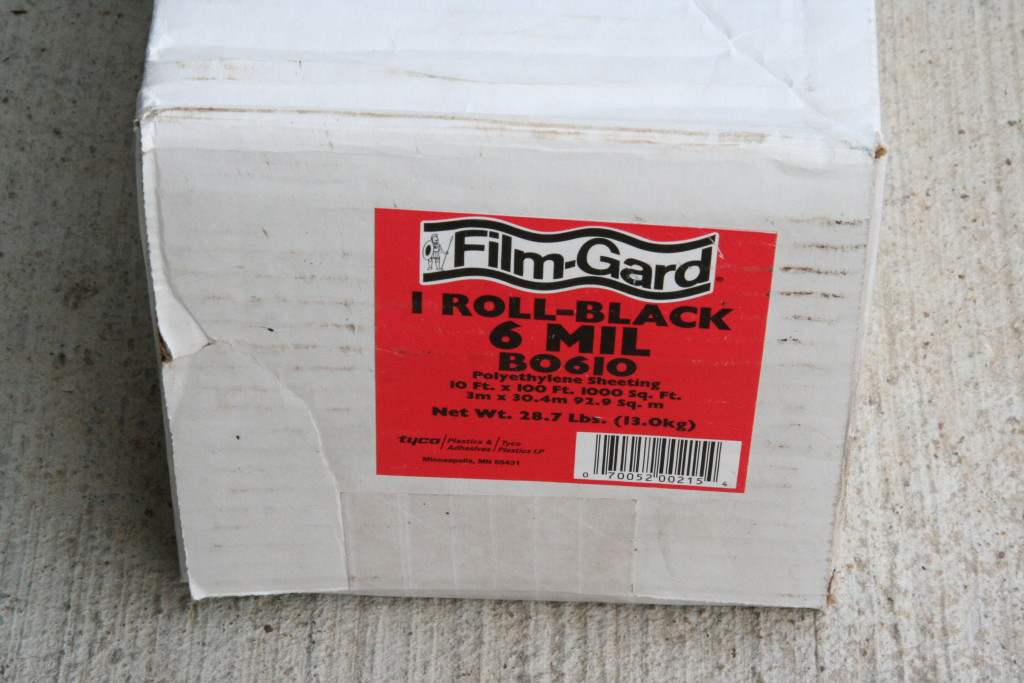
- Plastic sheeting for under the hardiplank
- Intended to keep moisture away from the hardiplank
- Keep it as clean as possible under the rolled
shingle/track
- *** Note: If I had to do it over again, I would
use a perforated plastic to let water drain. ***
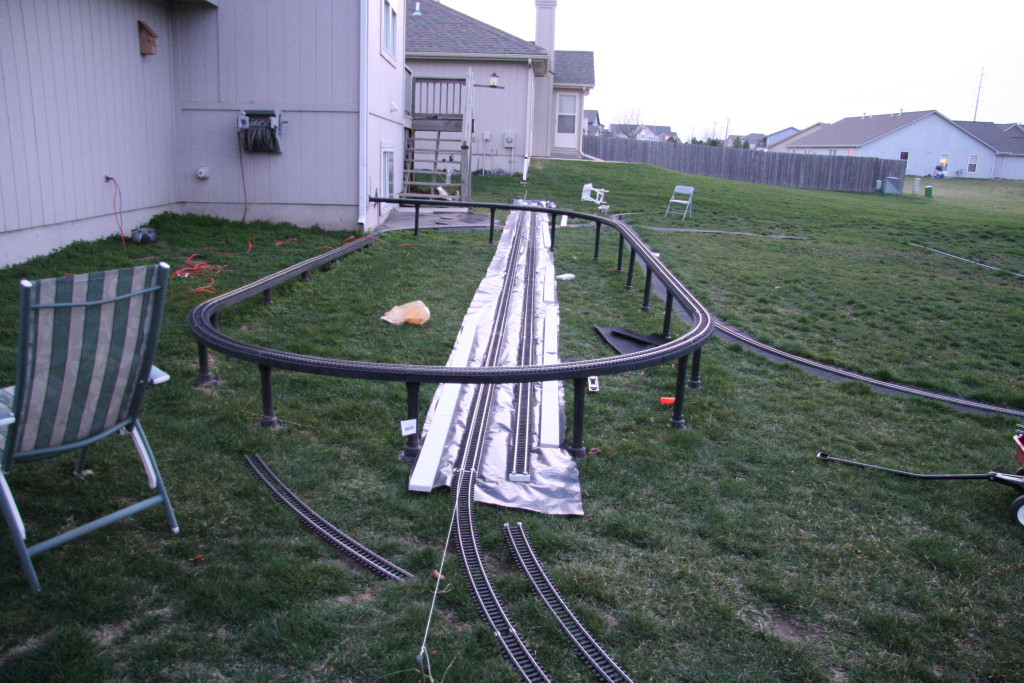
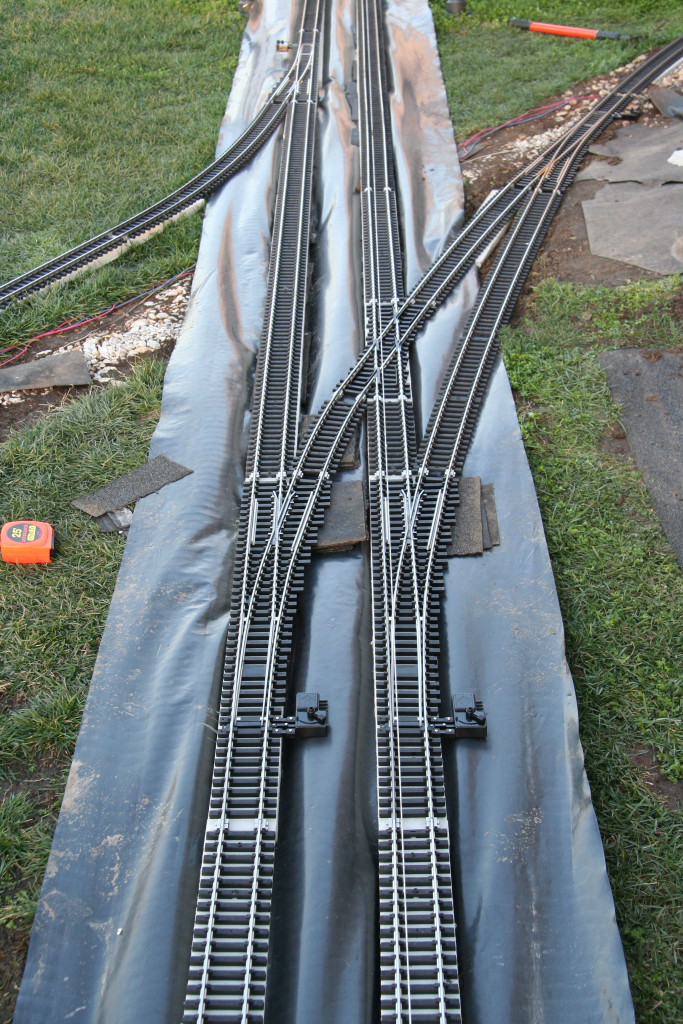
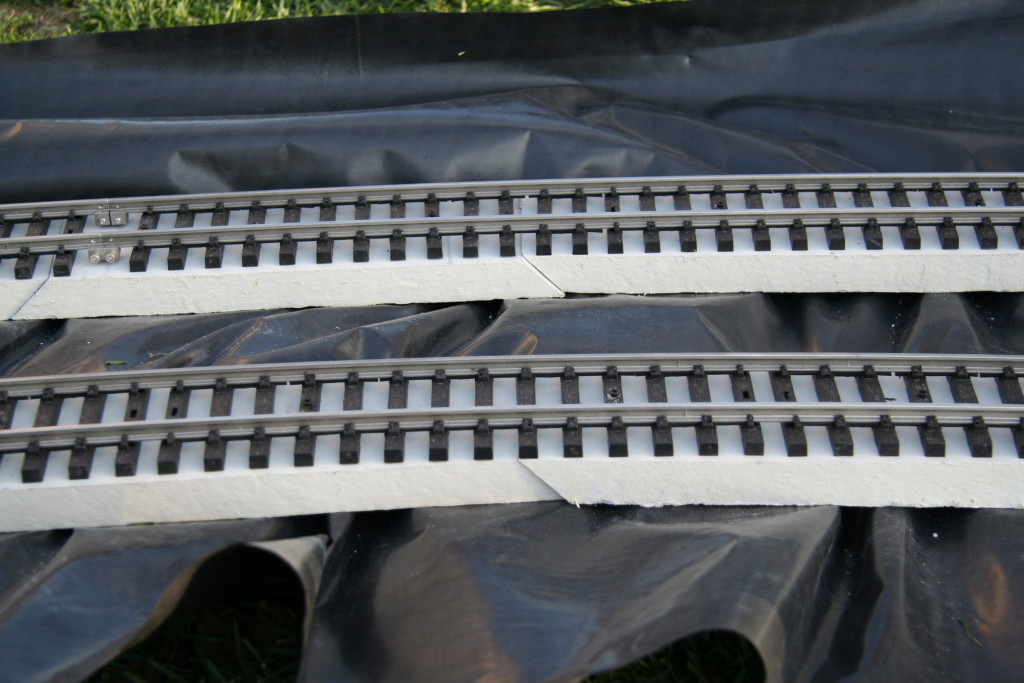
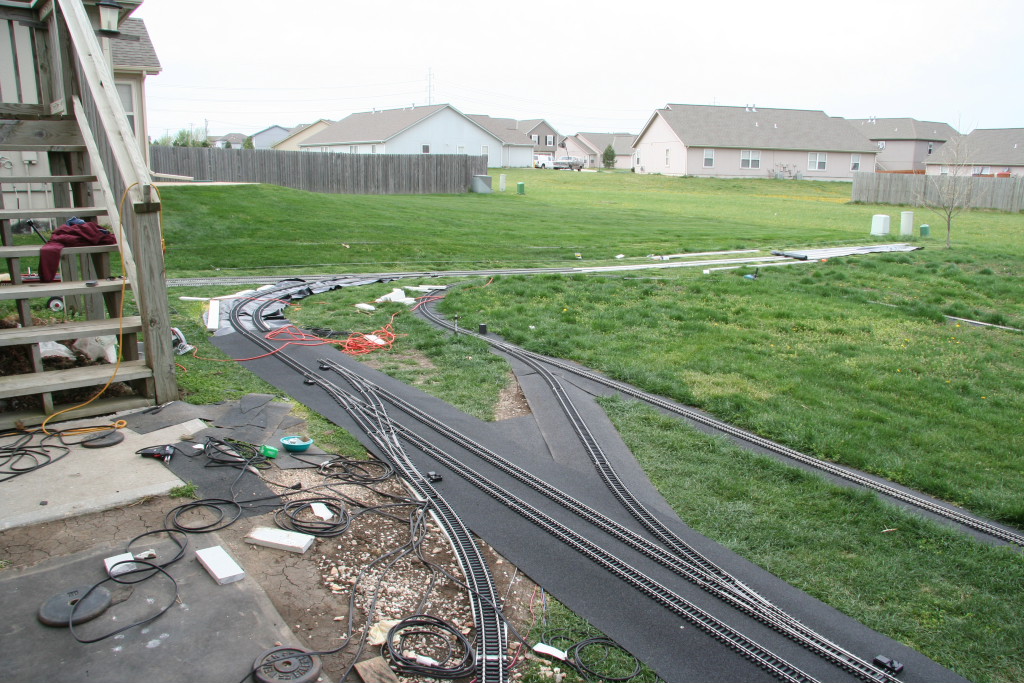
Deployment:
This requires very little explanation, see the photos.
Some notes however:
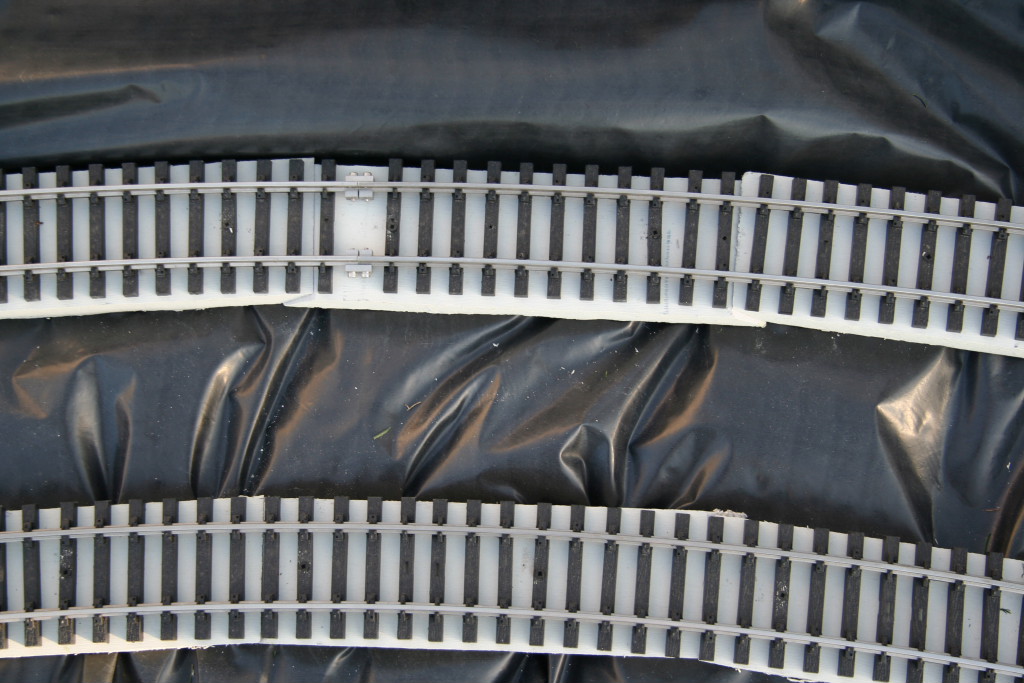
- Leave the corner sections floating for the most part to
allow expansion during the peak summer heat and contraction during the
winter.
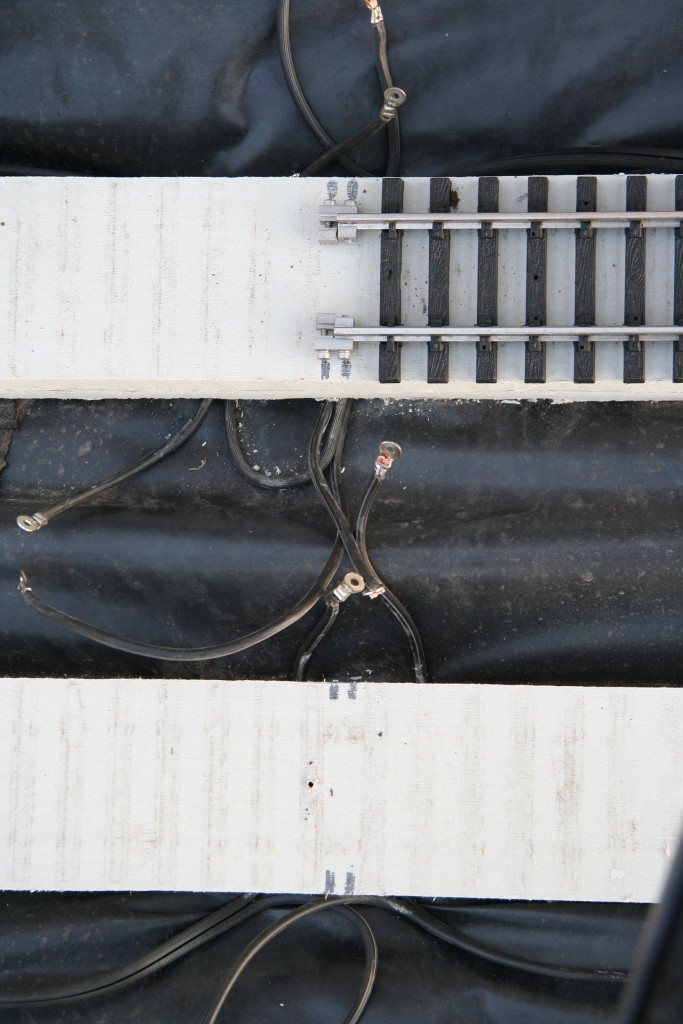
- Recommend using the small hole in the Aristocraft tie
sections to keep the straight portions of track perfectly straight long
term.
- No expansion joints or anything like that has been
necessary on my layout allowing the corners to mostly free float.
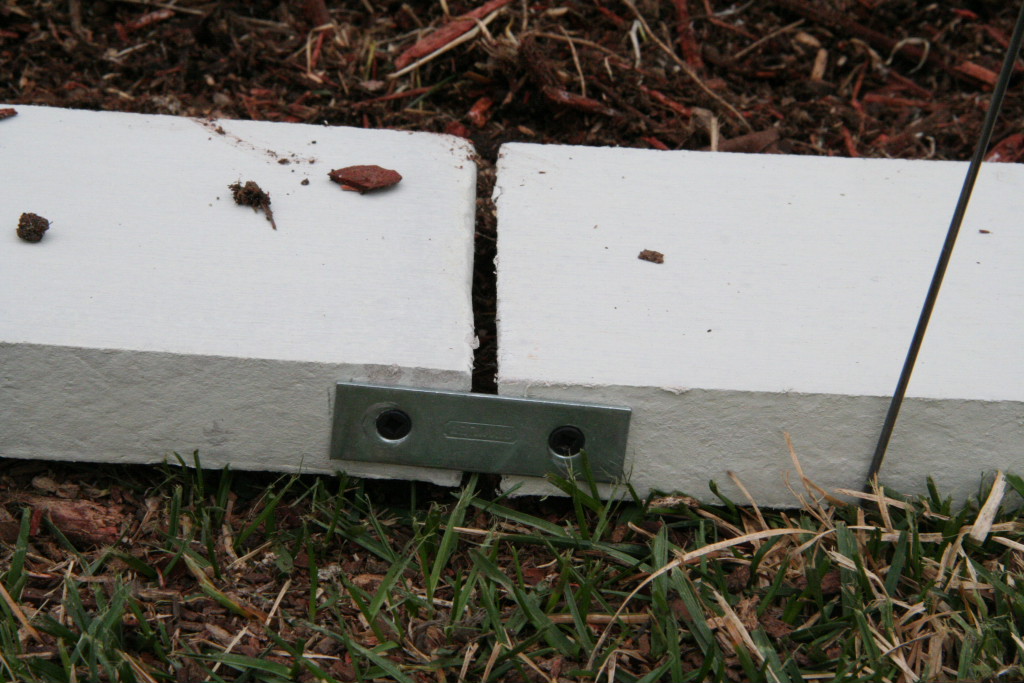
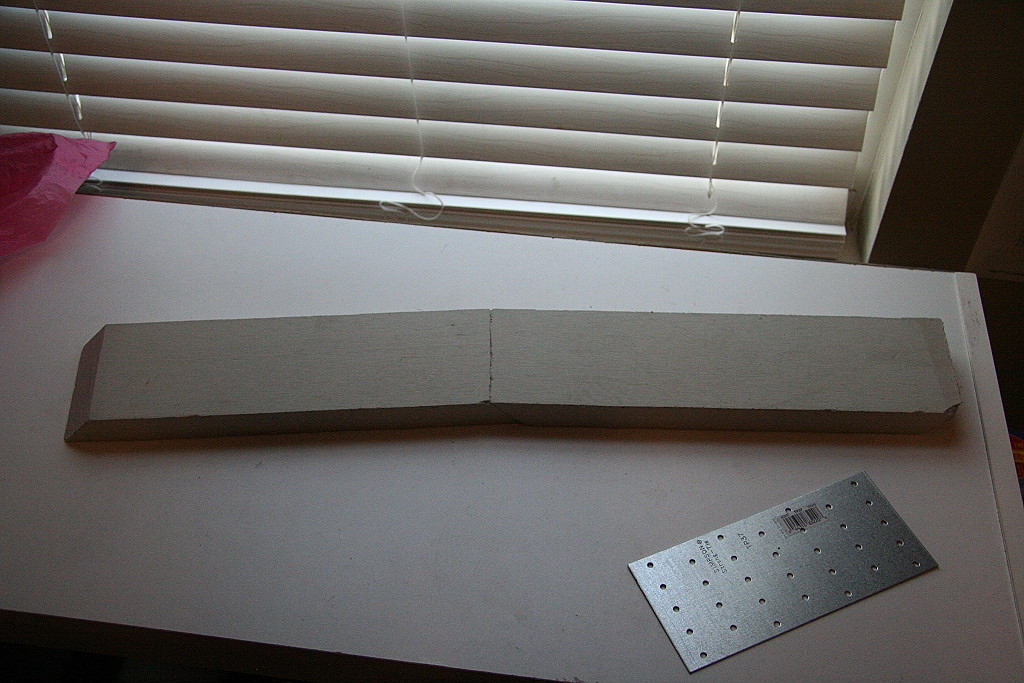
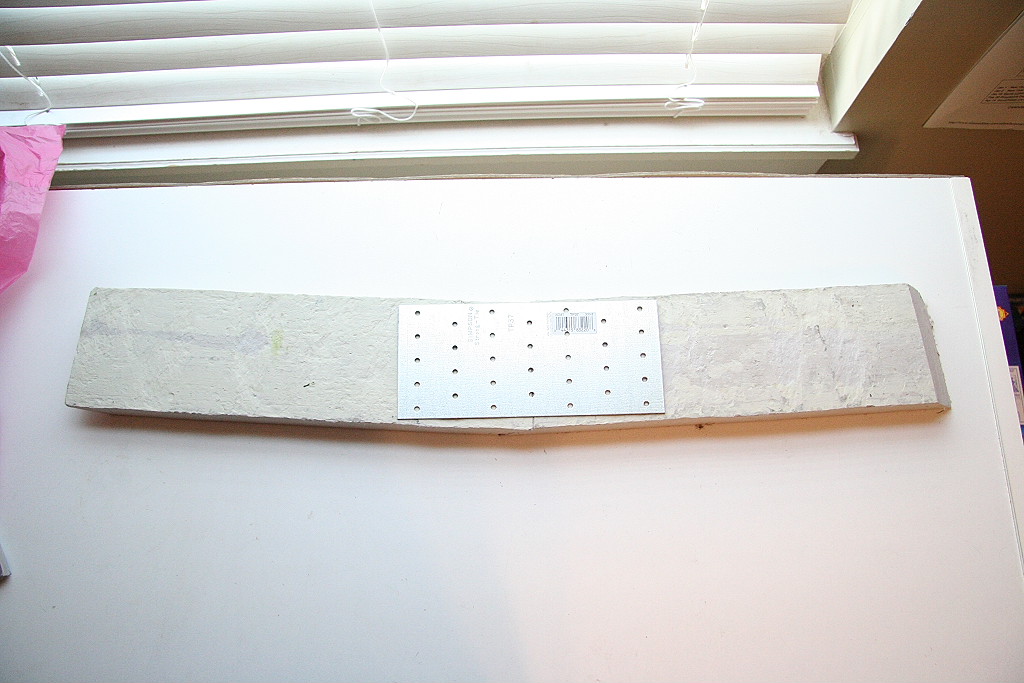
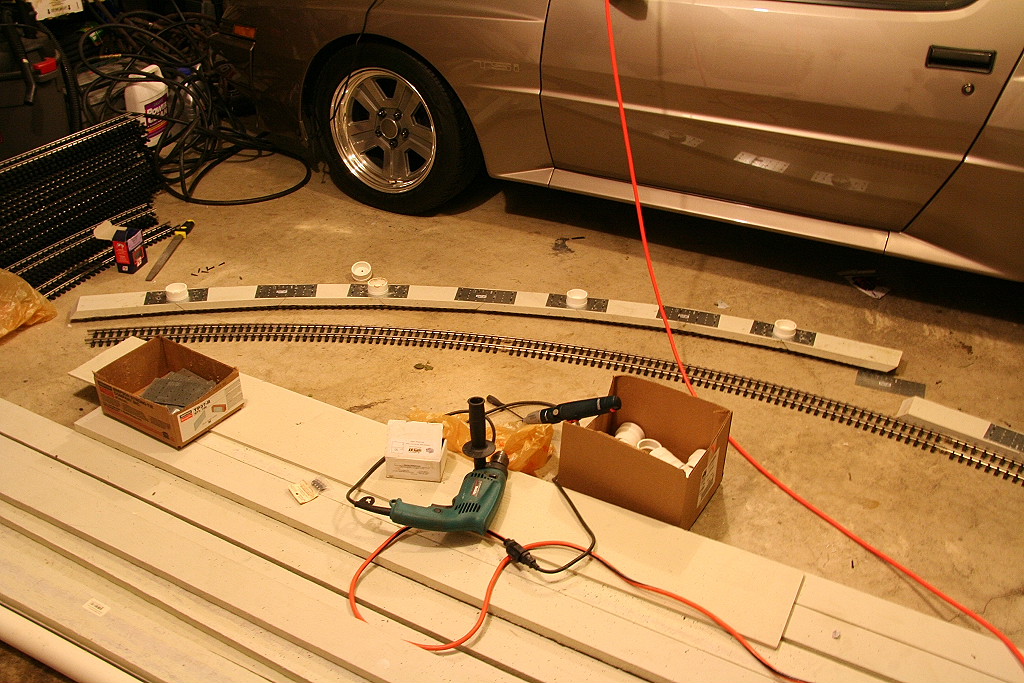
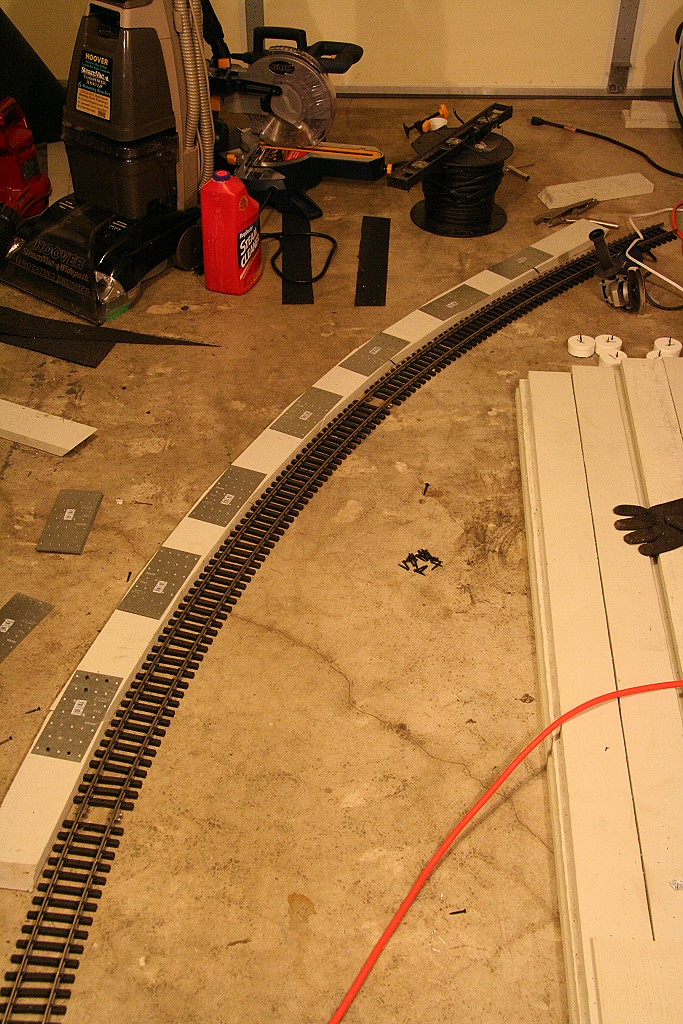
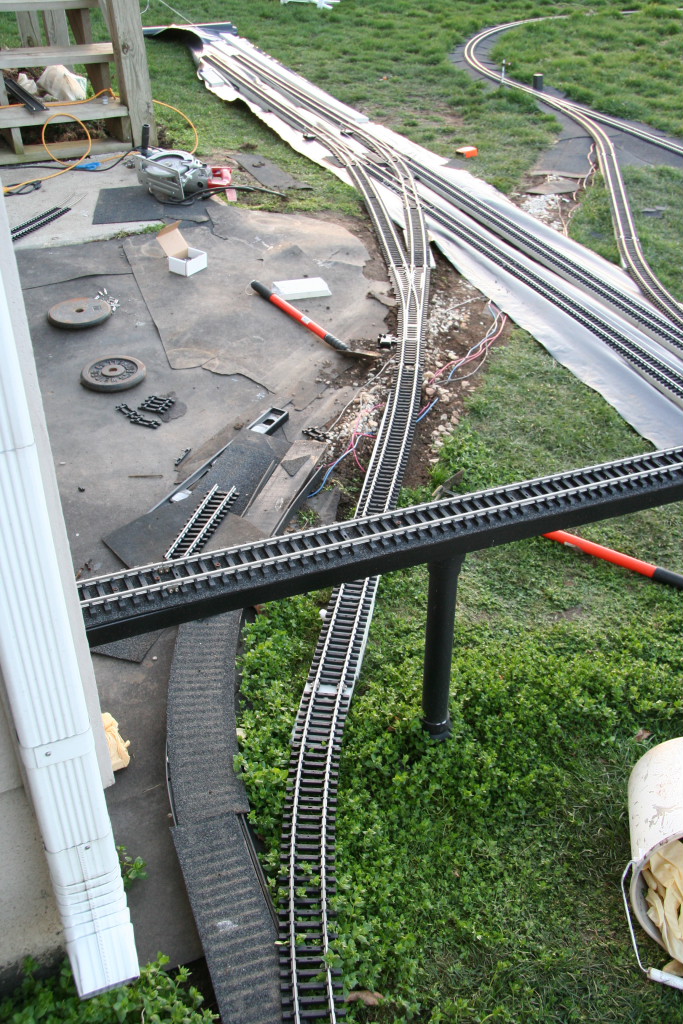
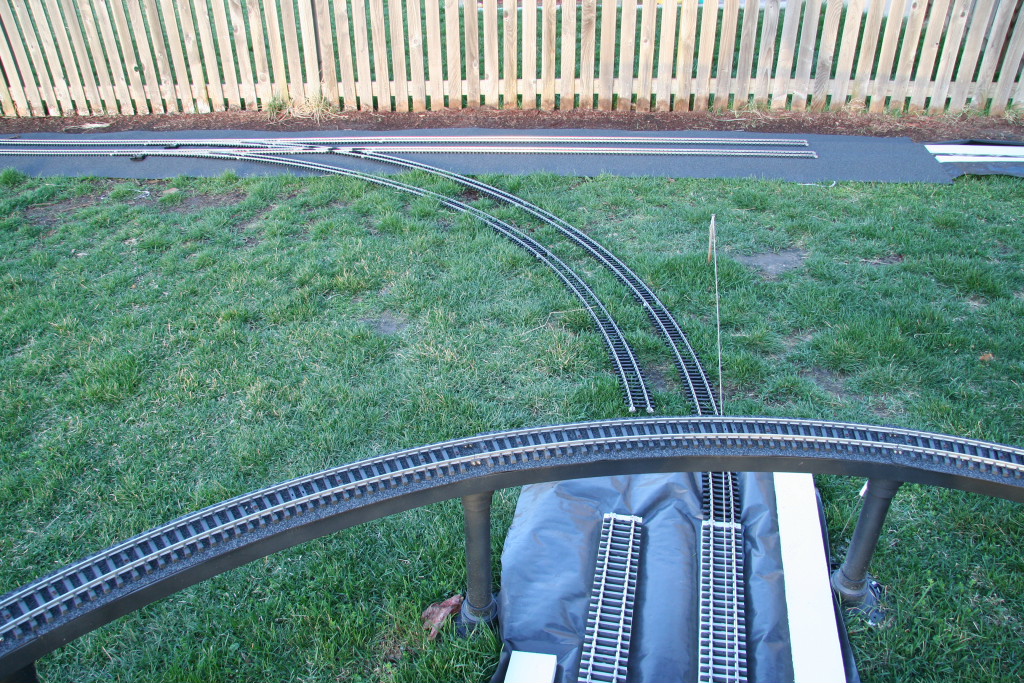
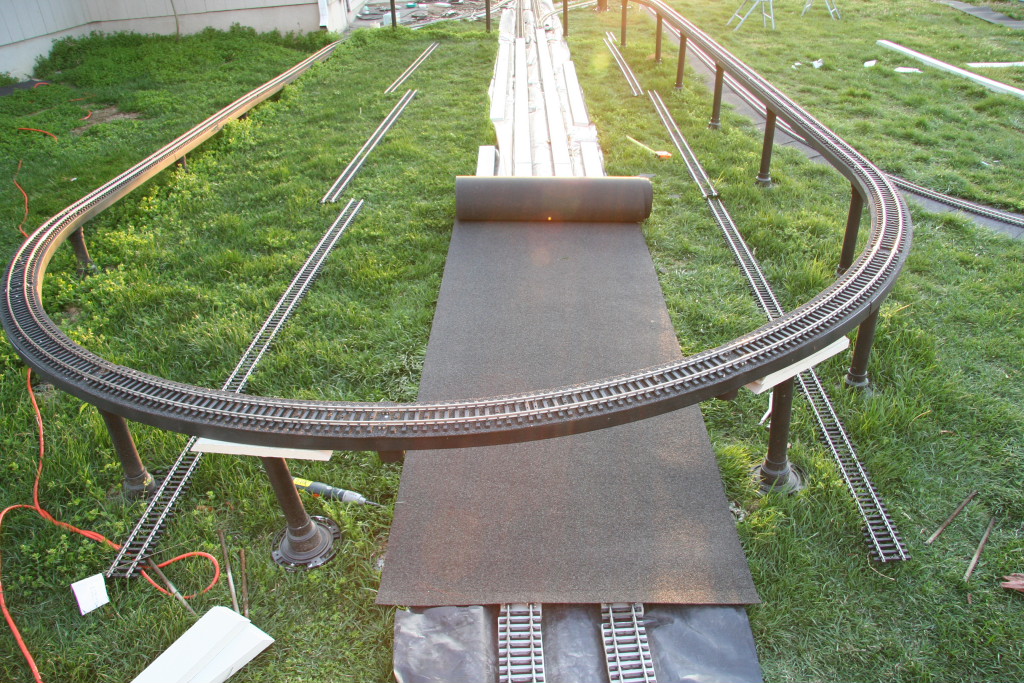
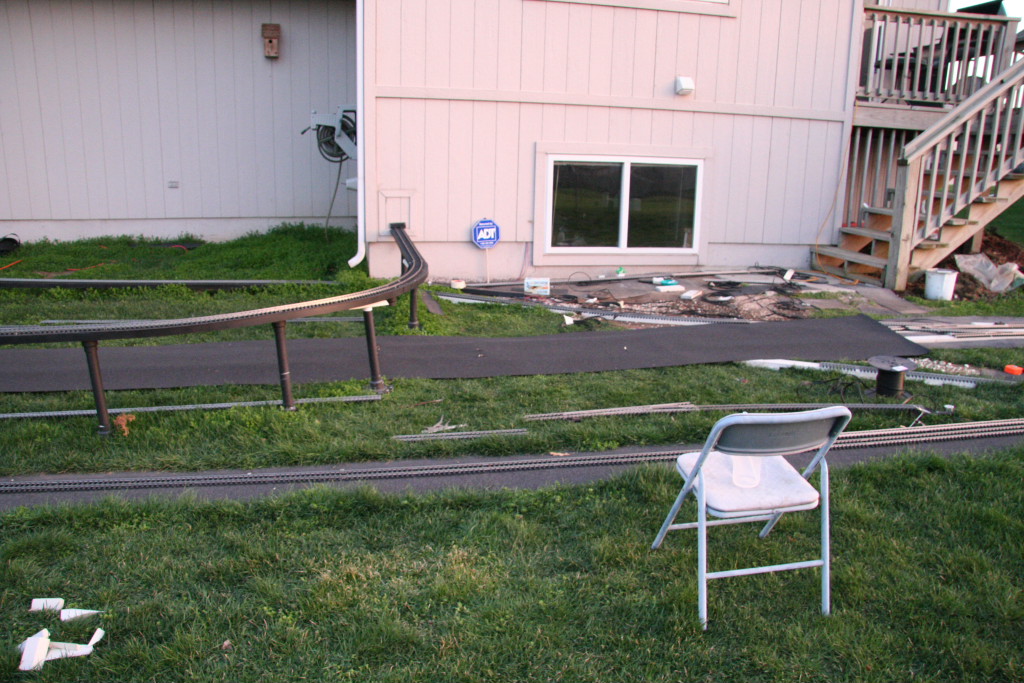
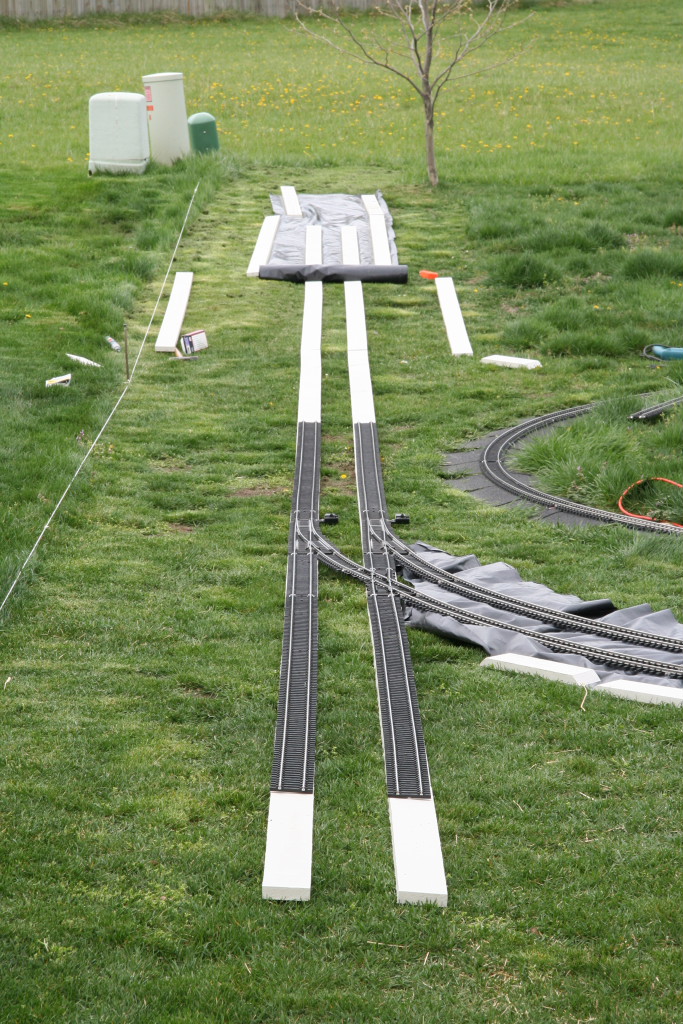
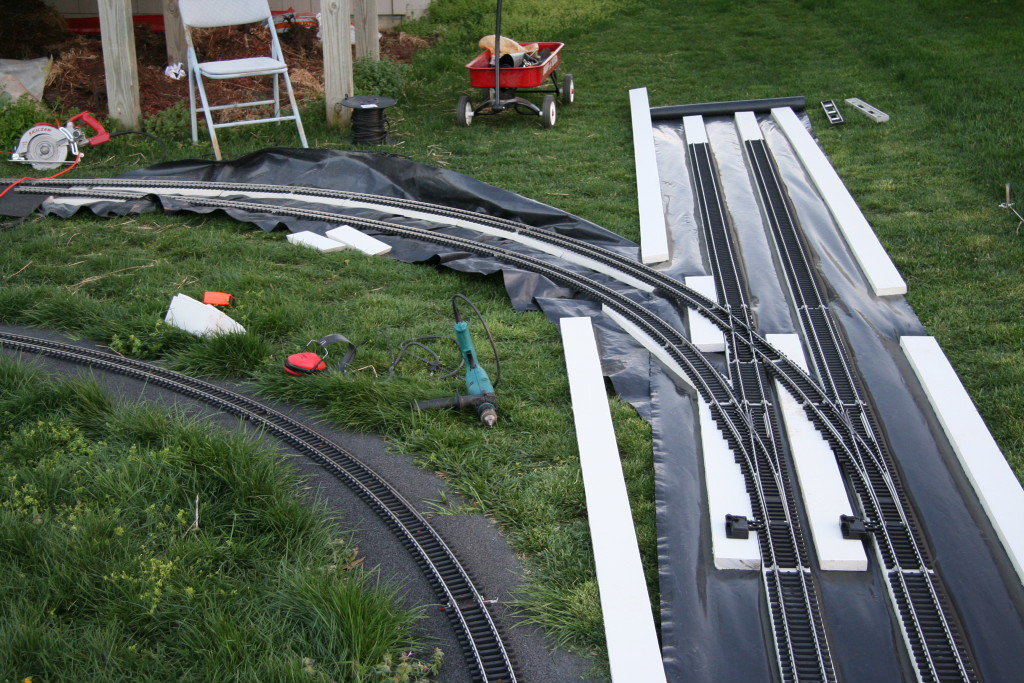
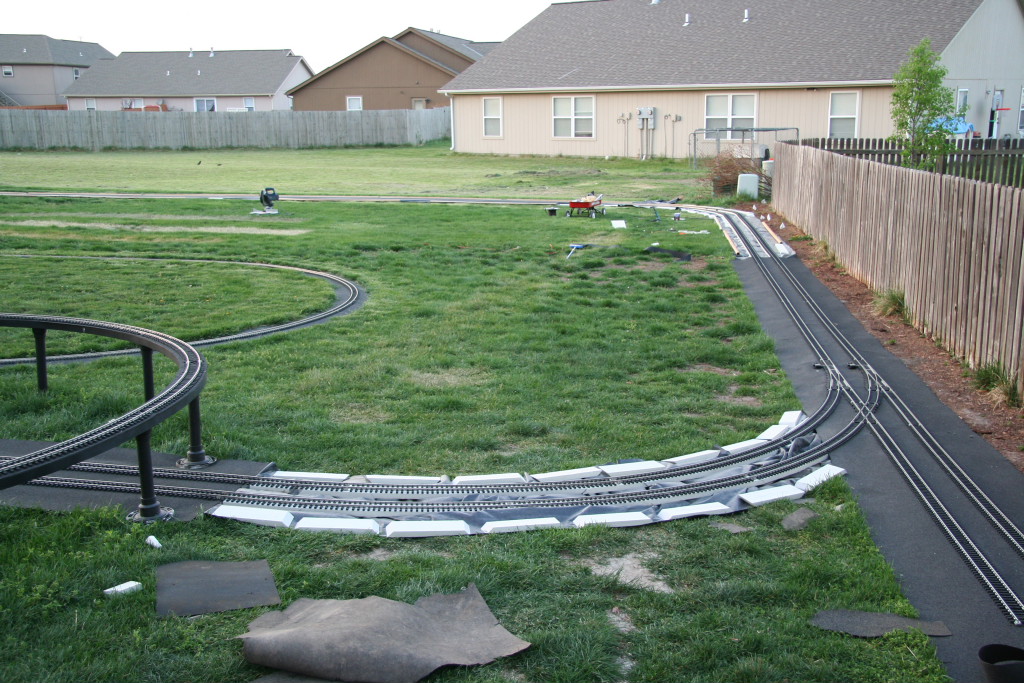
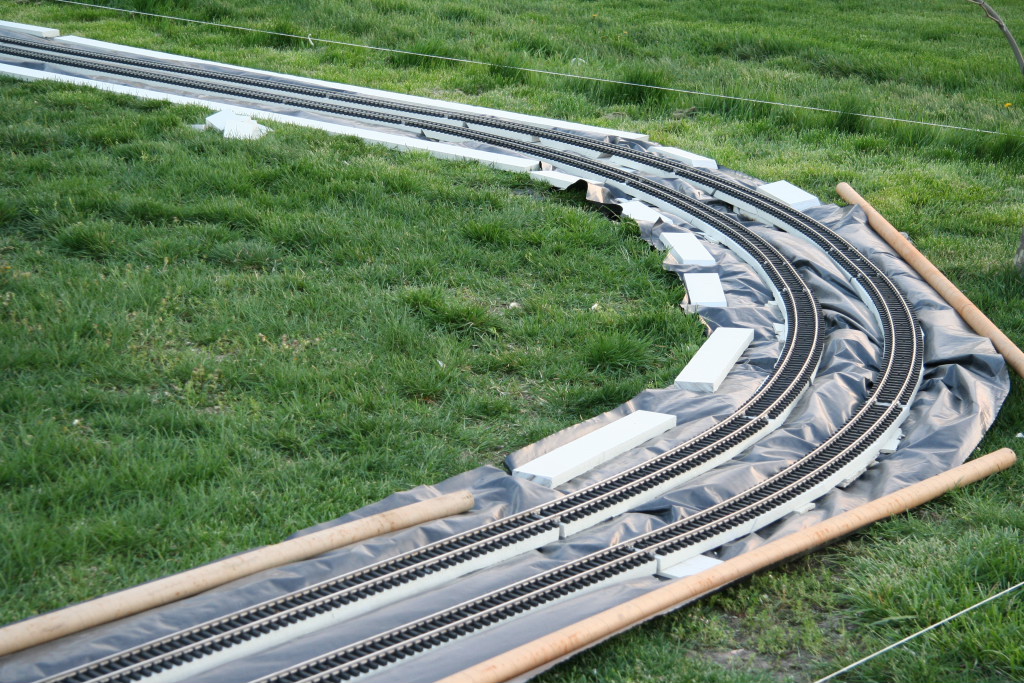
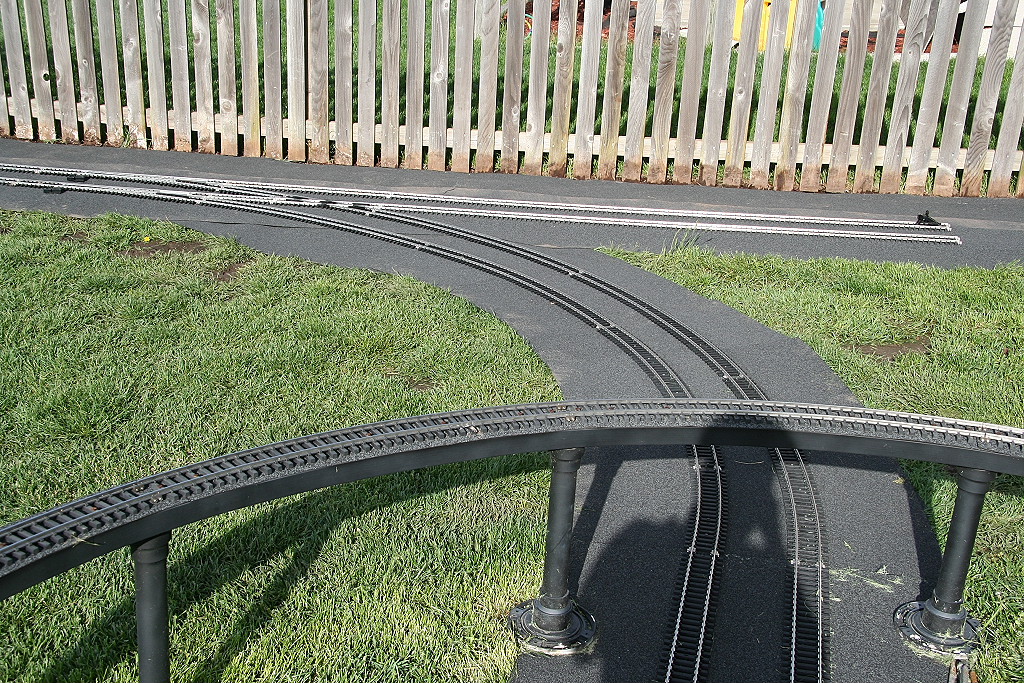
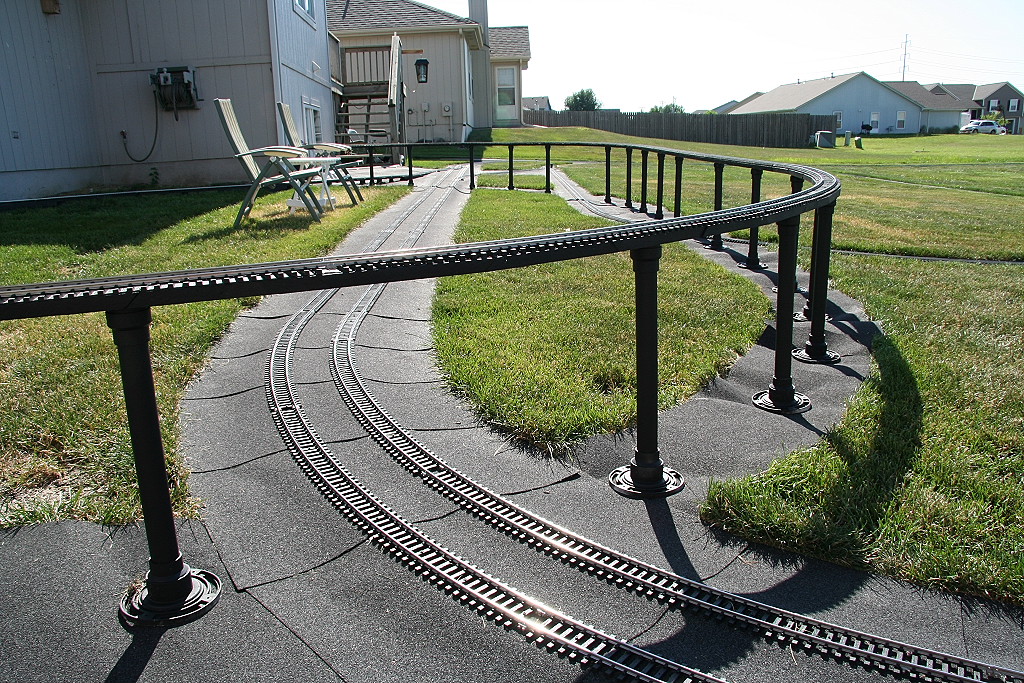
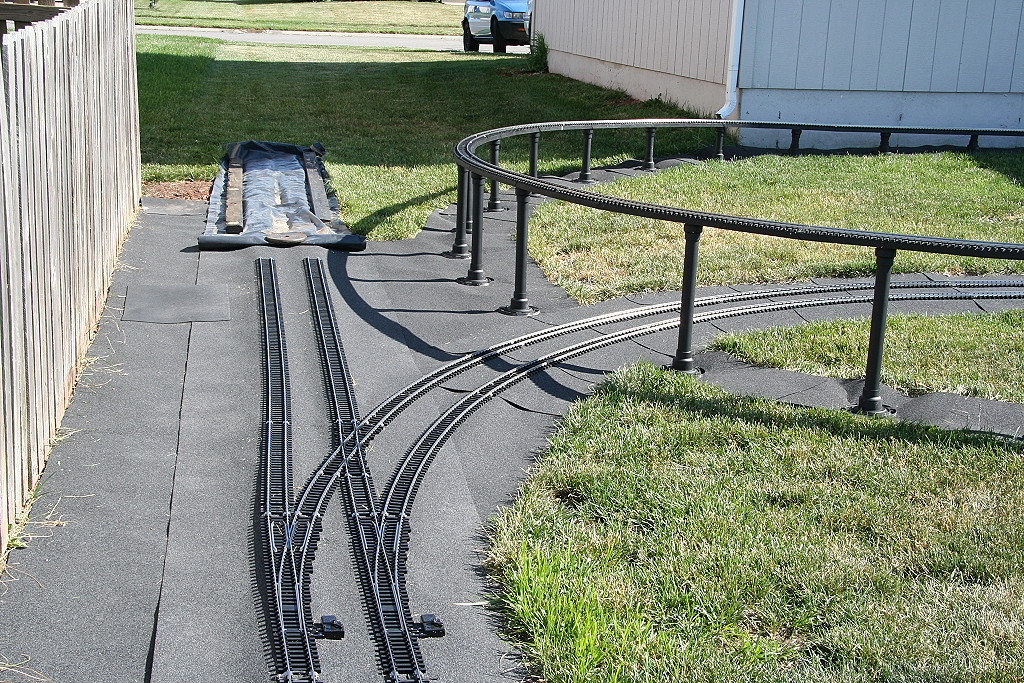
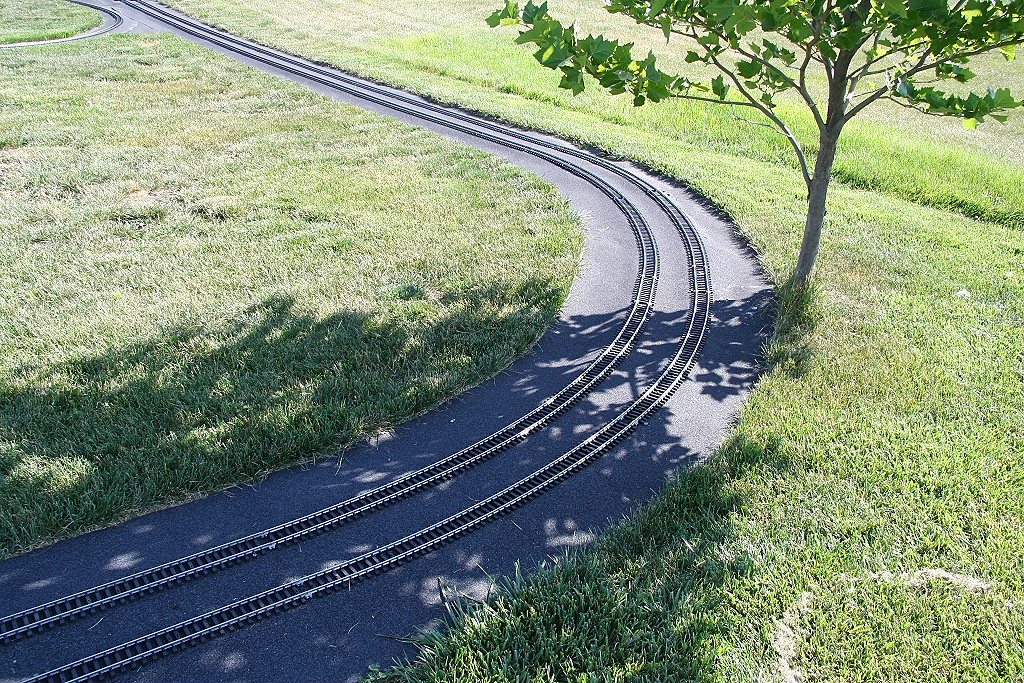
For the curves at the ground level and new raised ramp, this
is where the Compound Miter saw was critical. The plates (which were to be
screwed to the bottom later) were used only
for the ramp and not to connect at ground level.
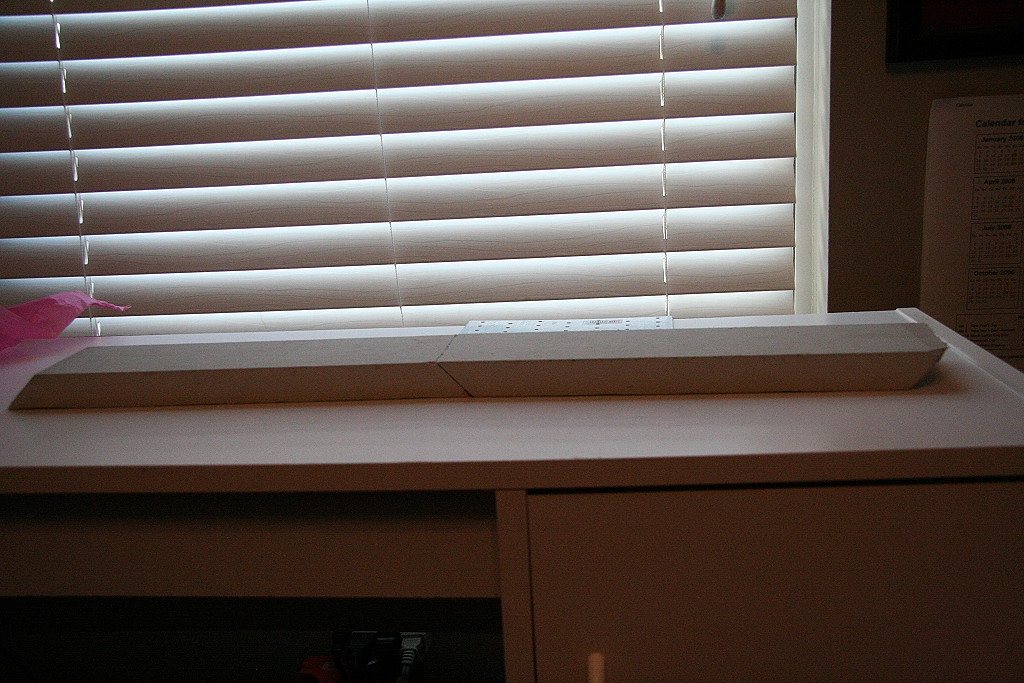
Raised basement ramp under construction. The curves are
being pre-made in 1/8th circle sections and is very sturdy.
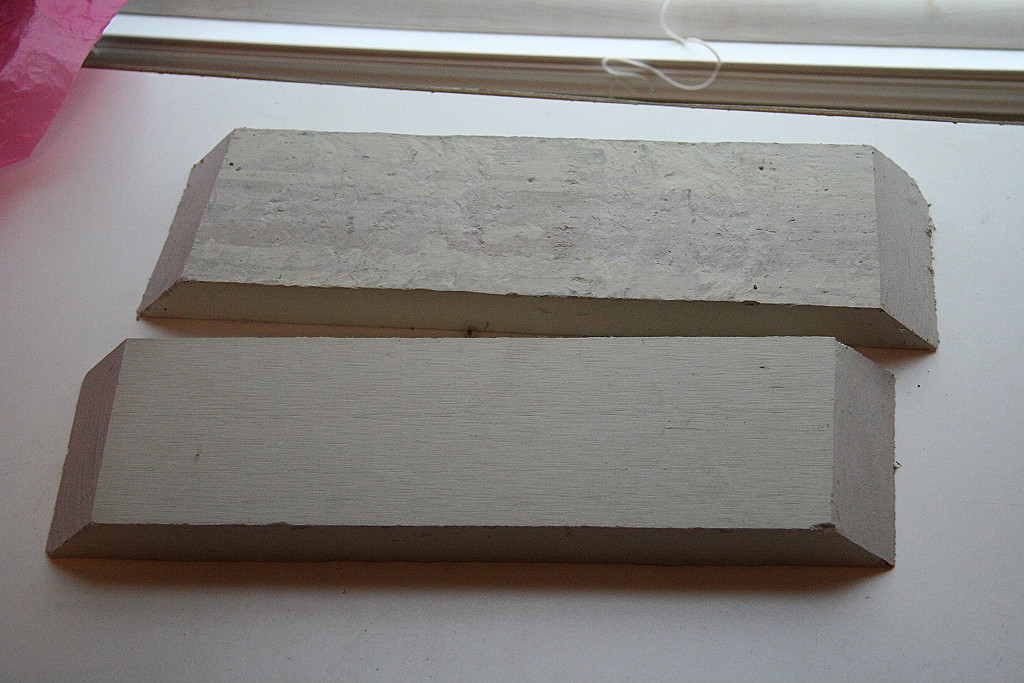
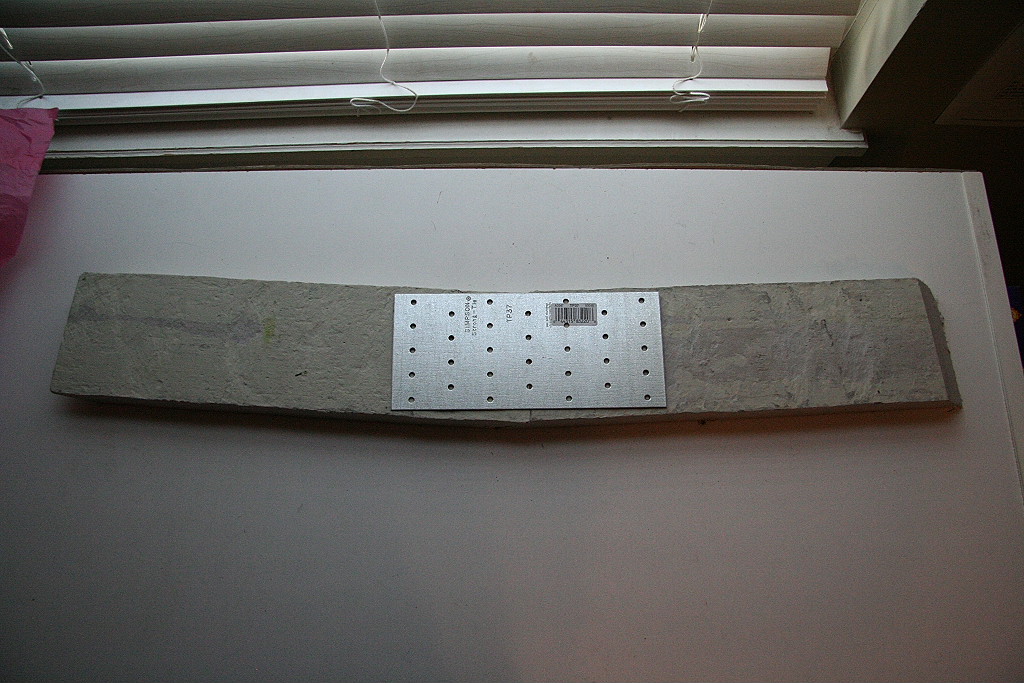
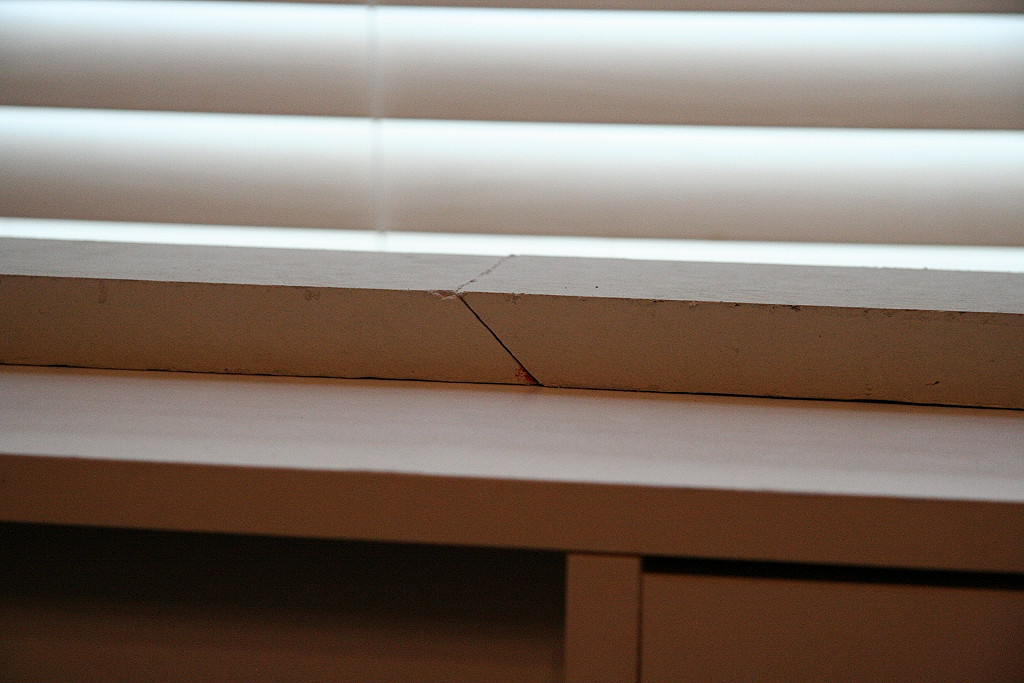
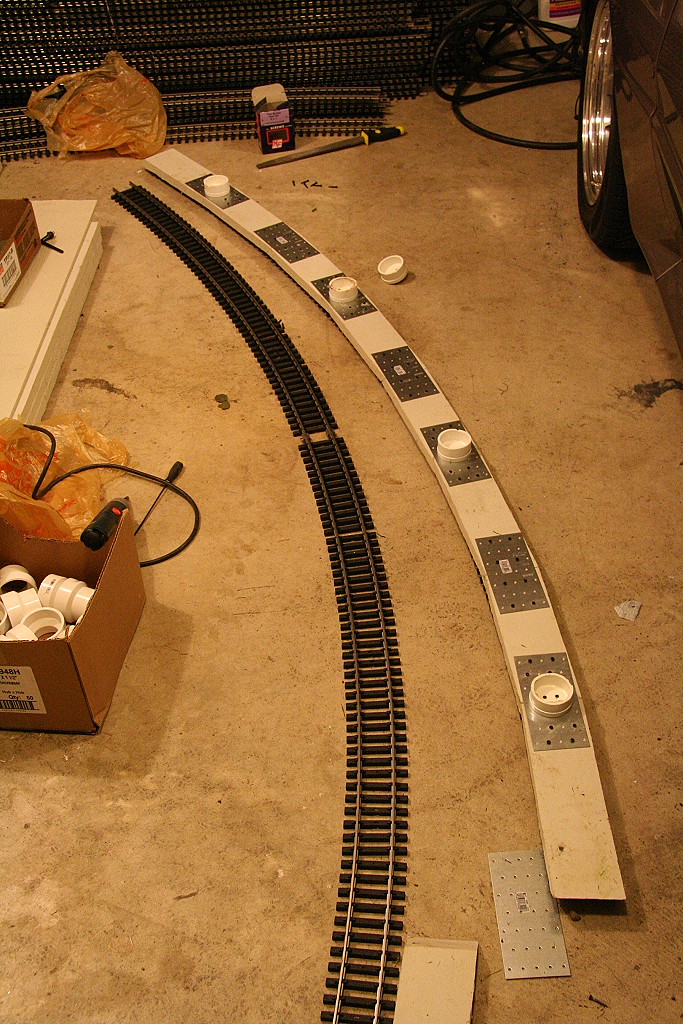
As far as materials, I'm using the 5/4 Hardiplank boards cut as
shown with 3.0 degree side to side cut so the pieces can fit perfectly together
and follow the 20ft diameter curve track sections. They also have a top to
bottom 45 degree angle cut to provide additional strength. Each section is
screwed together with the plates show and can be purchased in the framing
section at Home depot. (each screw hole was predrilled to ensure the board
didn't split/break)
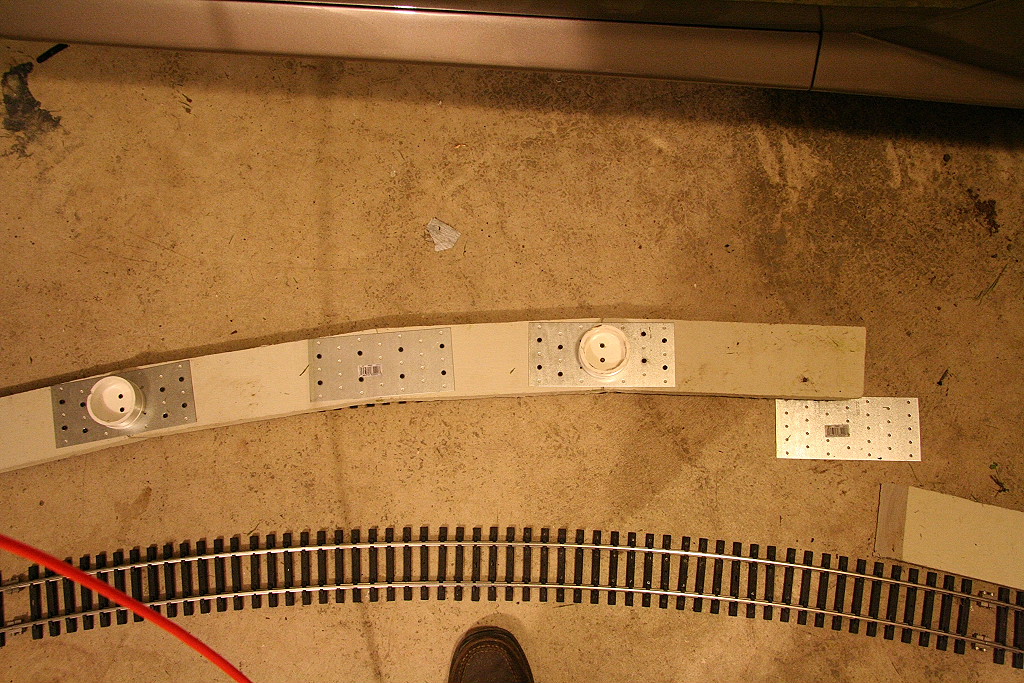
More photos:
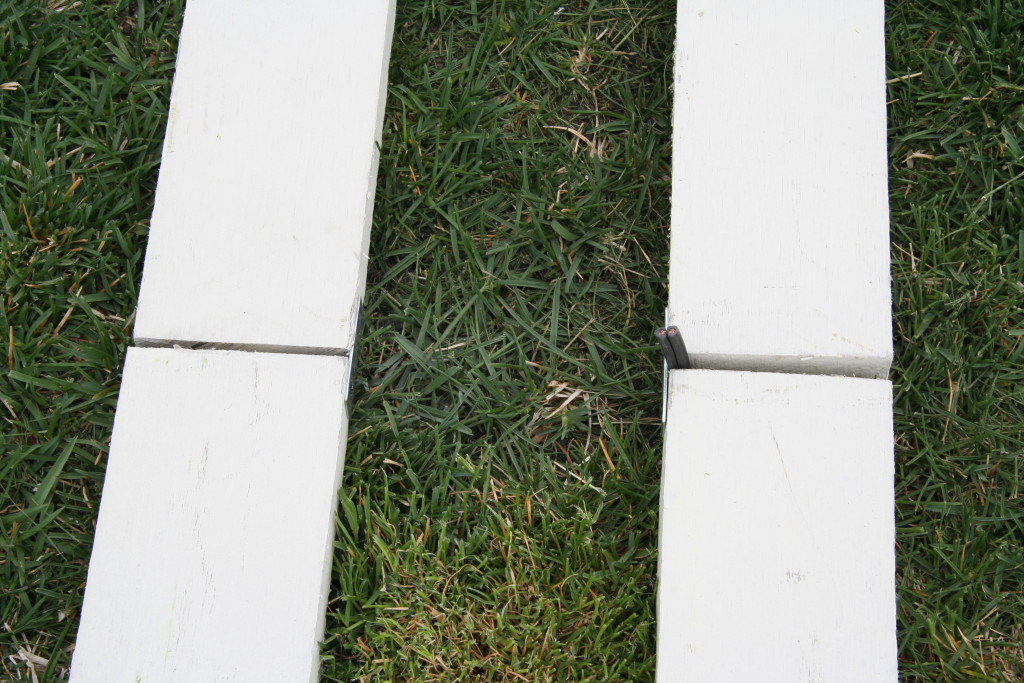
Each section is cut with a three degree
angle and the outside/longest section is 1' 3/4" long. Also, each cut is
done at 45 degrees (instead of the normal 90 degrees) to provide additional end
to end strength.
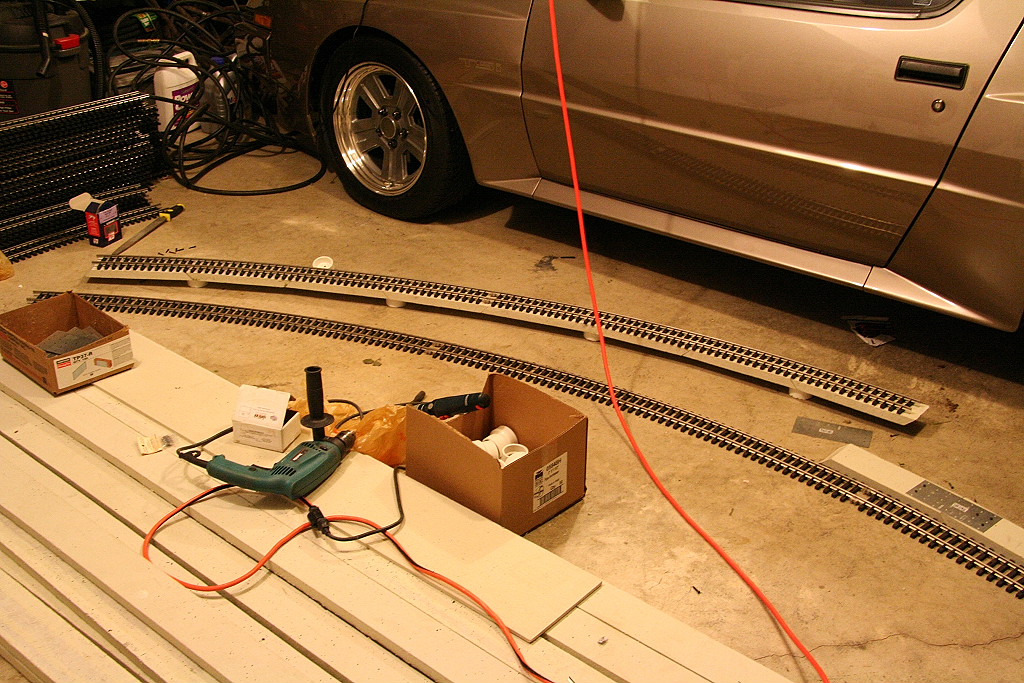
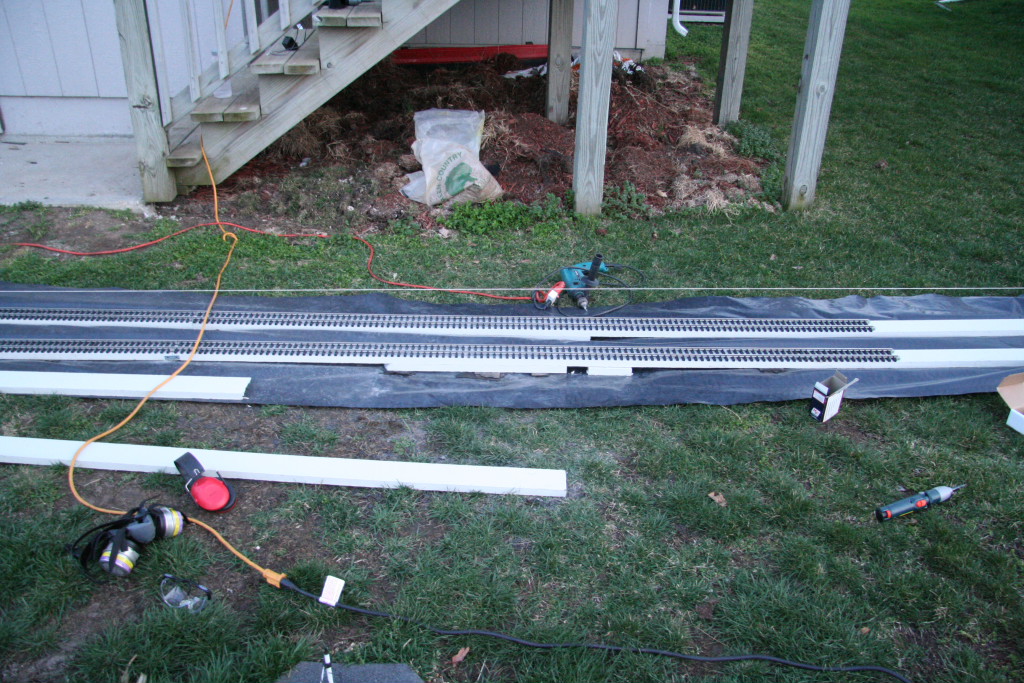
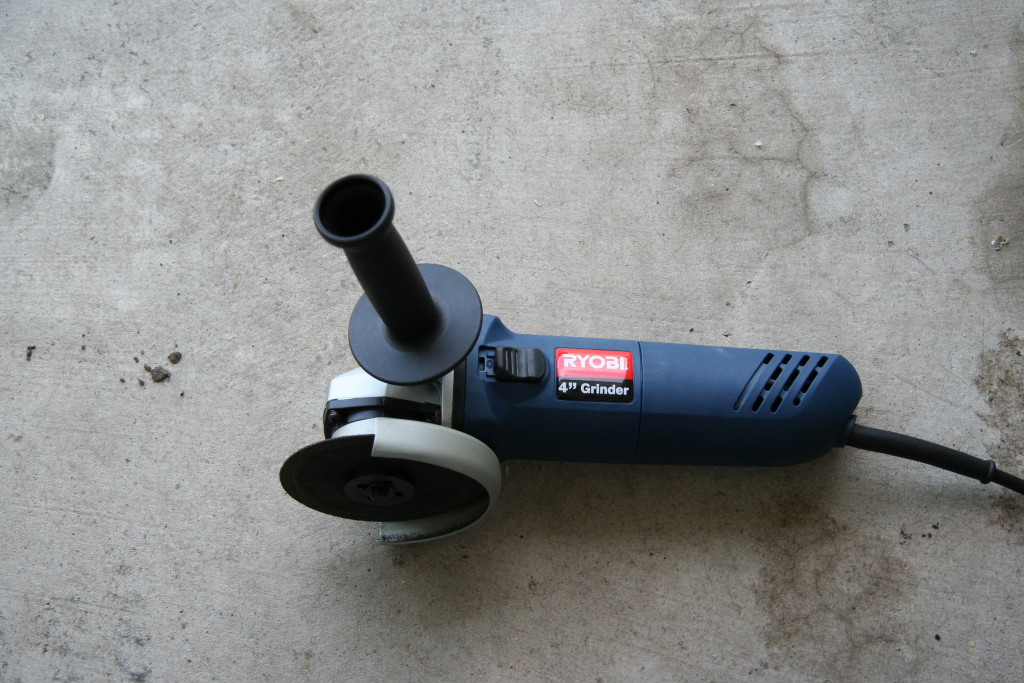
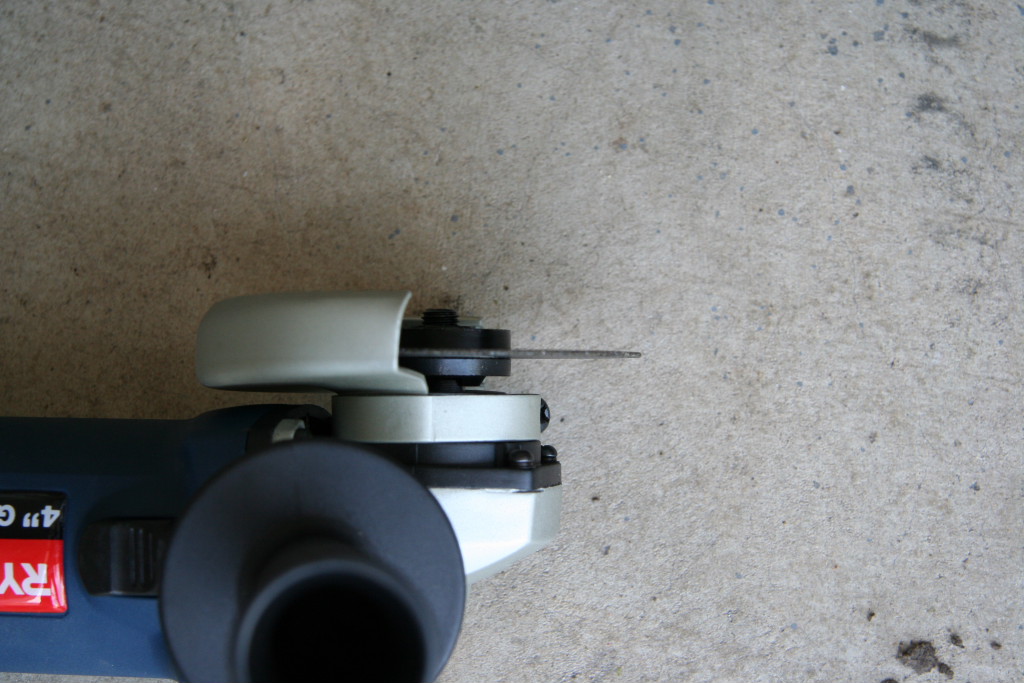
Also picked up an inexpensive 4" angle grinder and thin blade for
cutting the track. Best $30 I've spent yet. Makes quick, clean cuts.
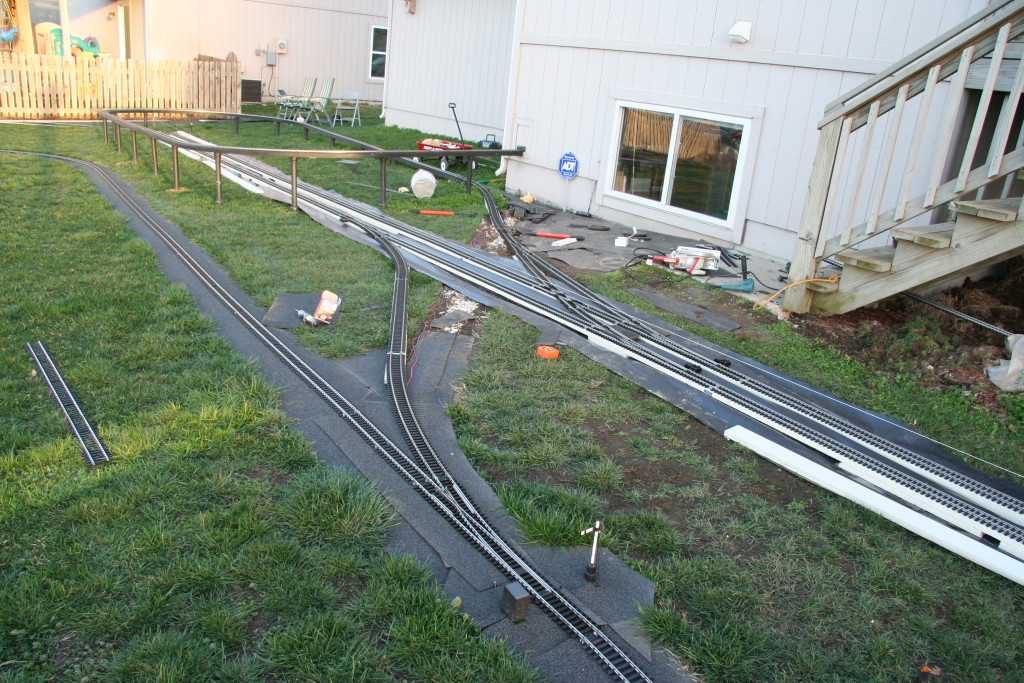
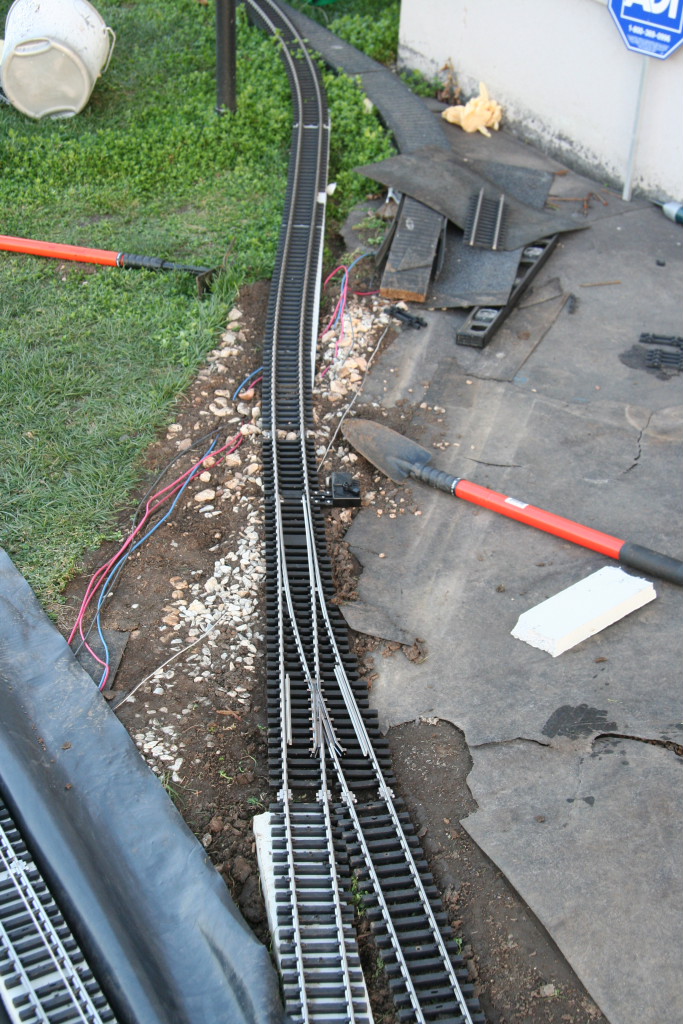
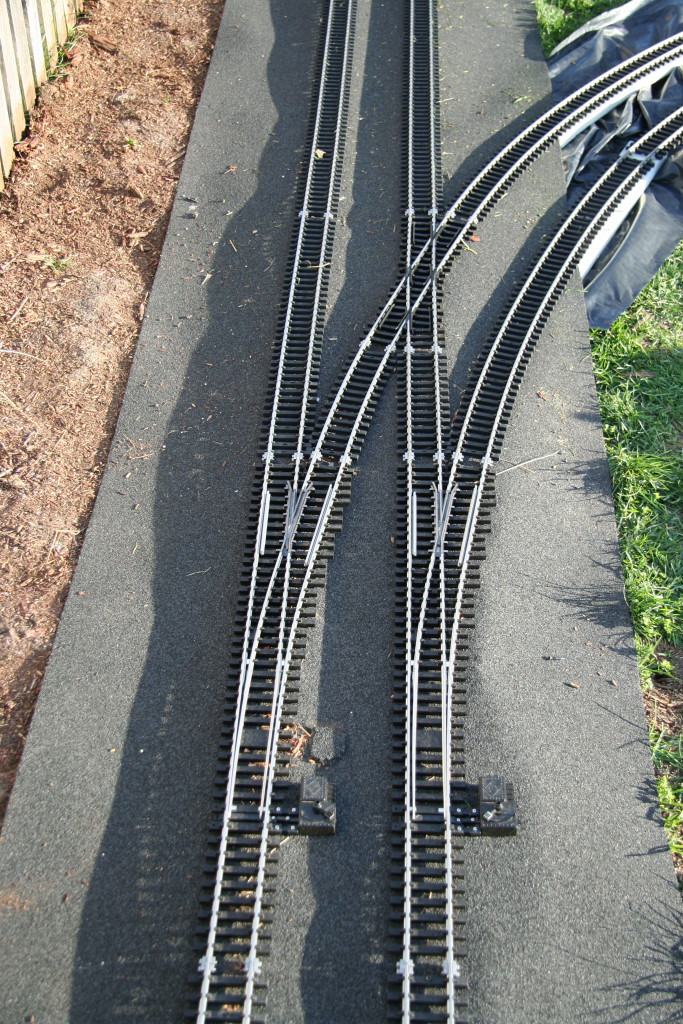
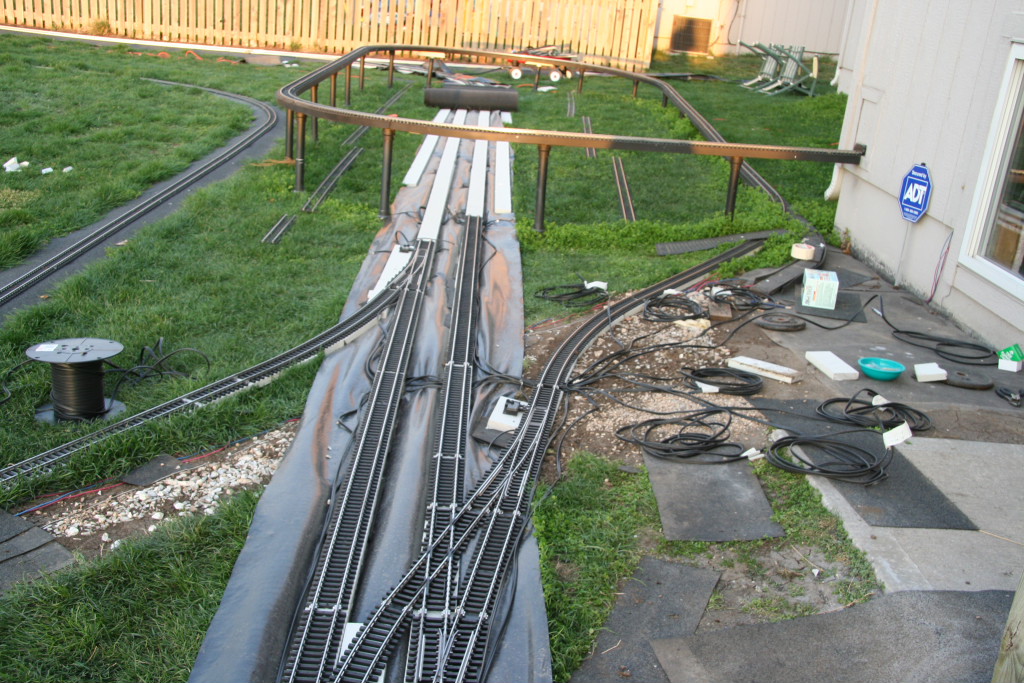
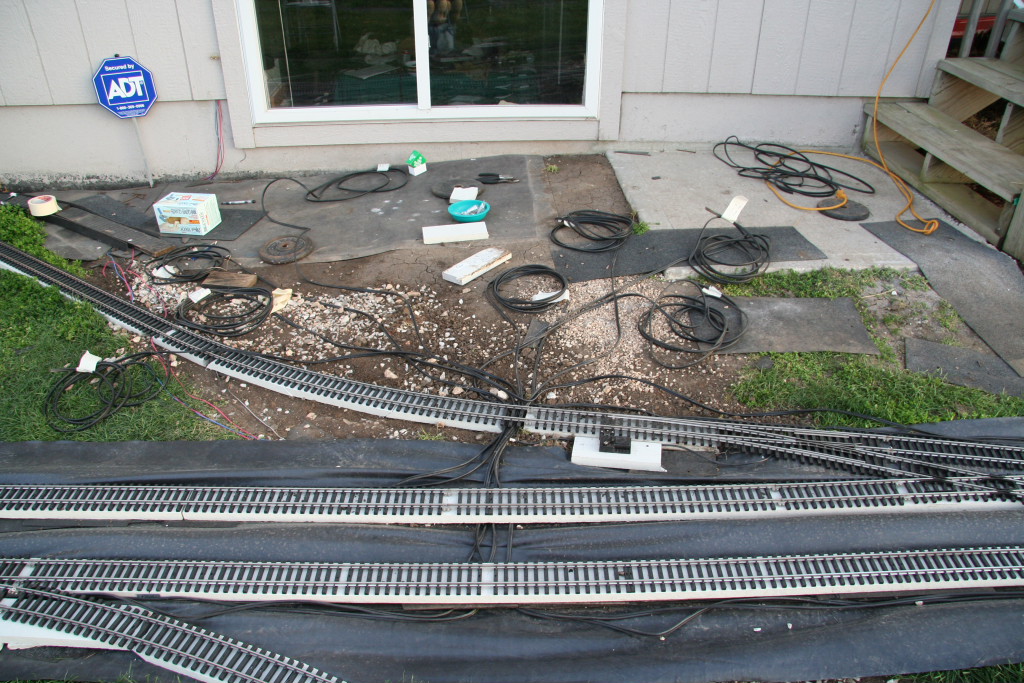
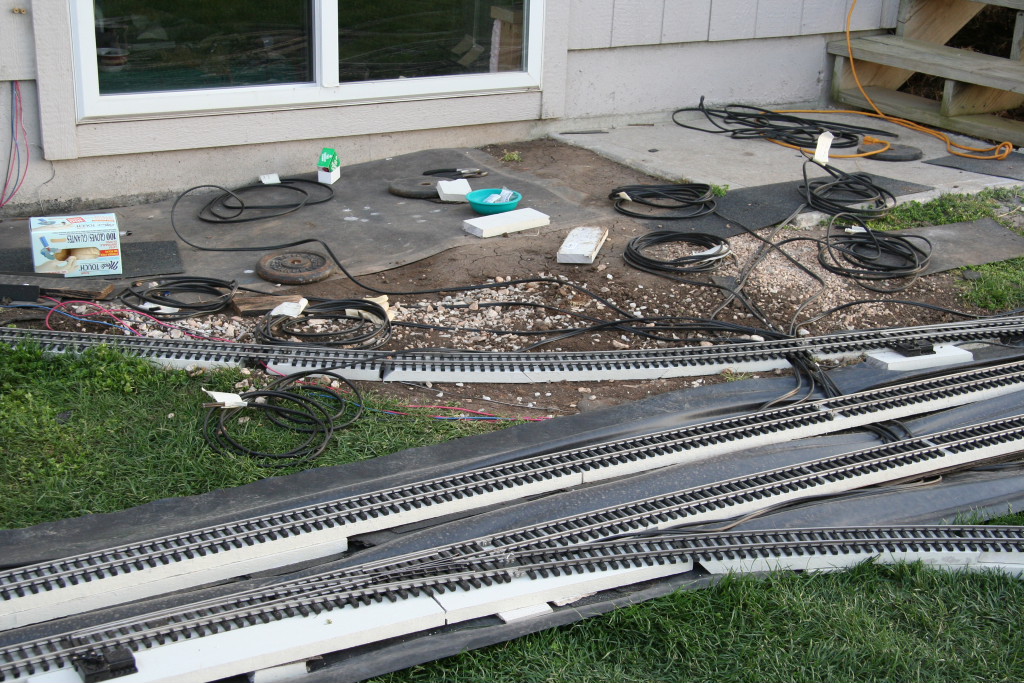
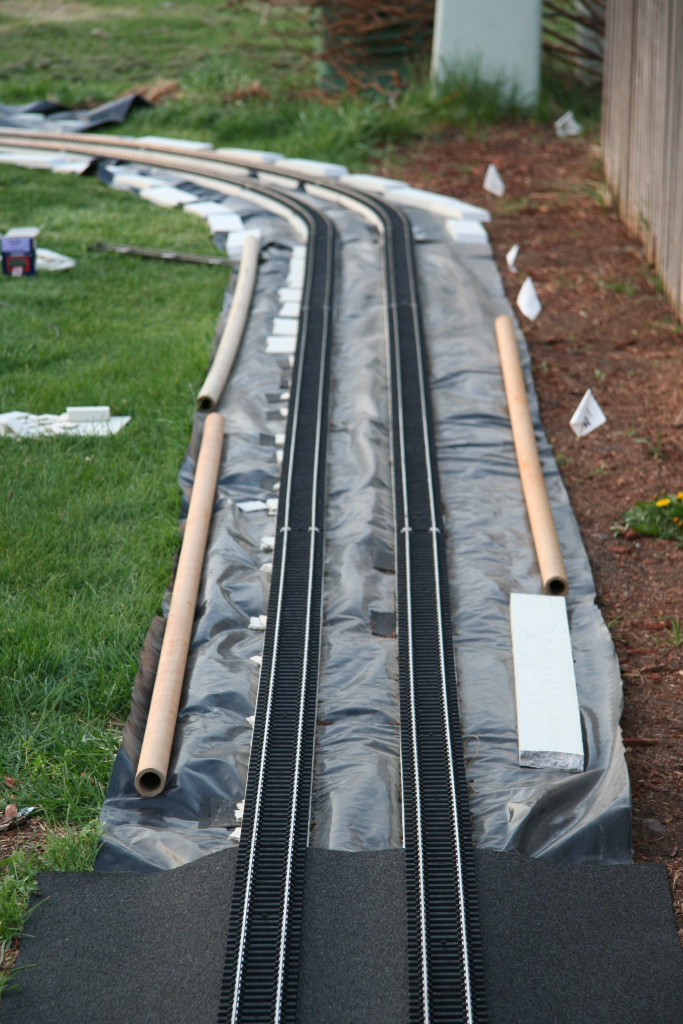
All the wiring is laid and is ready to
go.
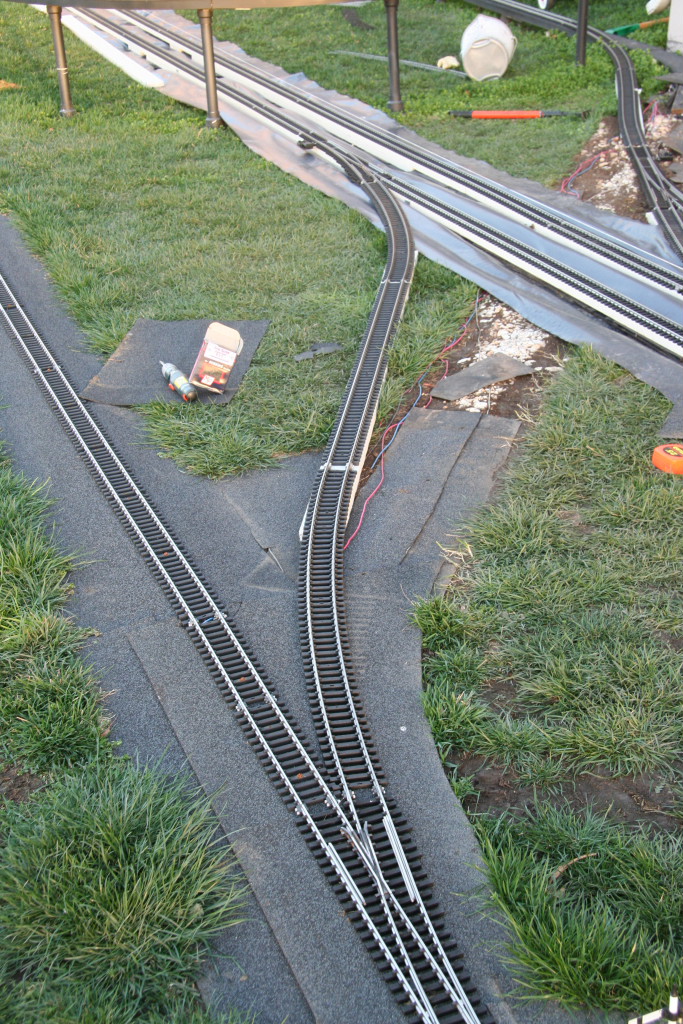
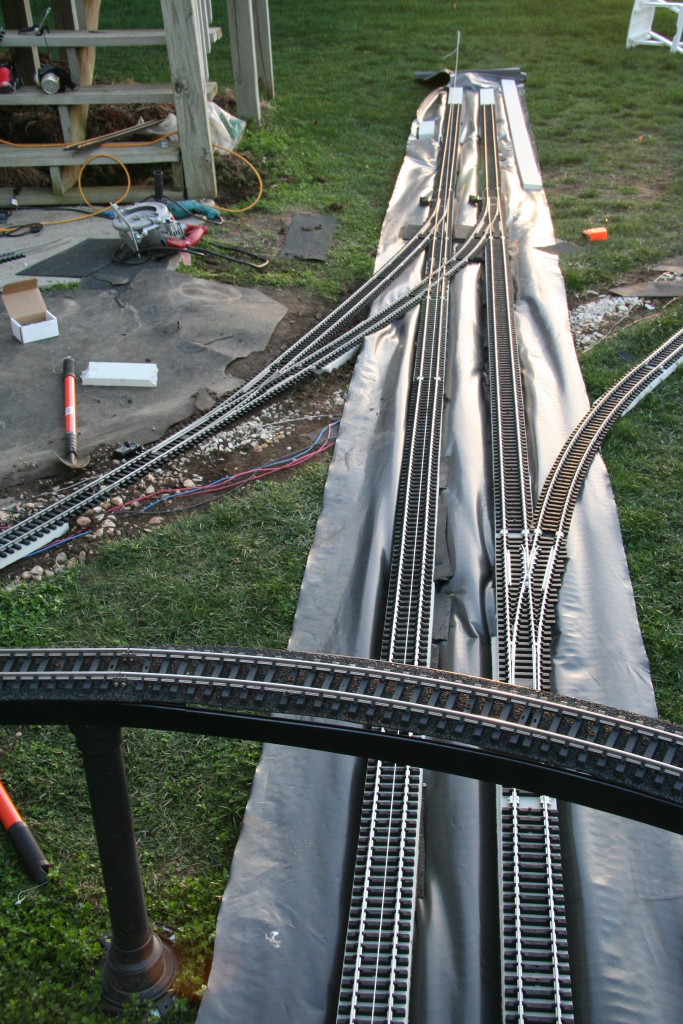
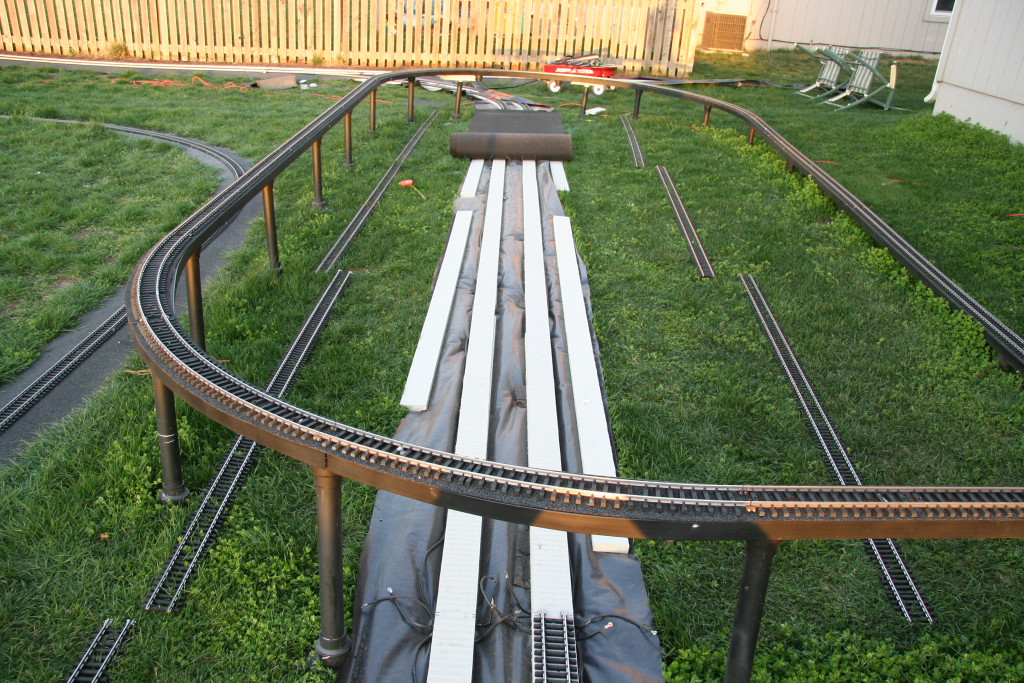
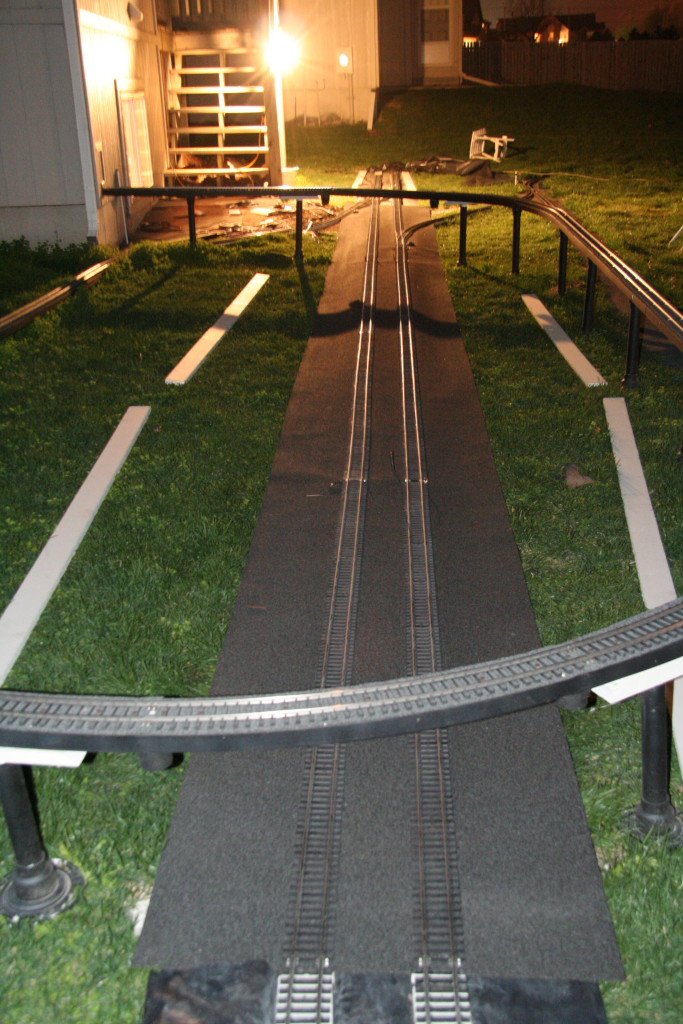
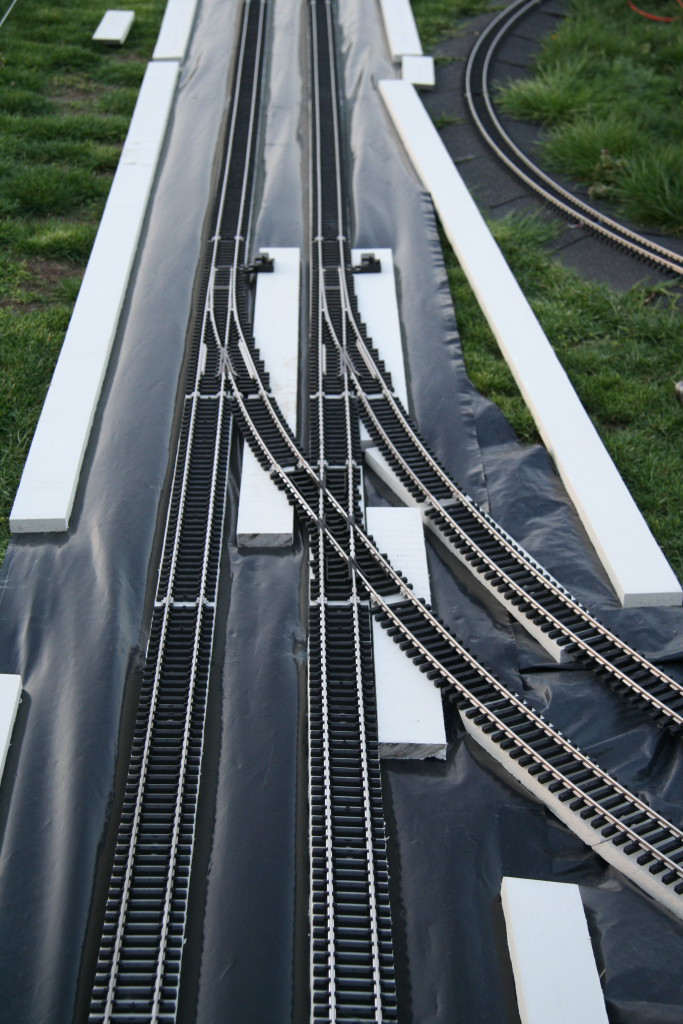
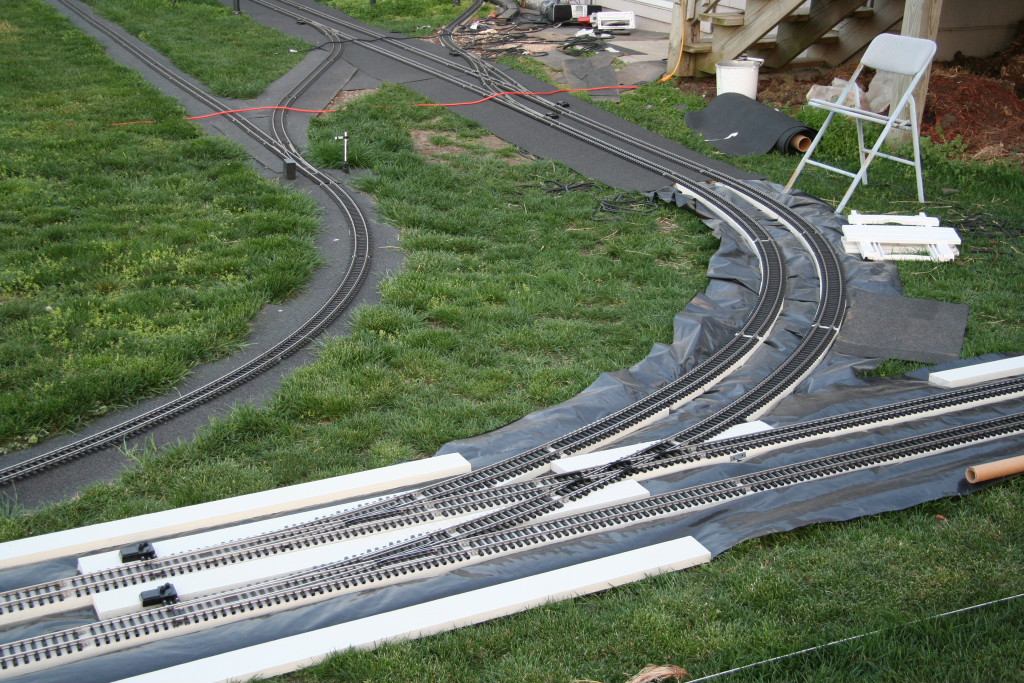
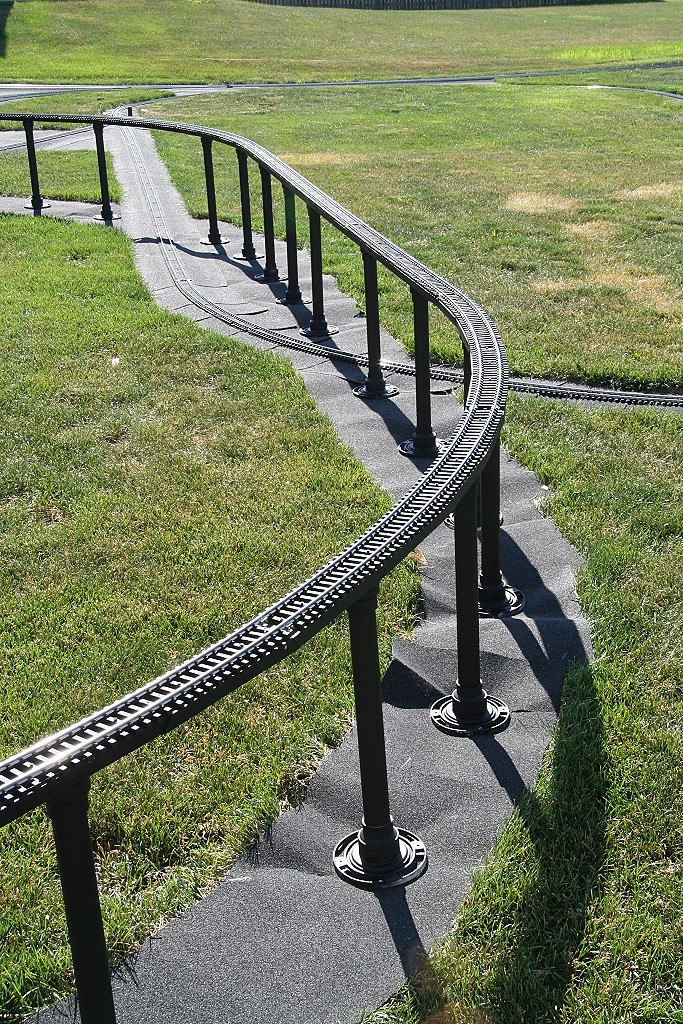
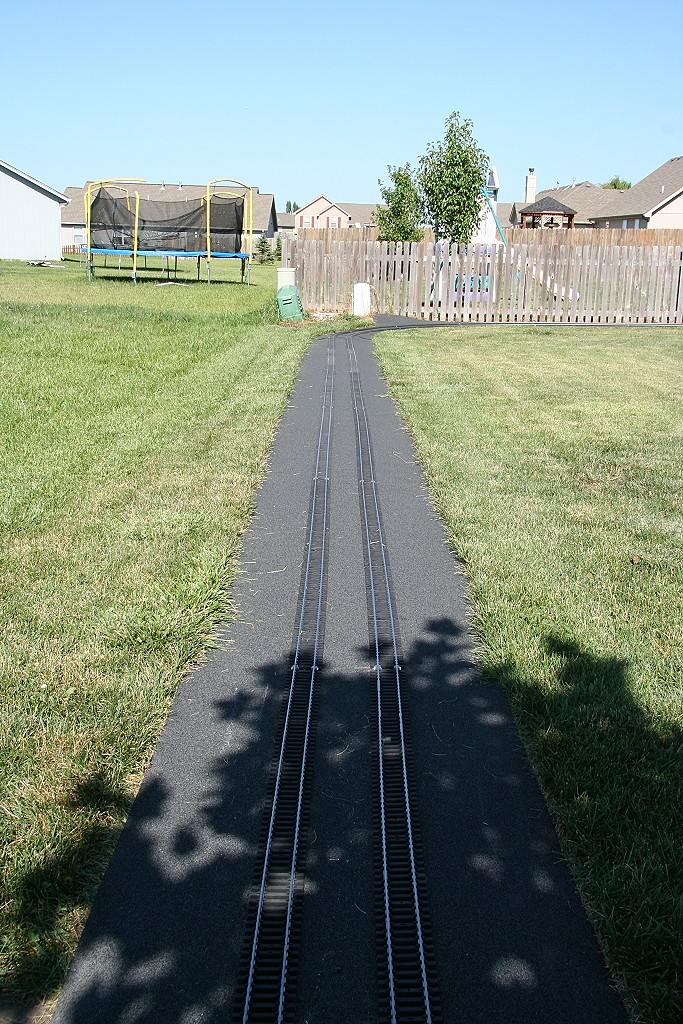
The straights and curves
are screwed in place and are all ready for leveling. After that, the
feeder wires will be put in place and will then be ready for the rolled roofing.
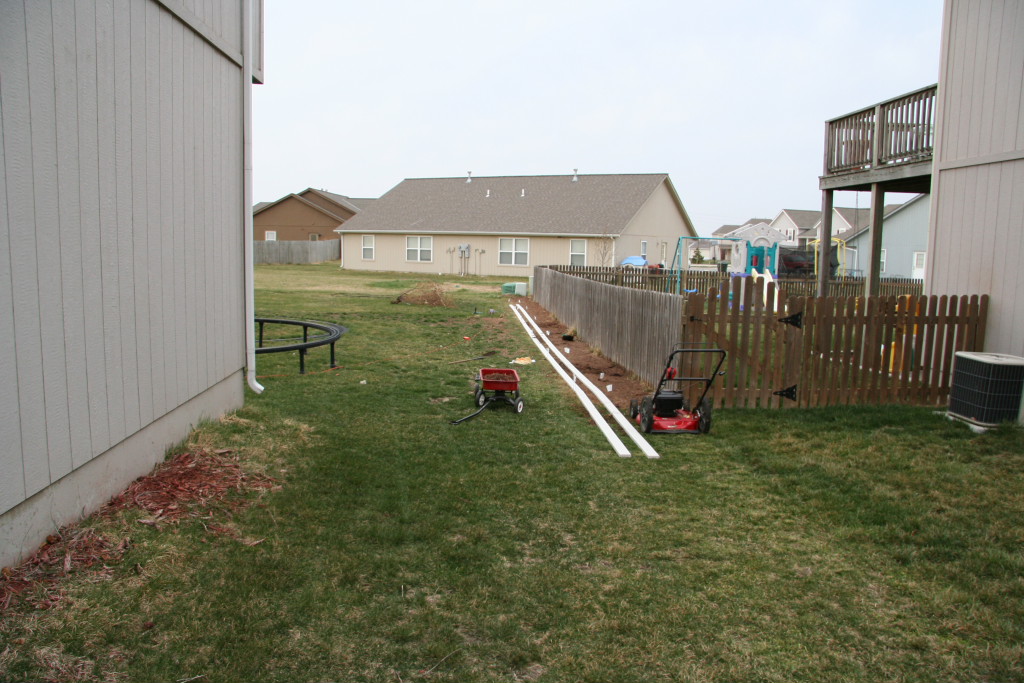
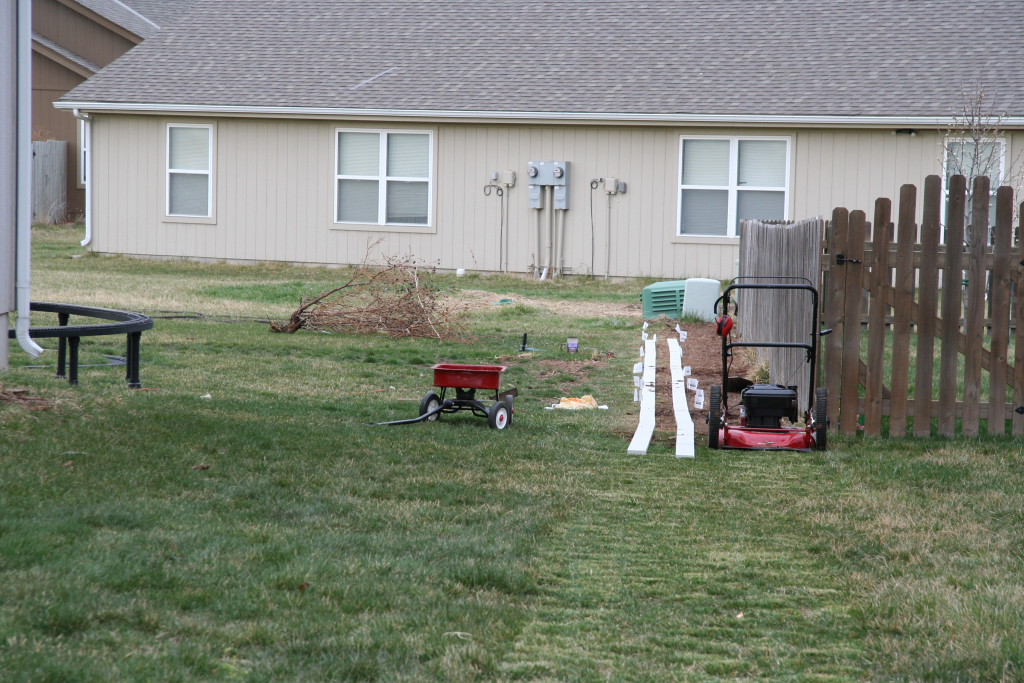
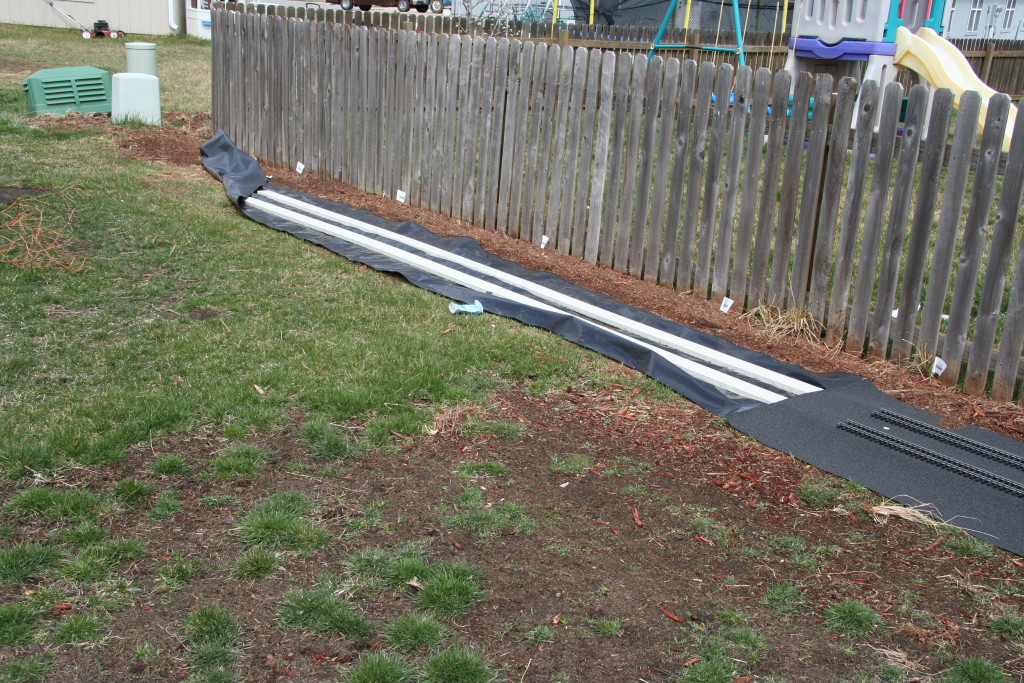
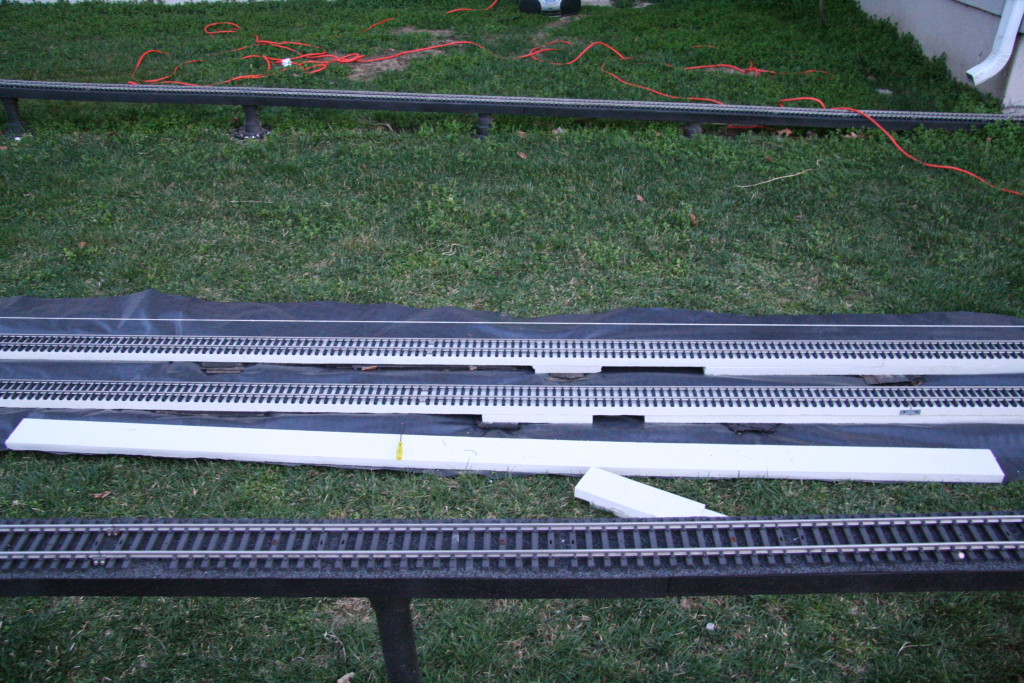
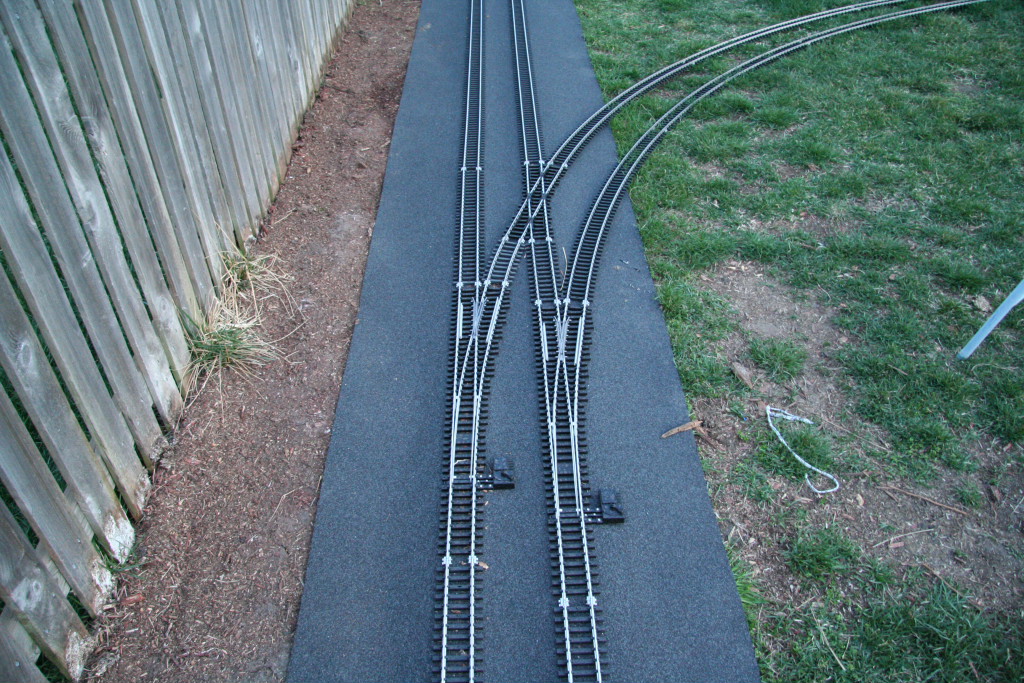
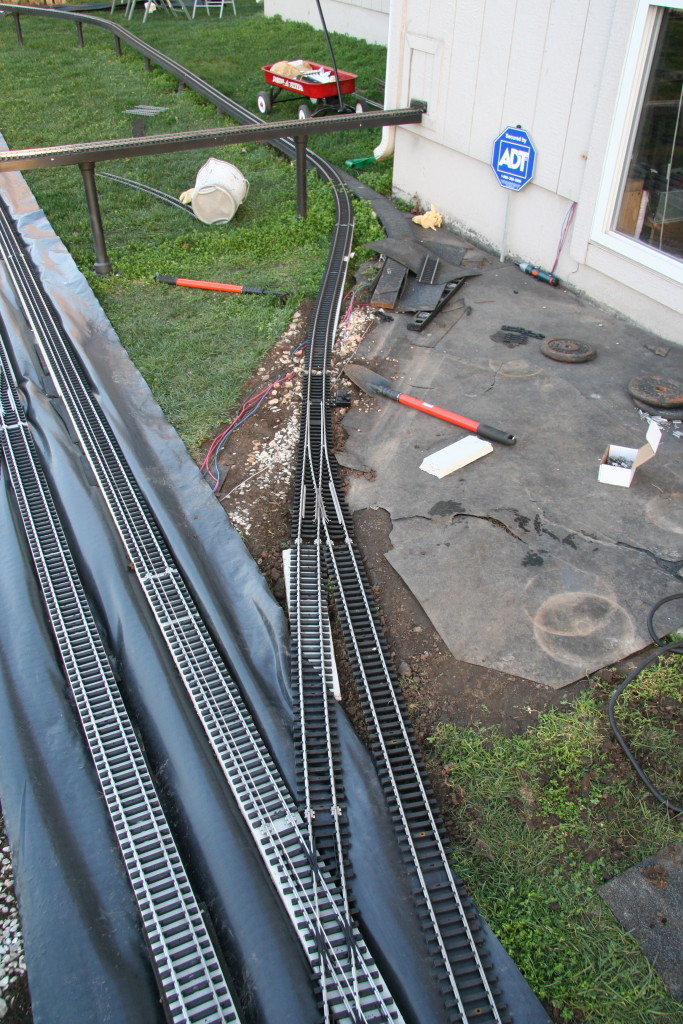
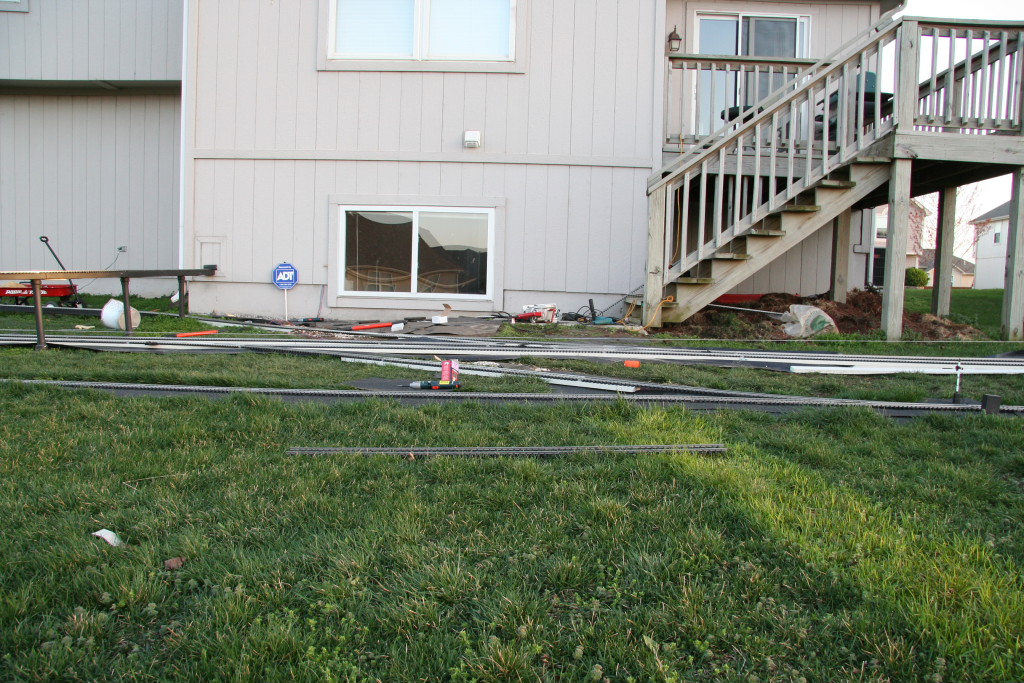
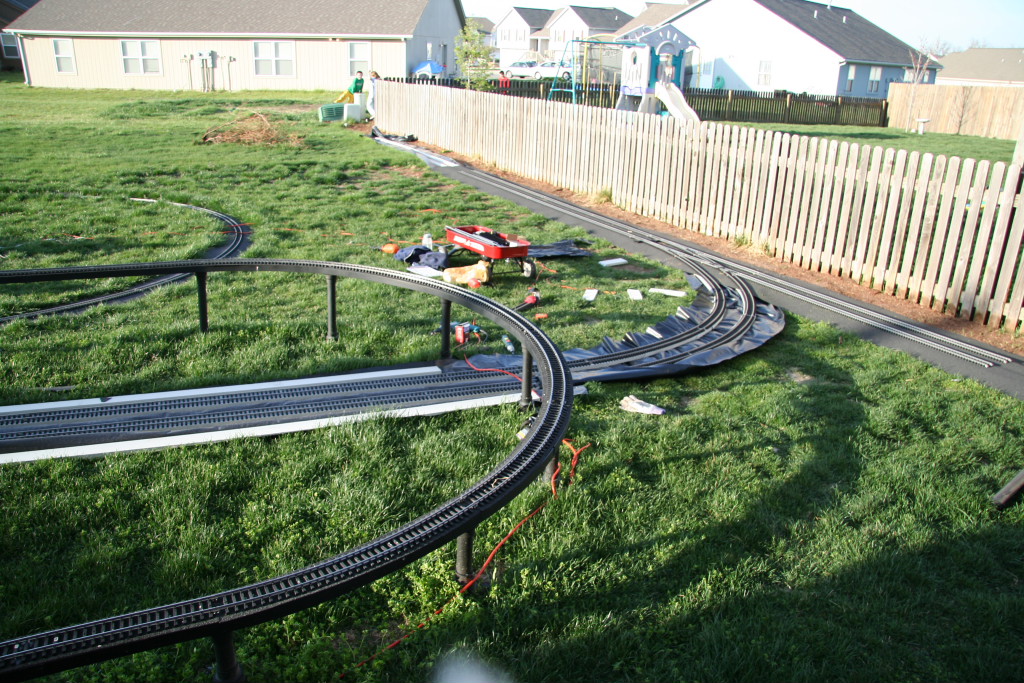
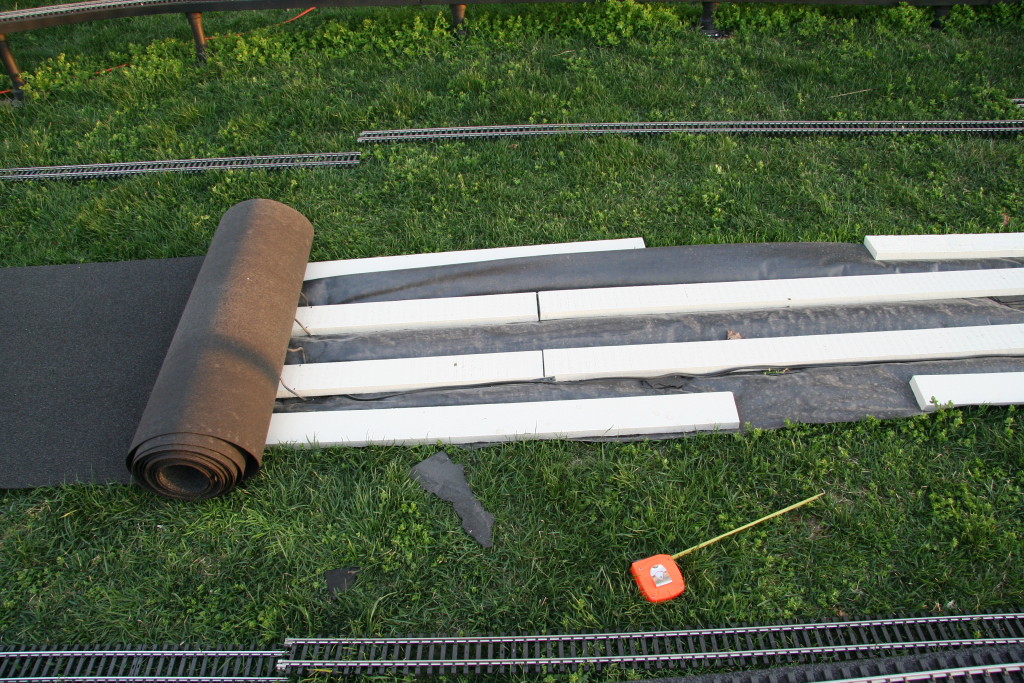
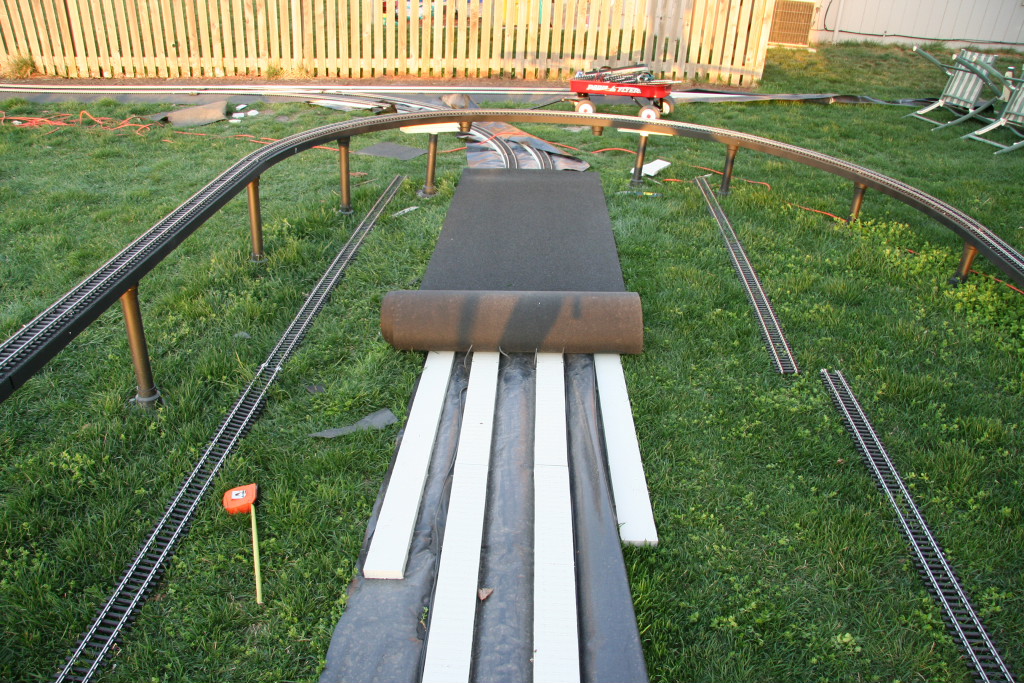
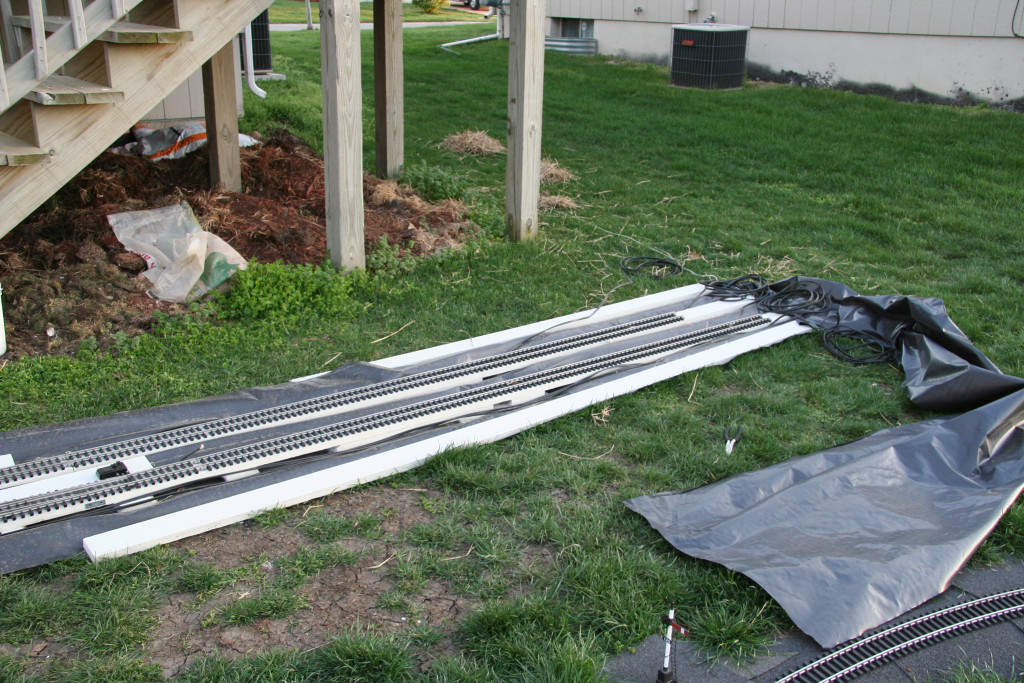
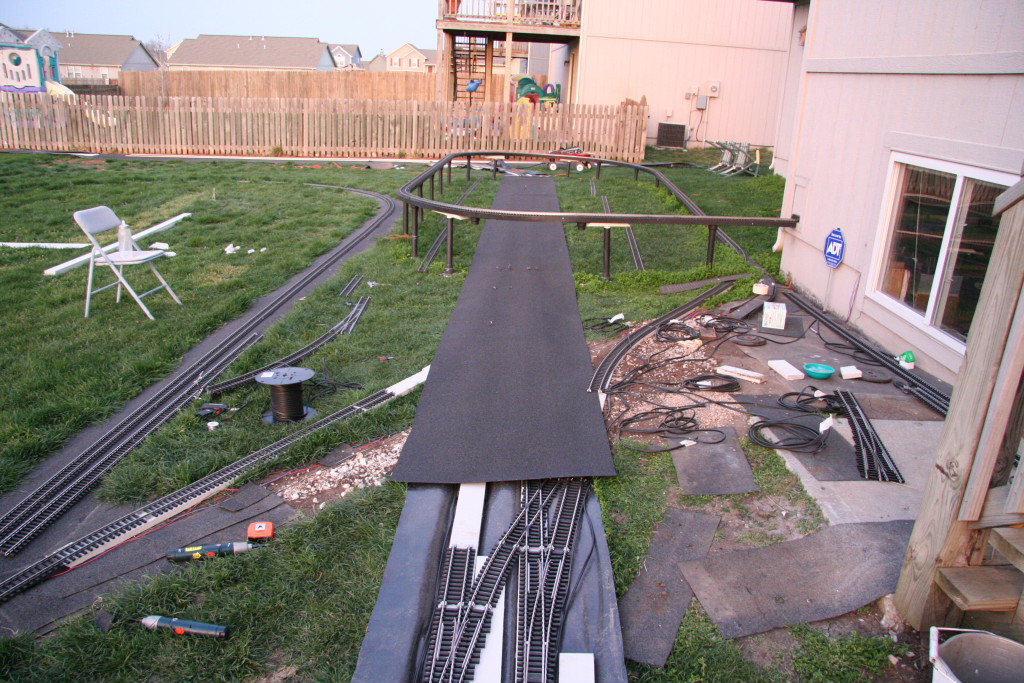
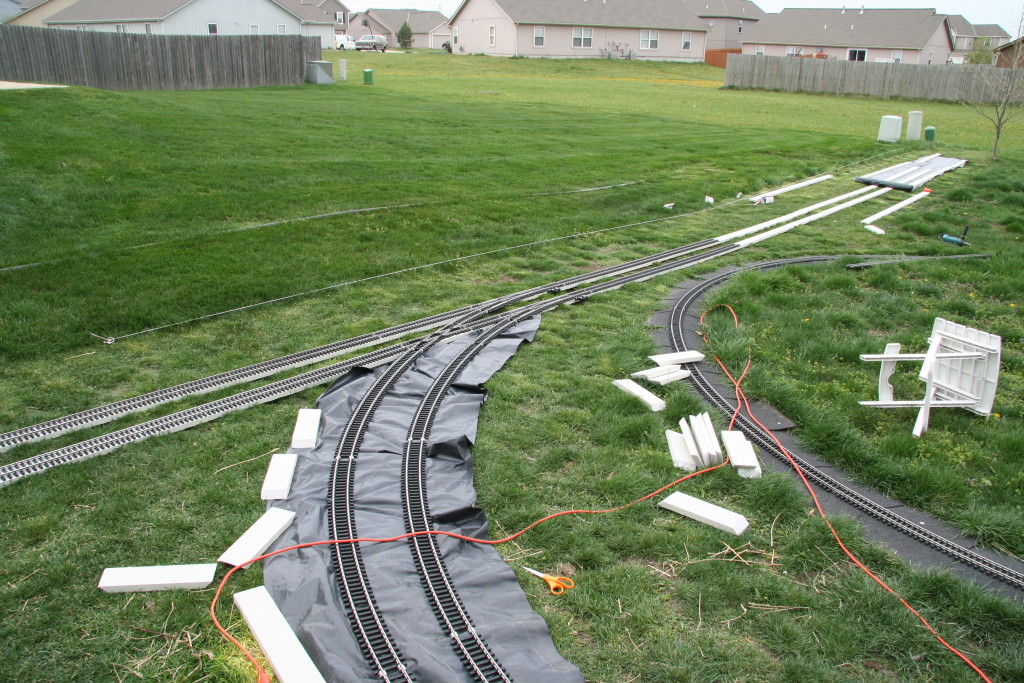
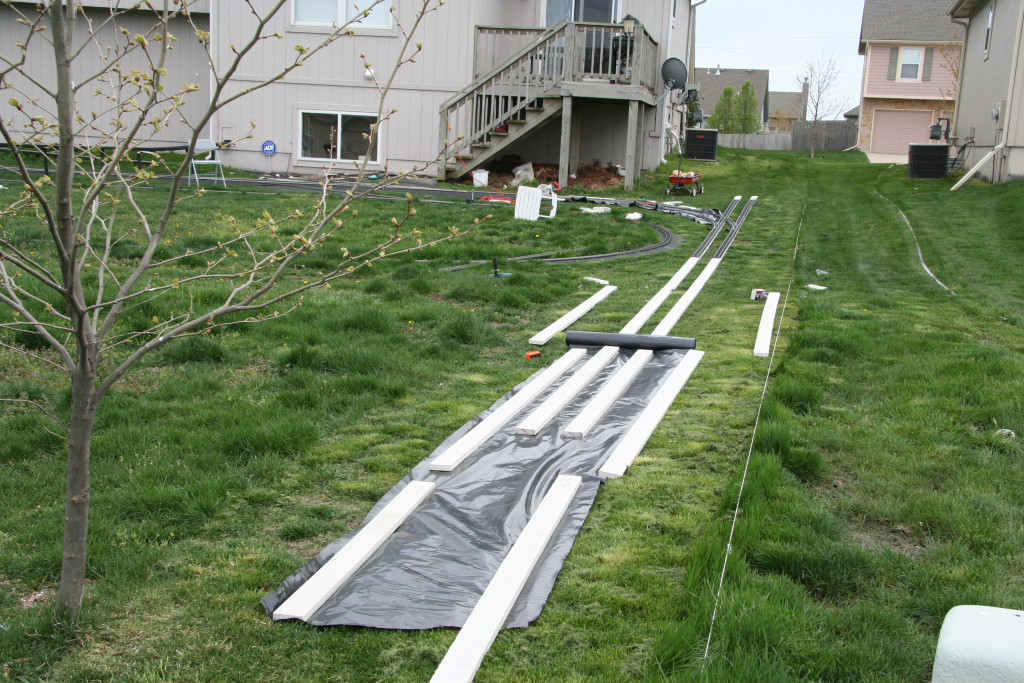
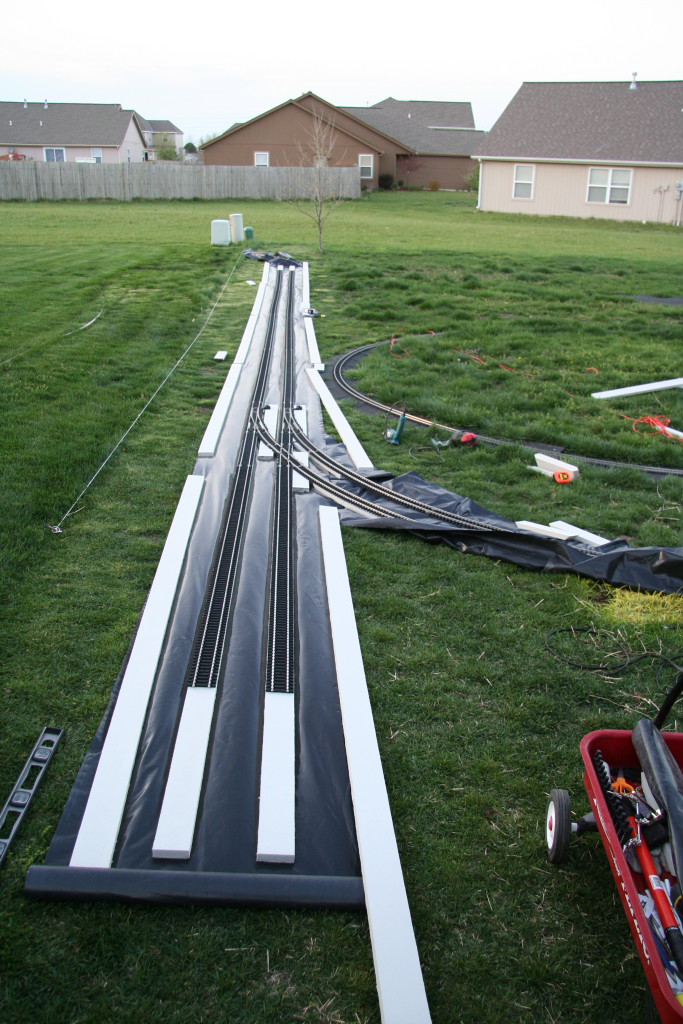
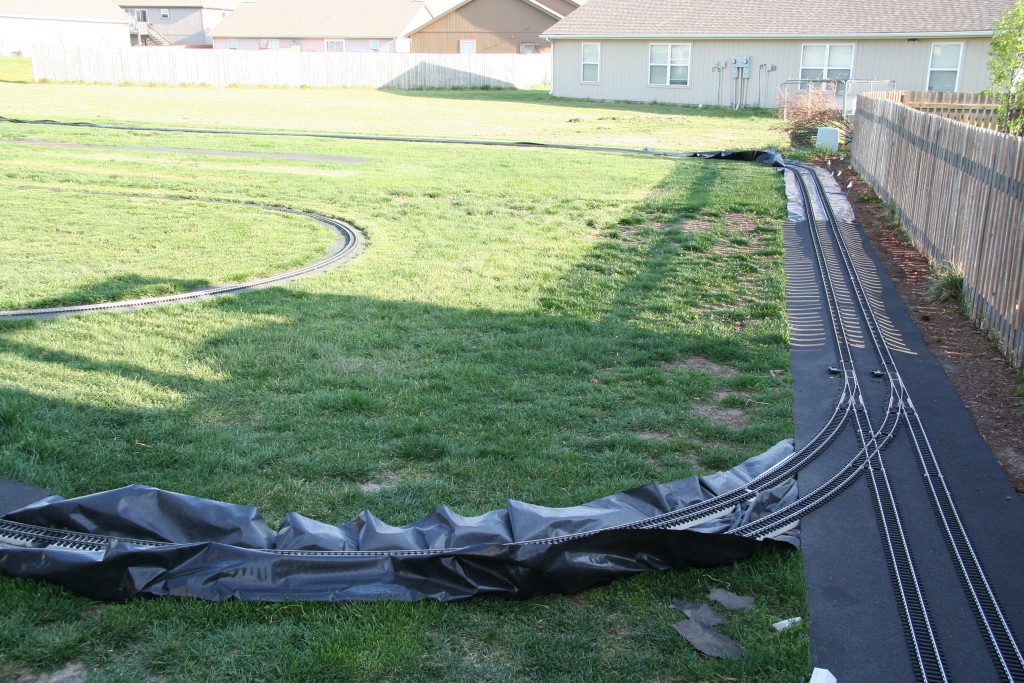
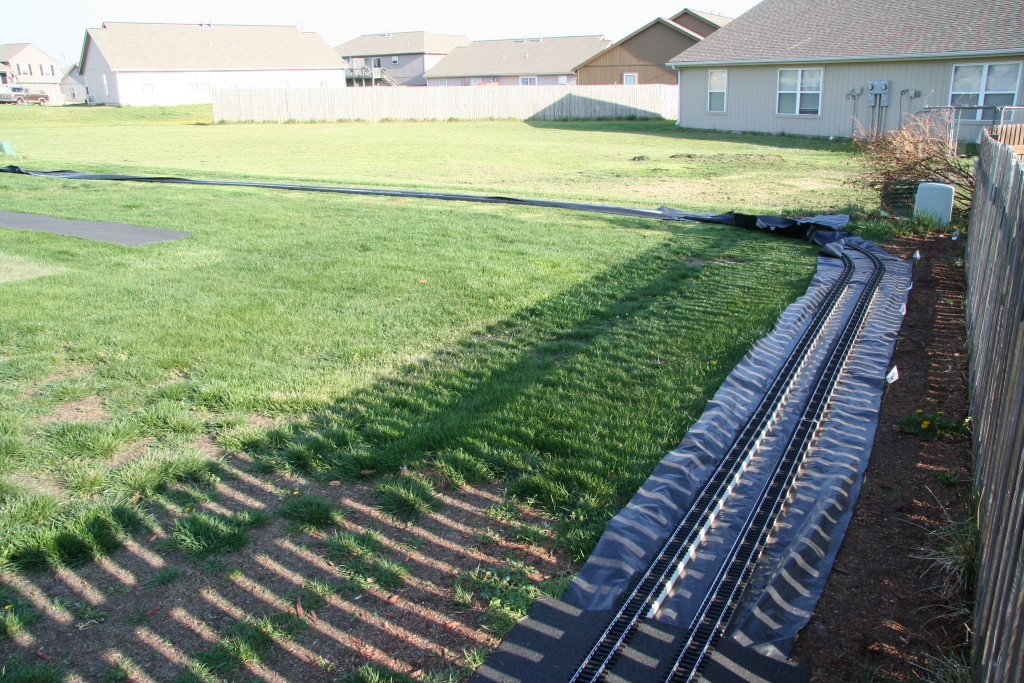
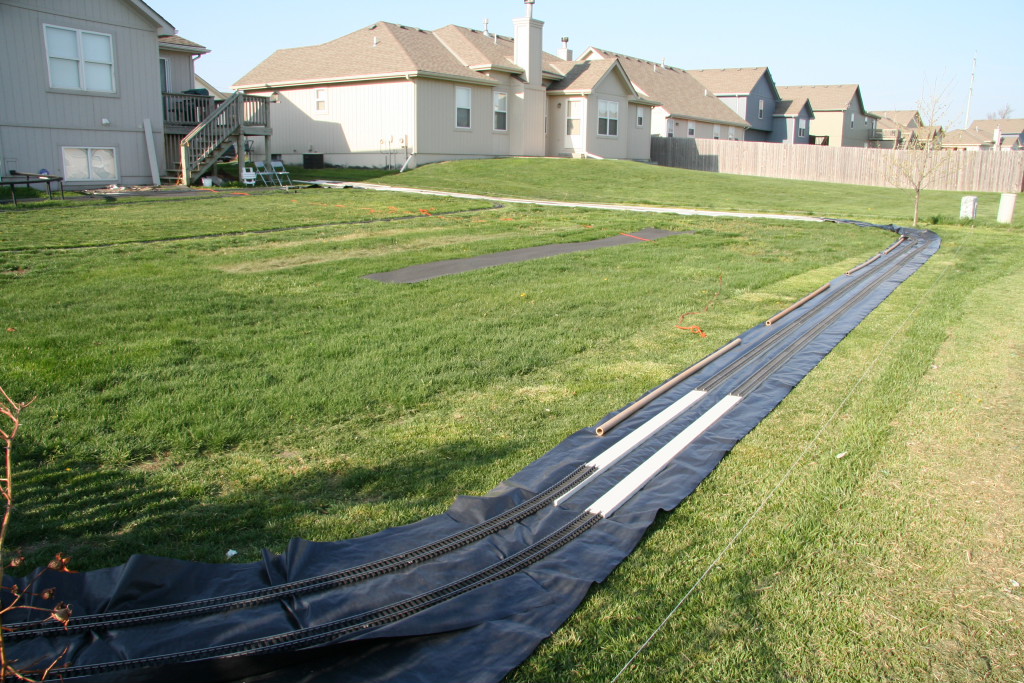
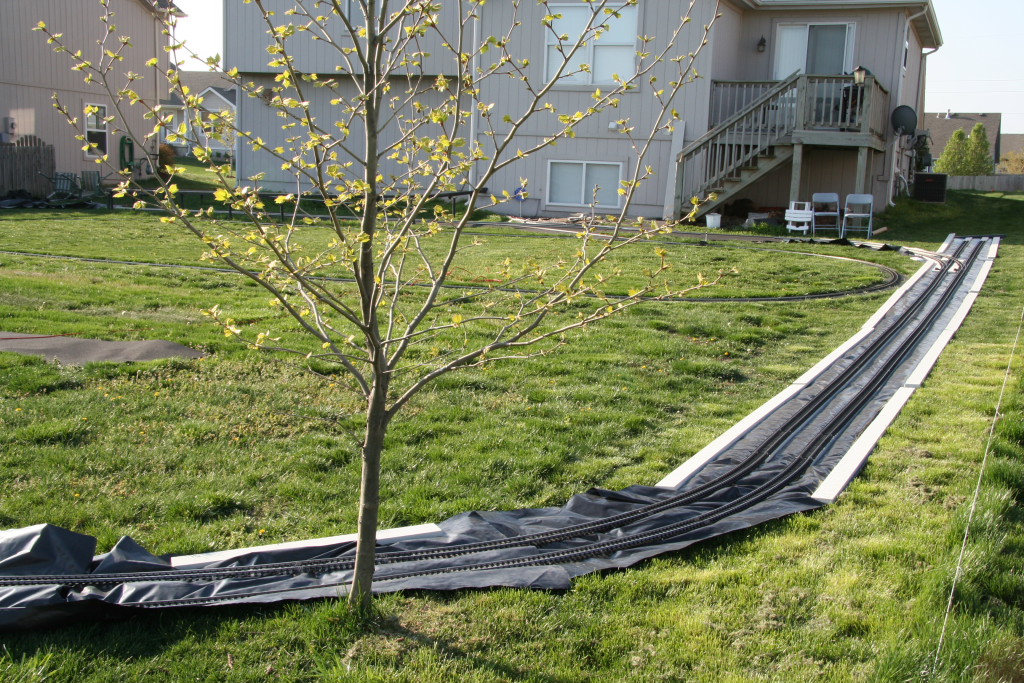
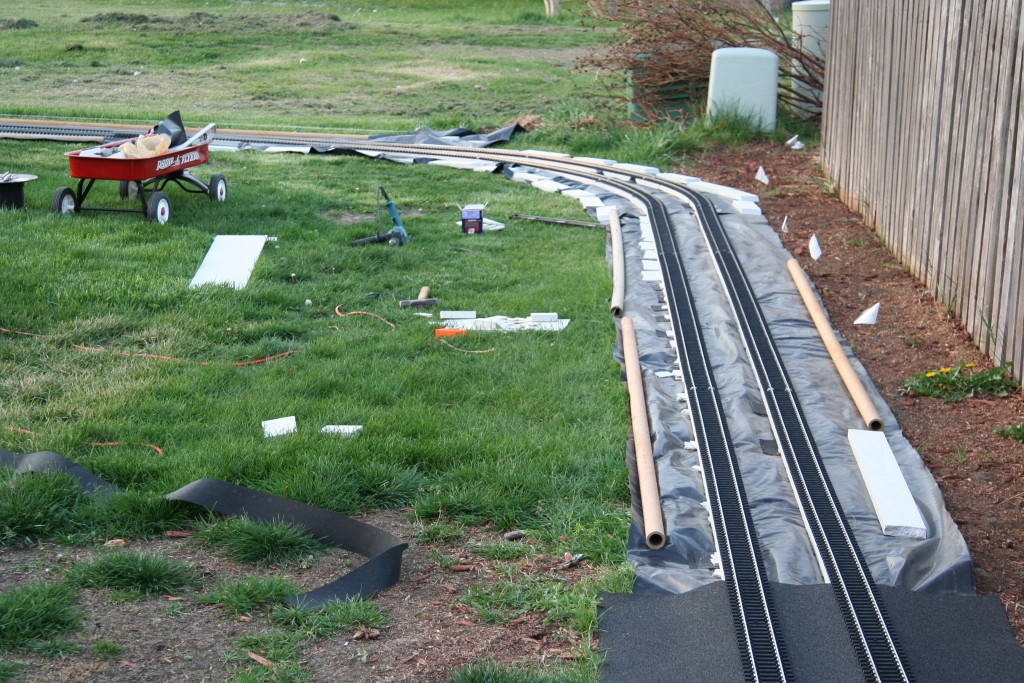
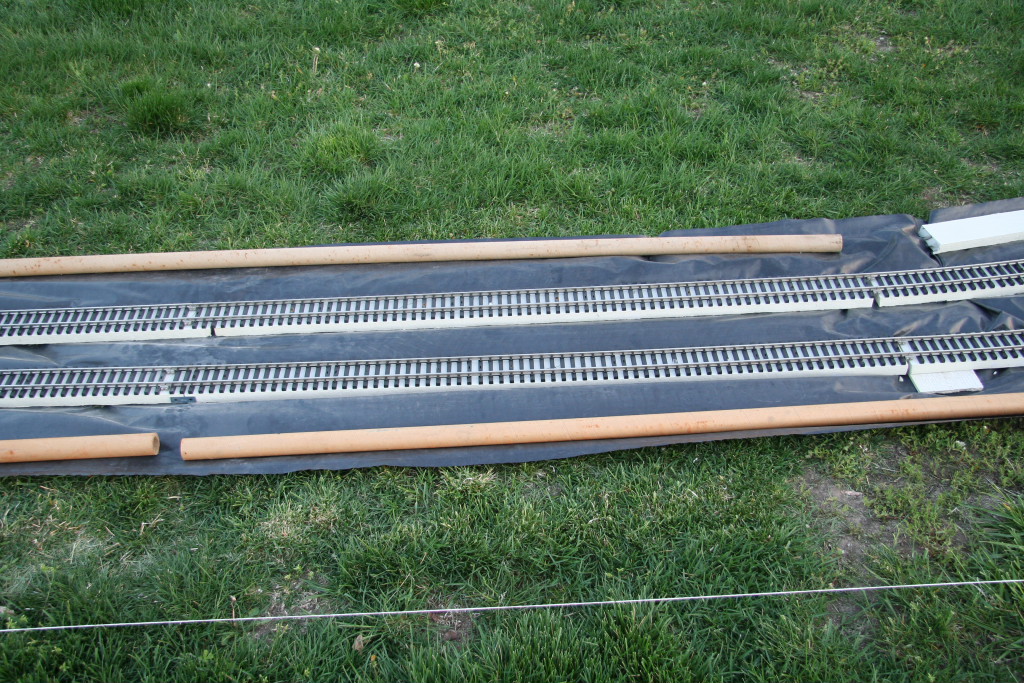
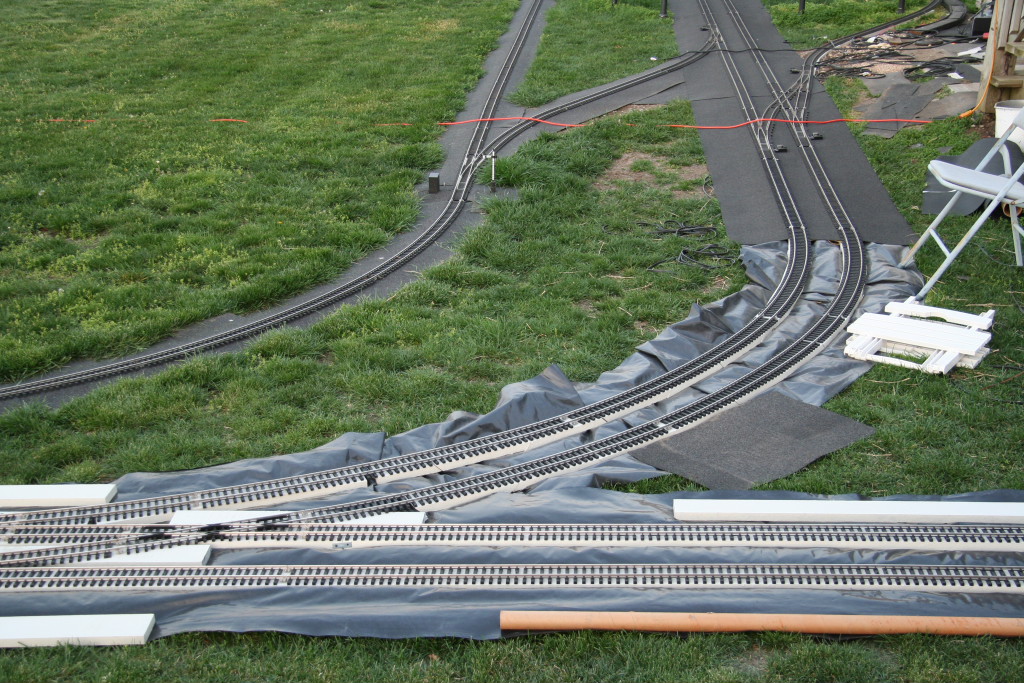
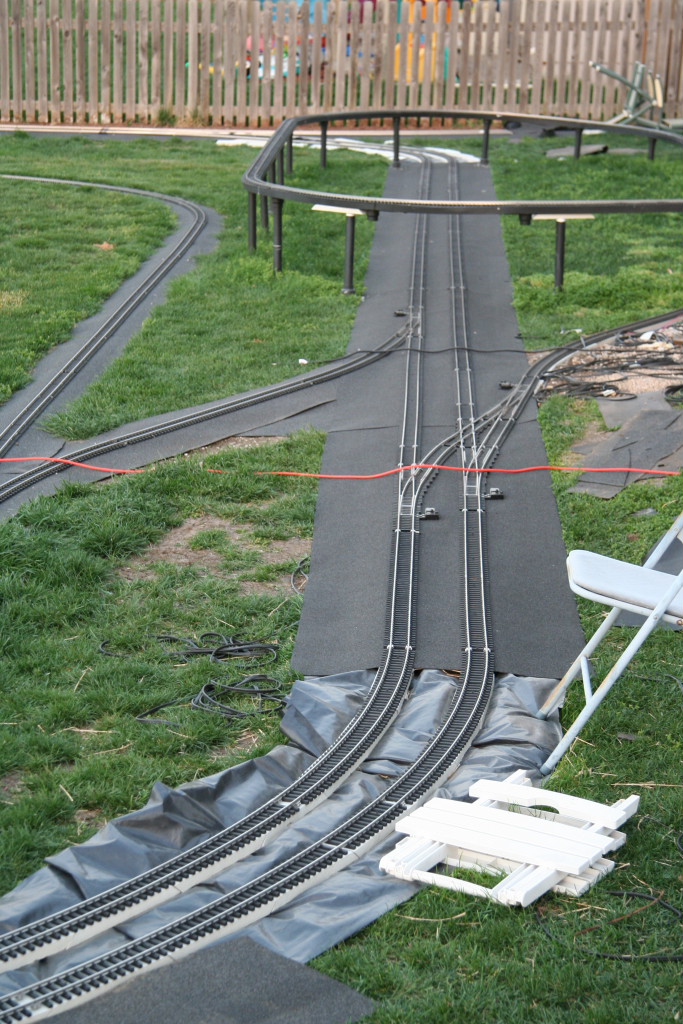
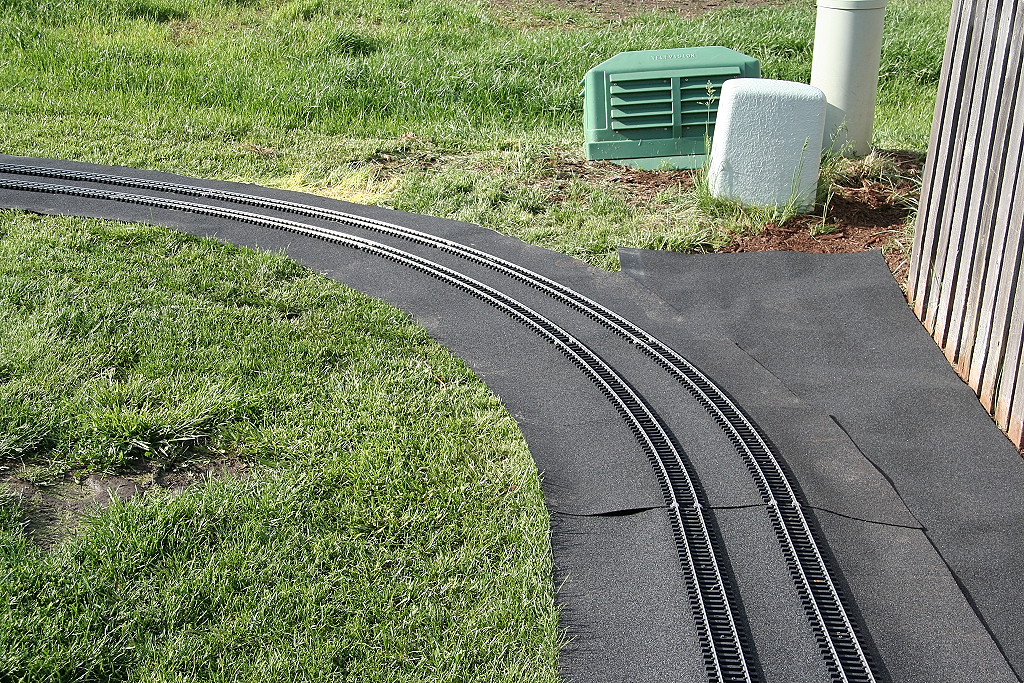
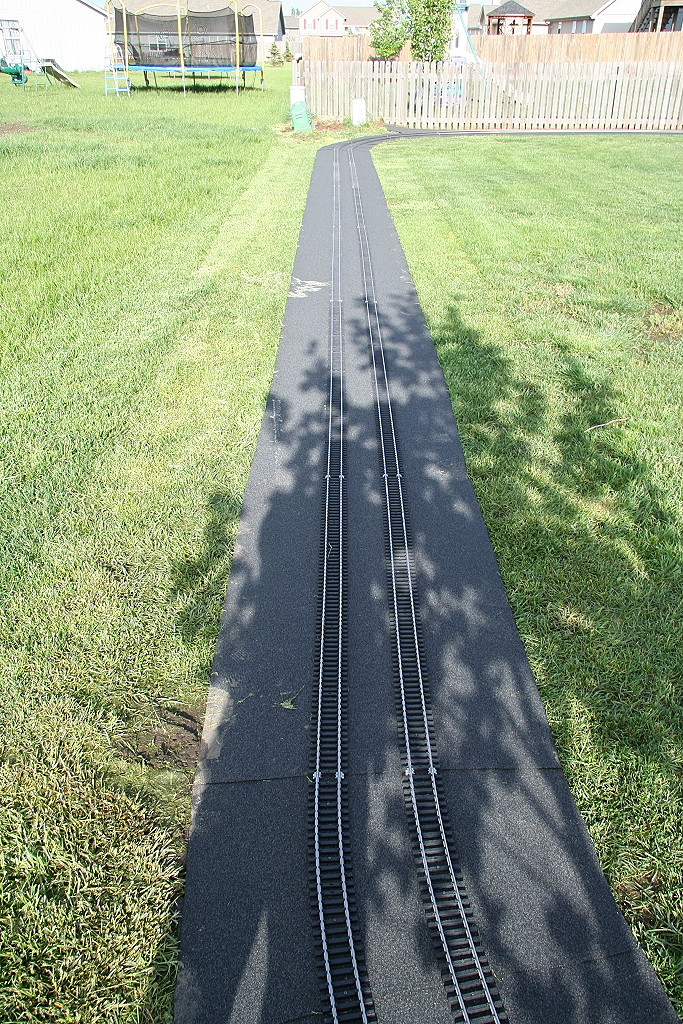
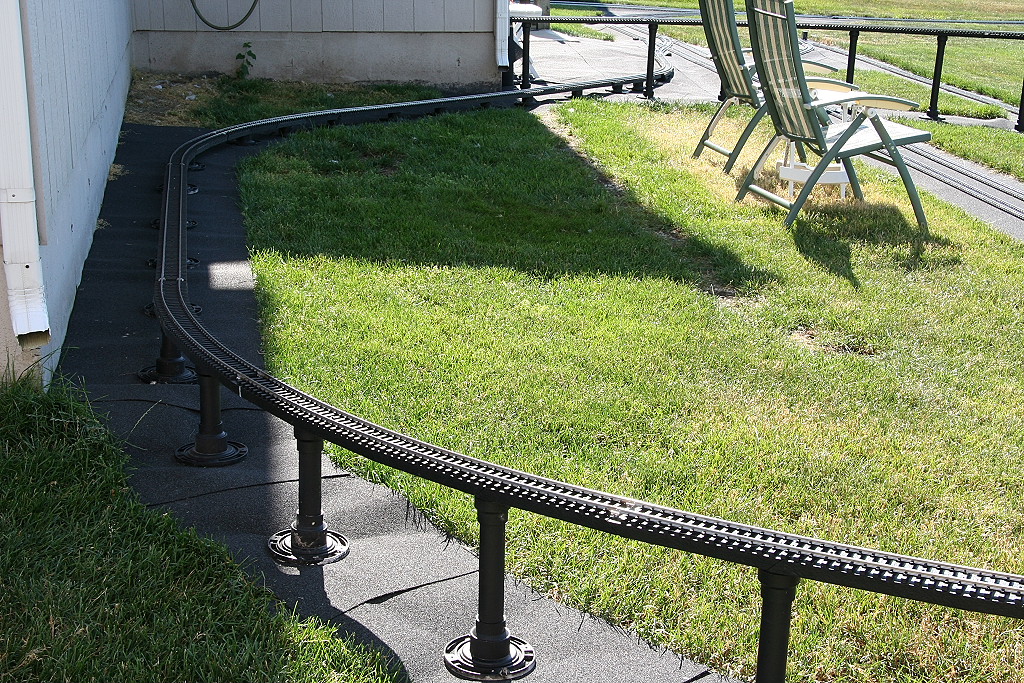
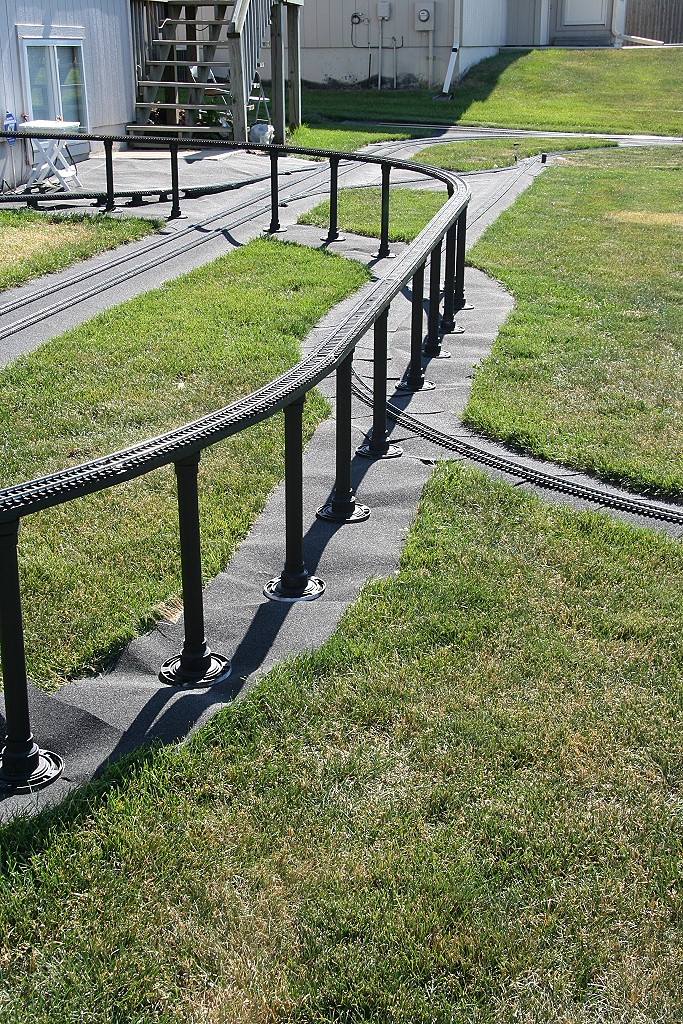
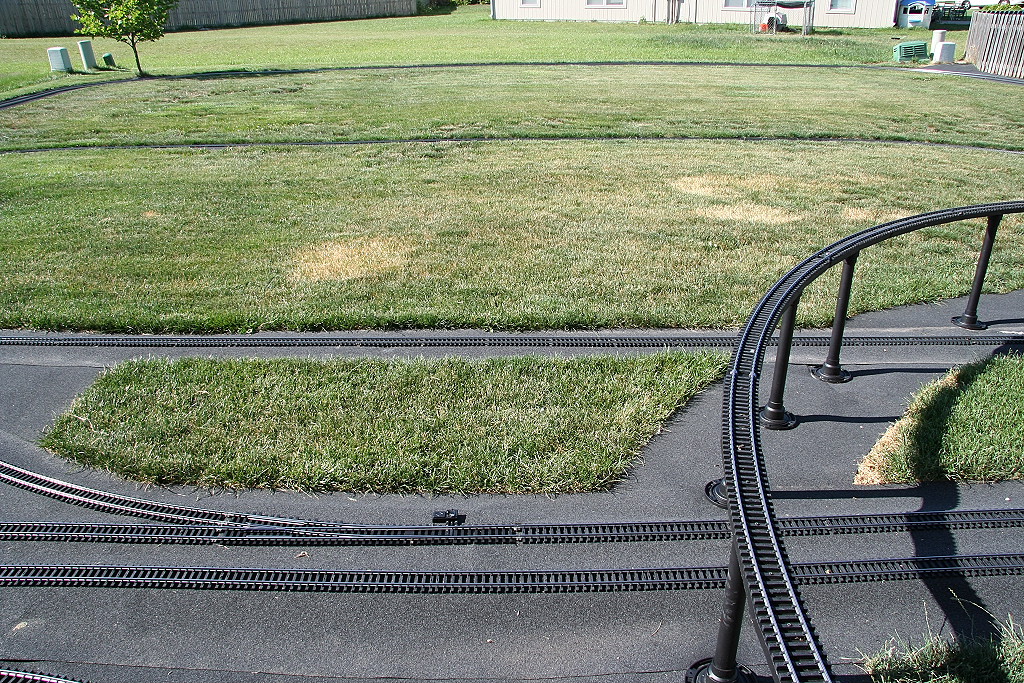
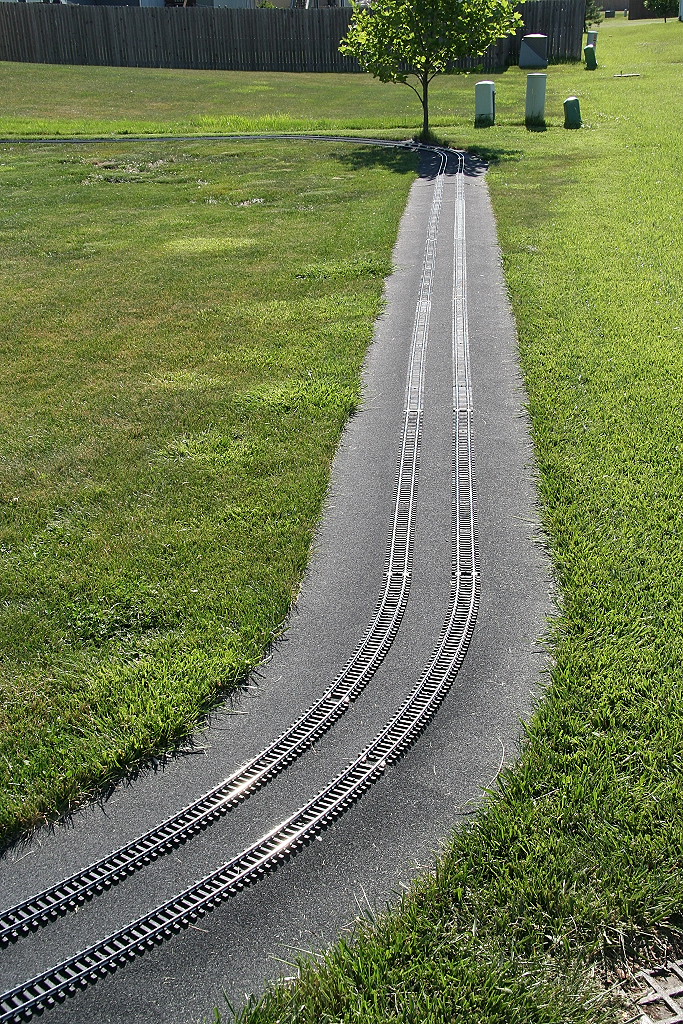
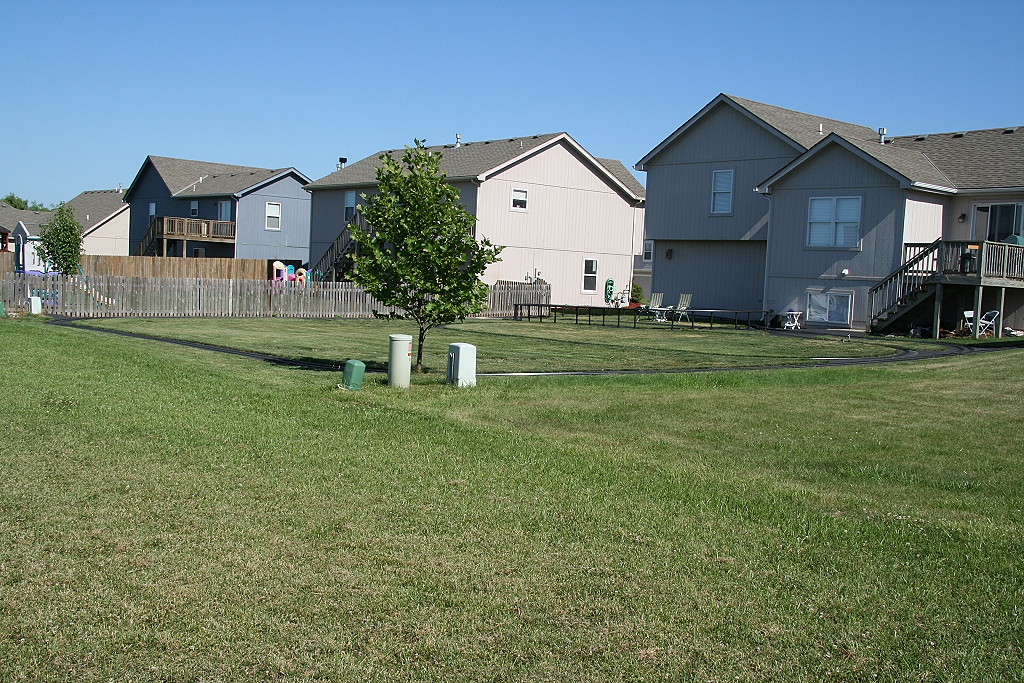
These pictures reveal the steps I use. First the
property (mow line) was determined, then the outside line boards were placed 29
inches from the line. (This will allow 1 push mower wide path down the
side.) The inside path was then laid 12 inches (outside edge to outside
edge) from the outer. Then starting from one end, the plastic was rolled
on top (one ten foot pair at a time) and once covered, the now covered boards
were slid out from under and placed back on top. Once laid, a board was
placed on the plastic sides to keep them from blowing around.
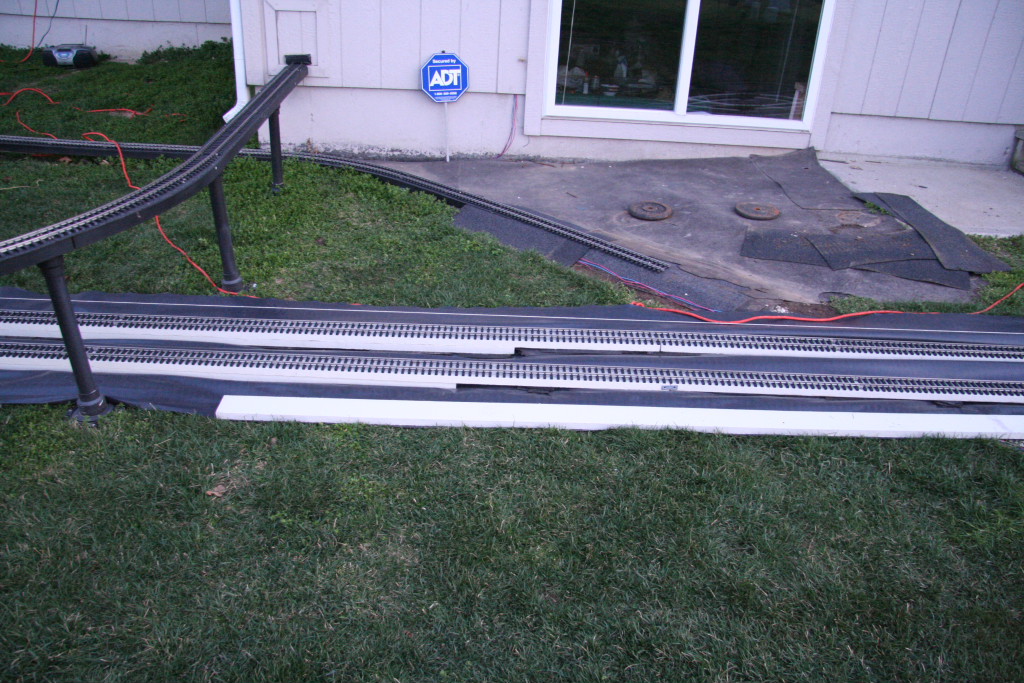
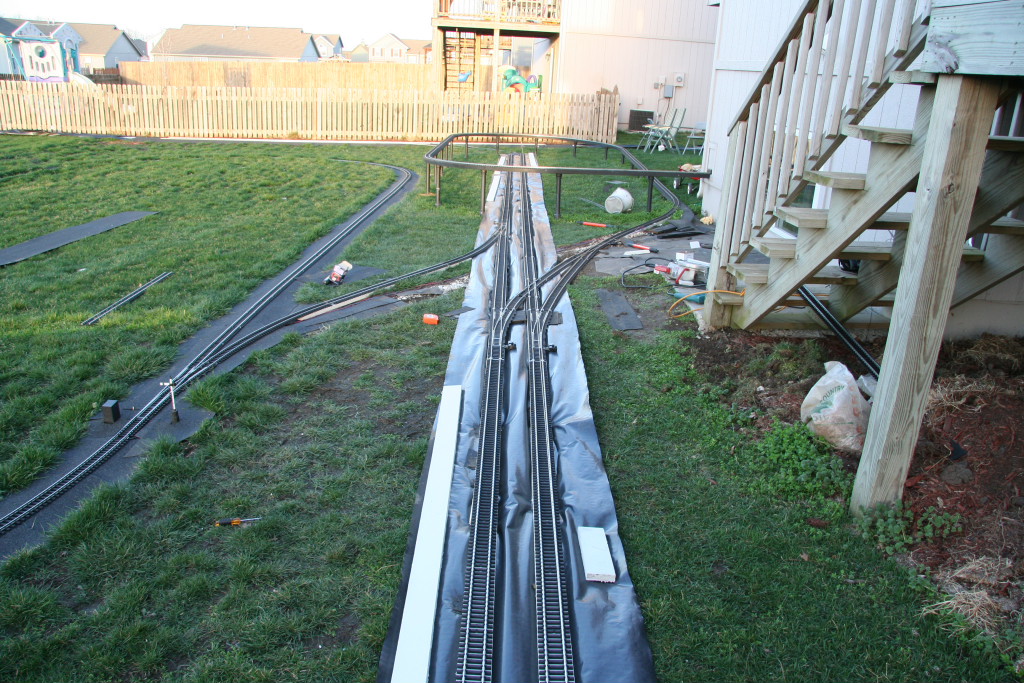
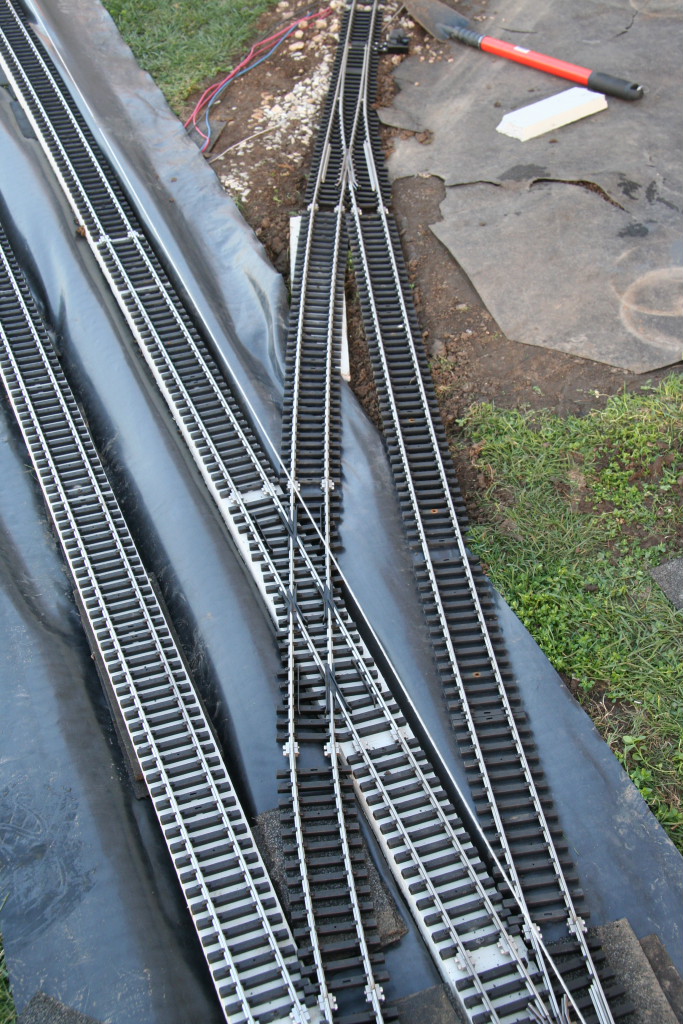
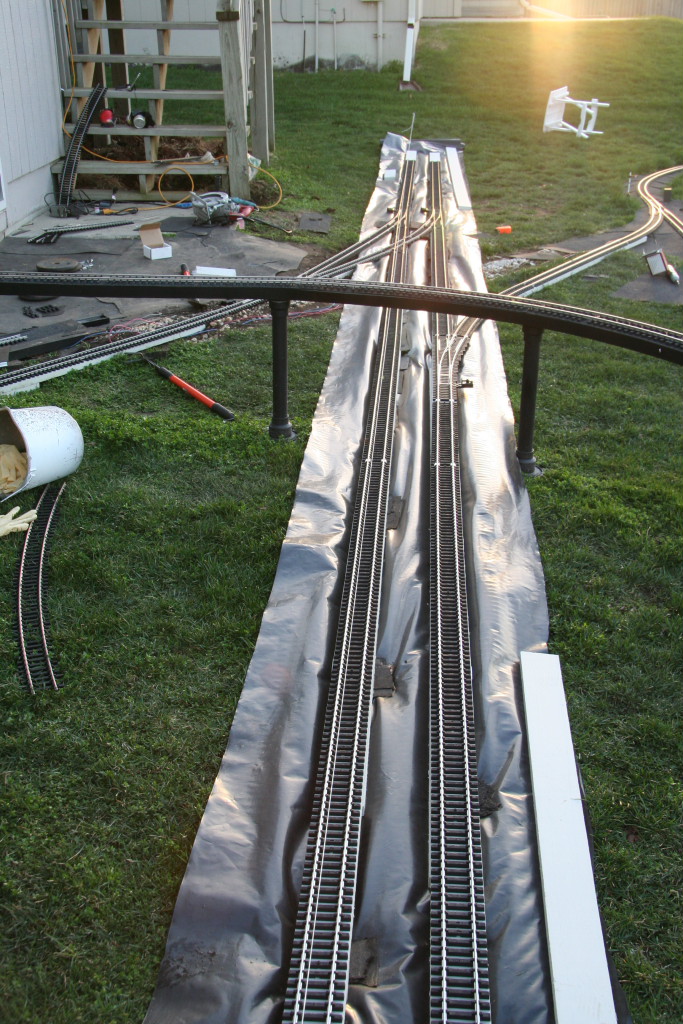
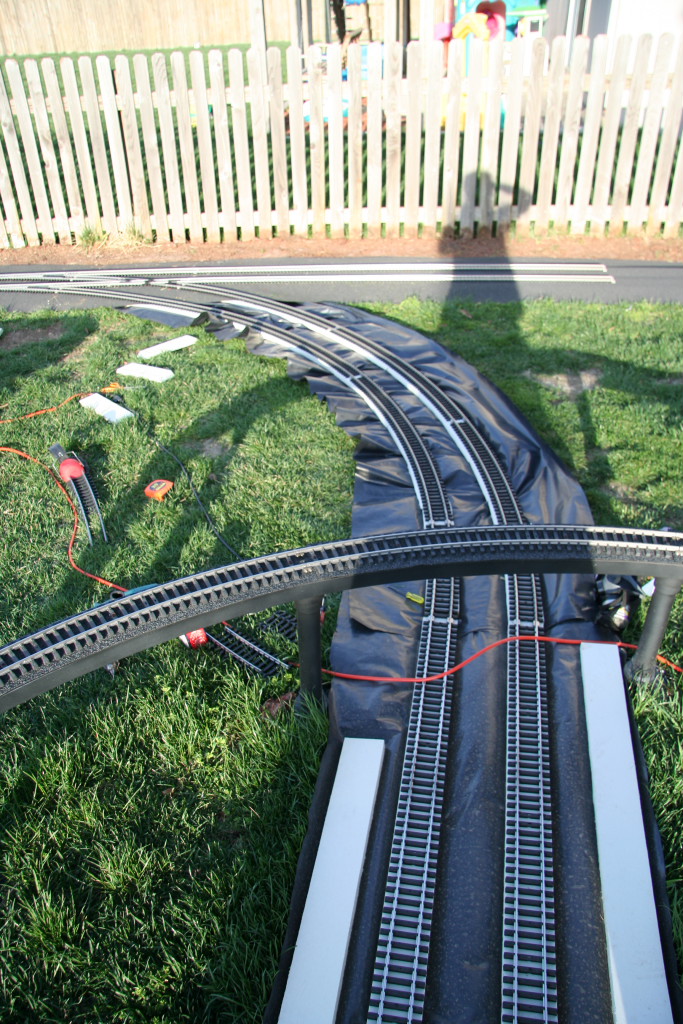
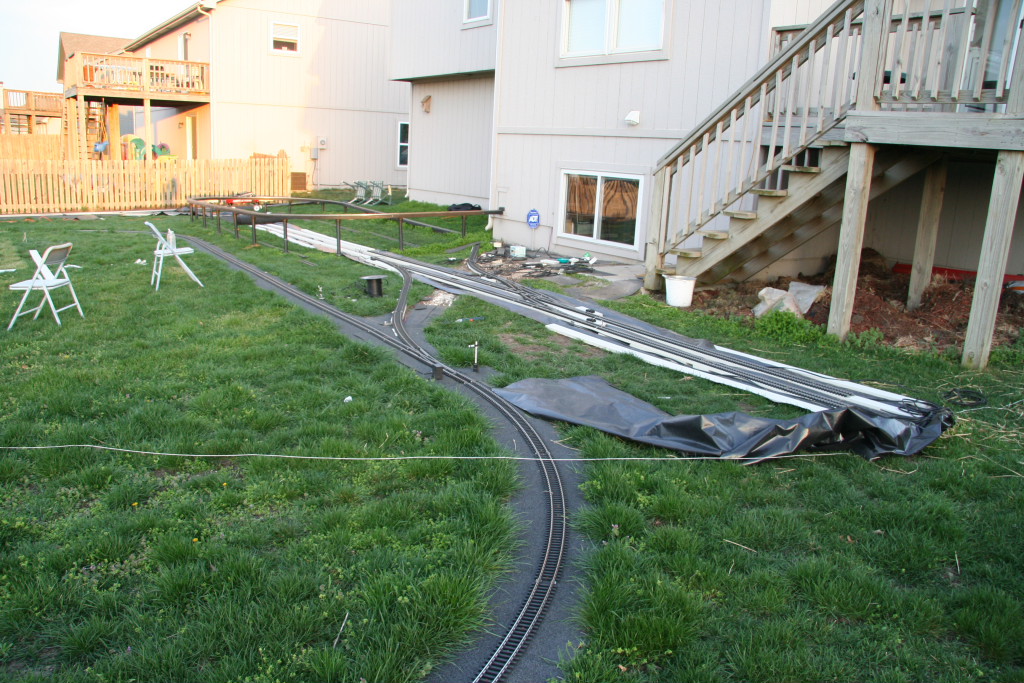
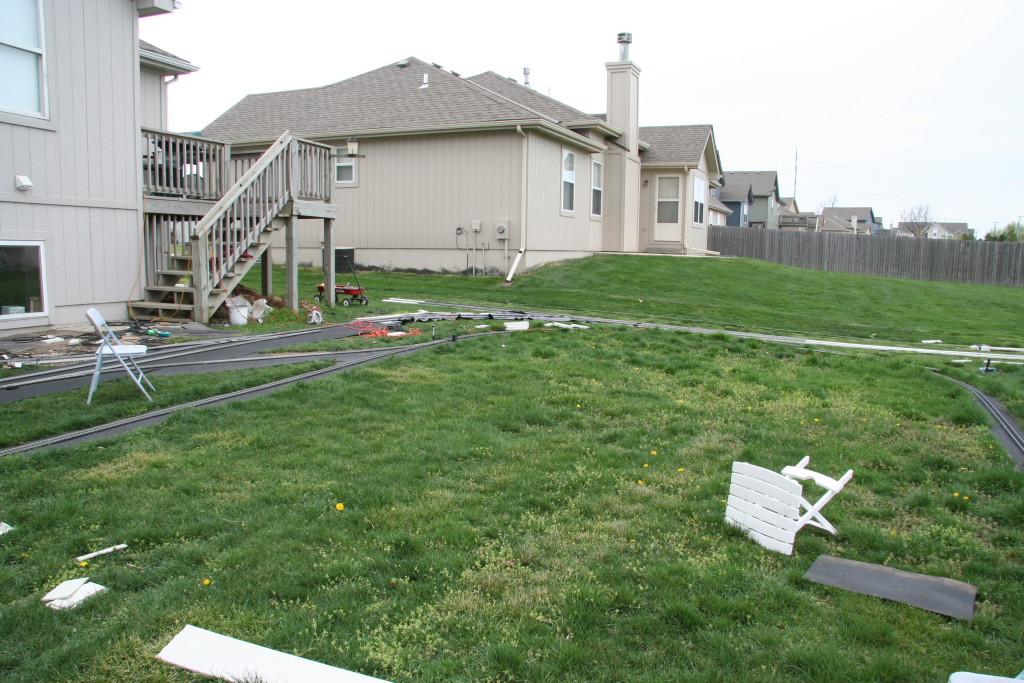
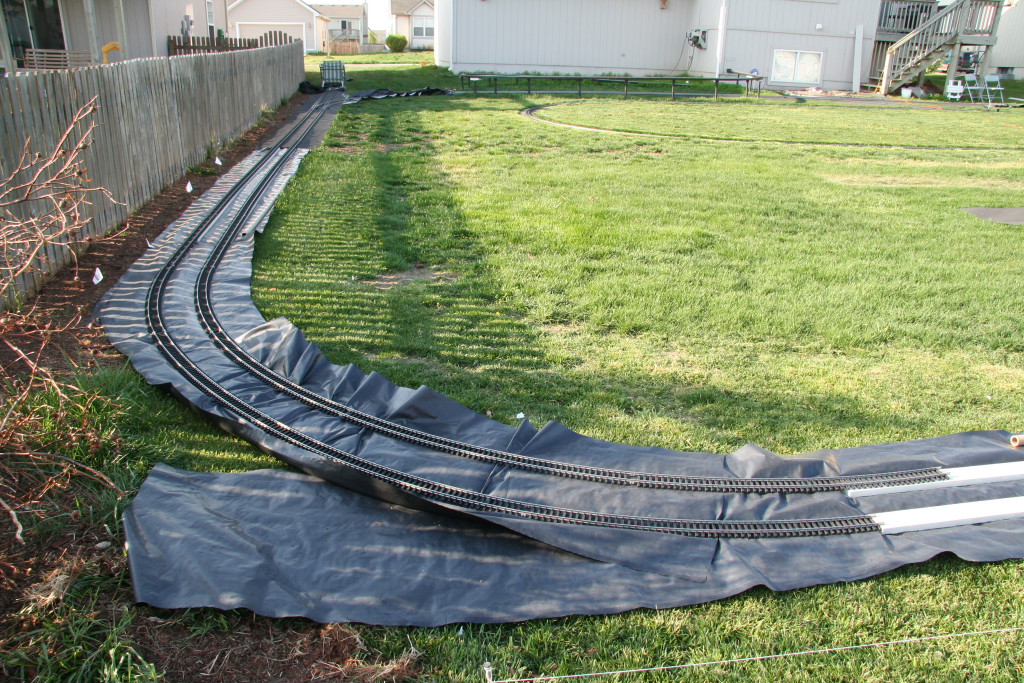
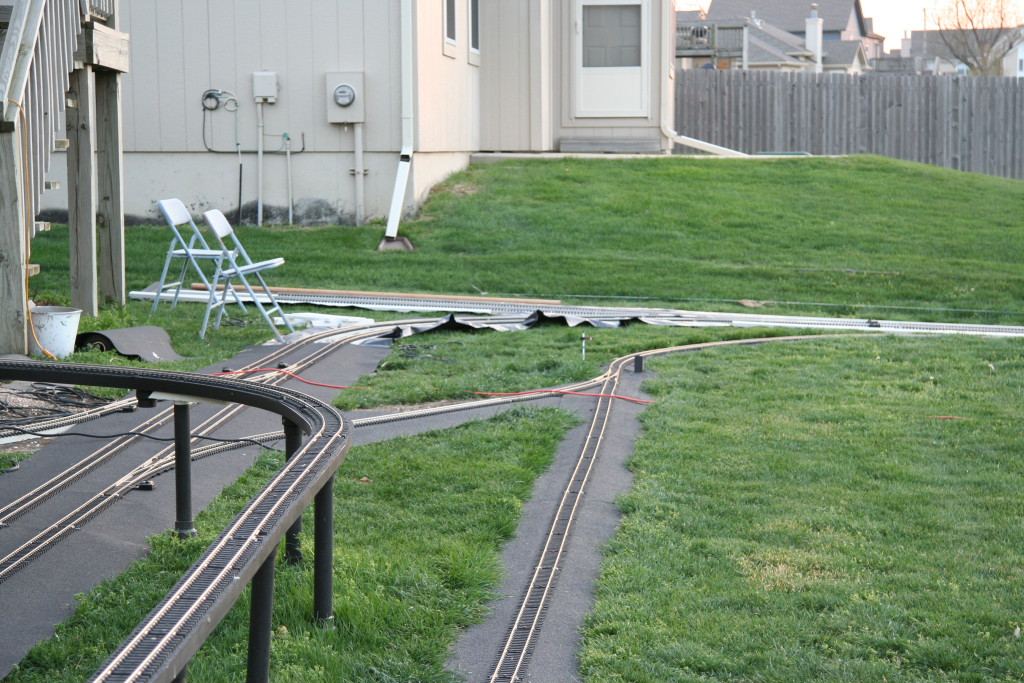
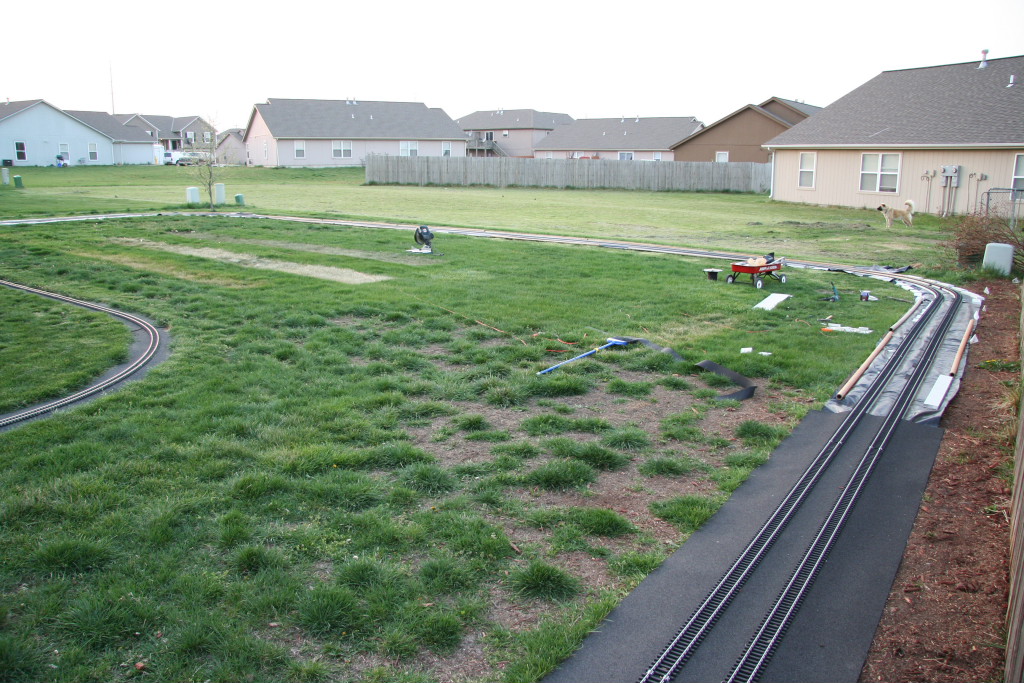
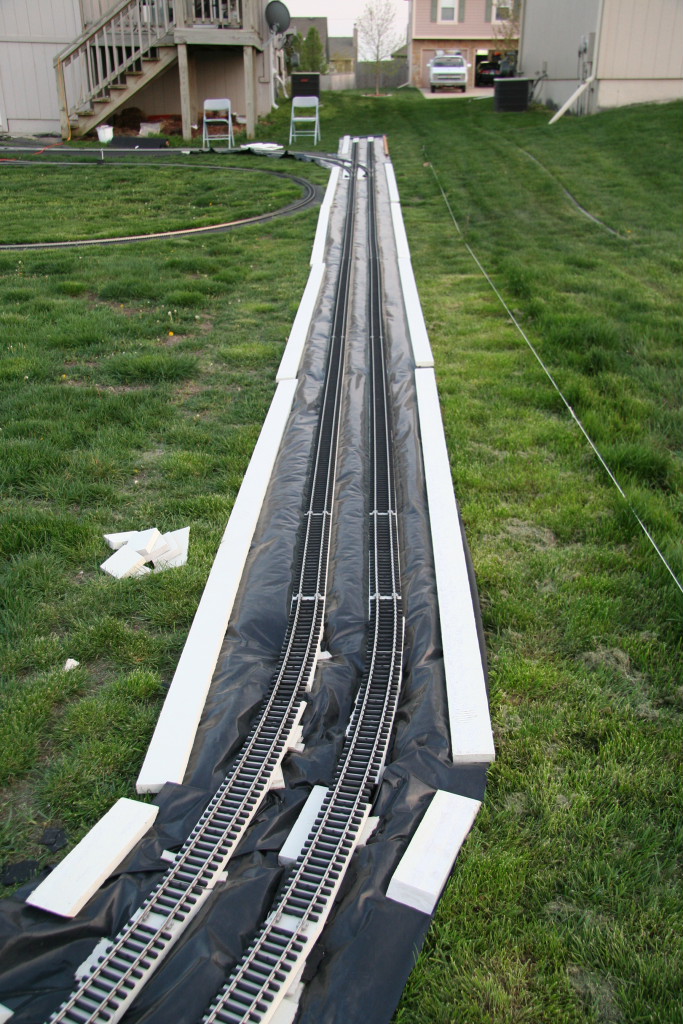
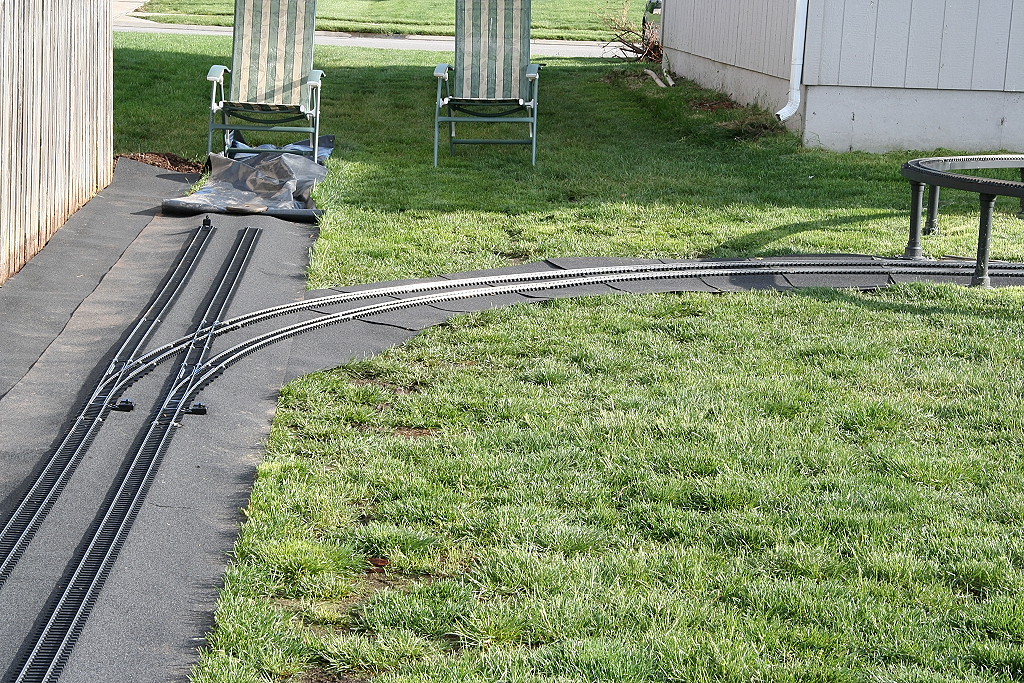
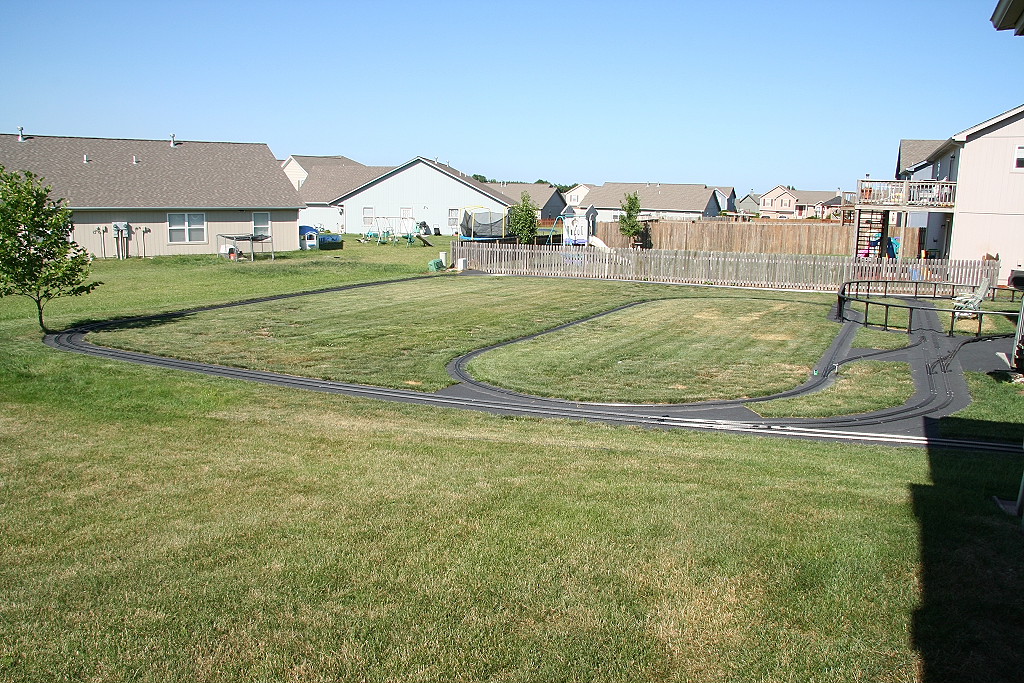
After that was done, the removed track was put back in place
and the rest of the needed track lengths were installed. Next, the whole
line will be leveled and evened up.
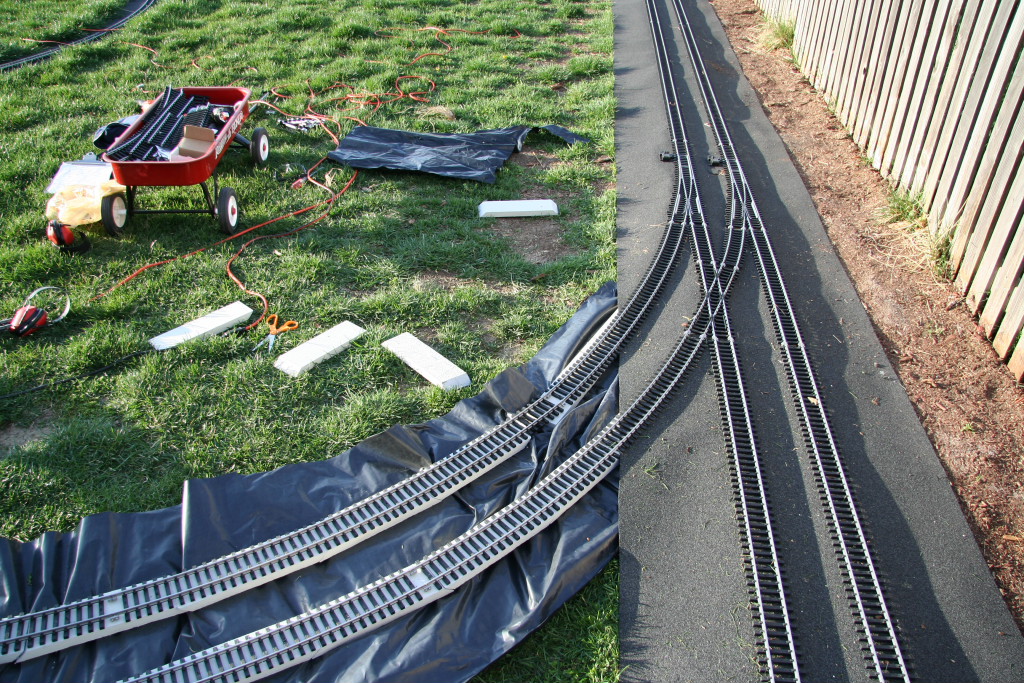
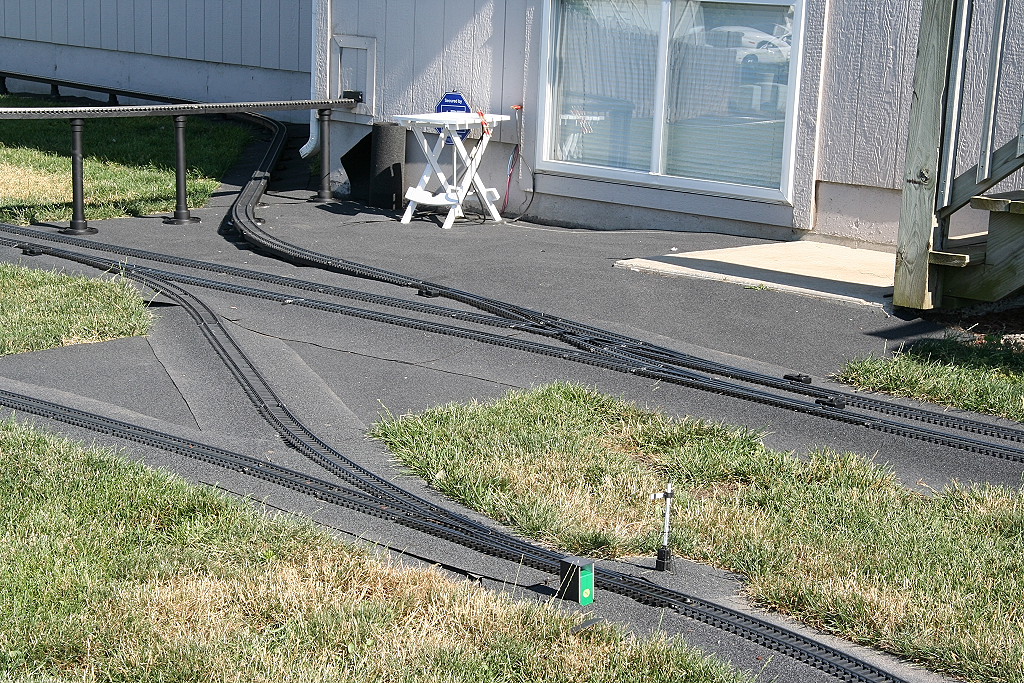
Part 1:
What isn't pictured is the corner Hardi-planks are in place and
screwed down.
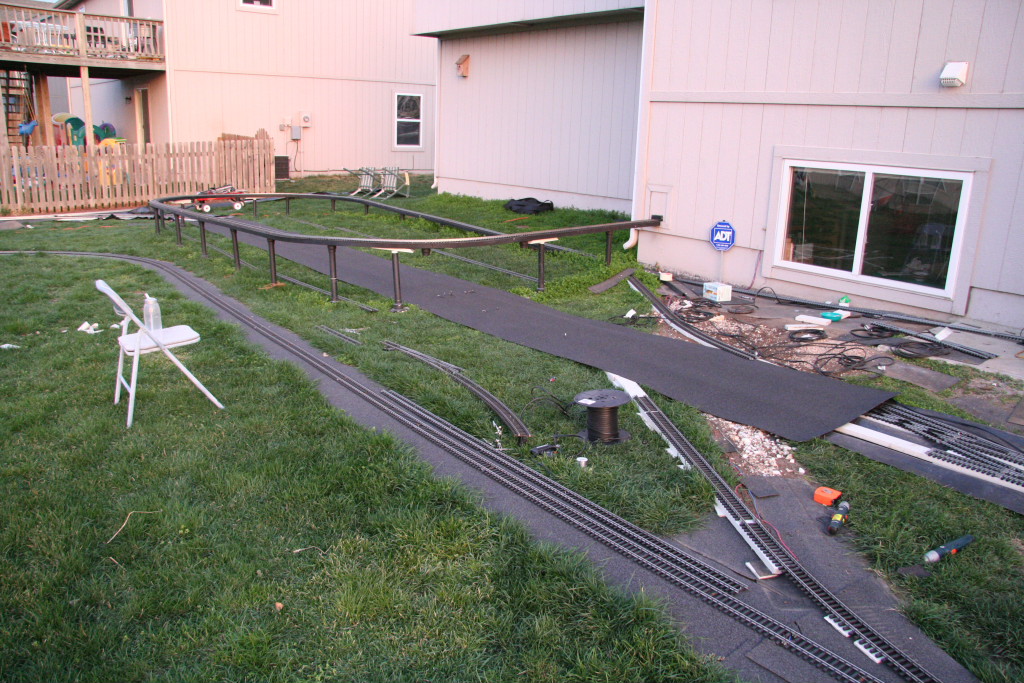
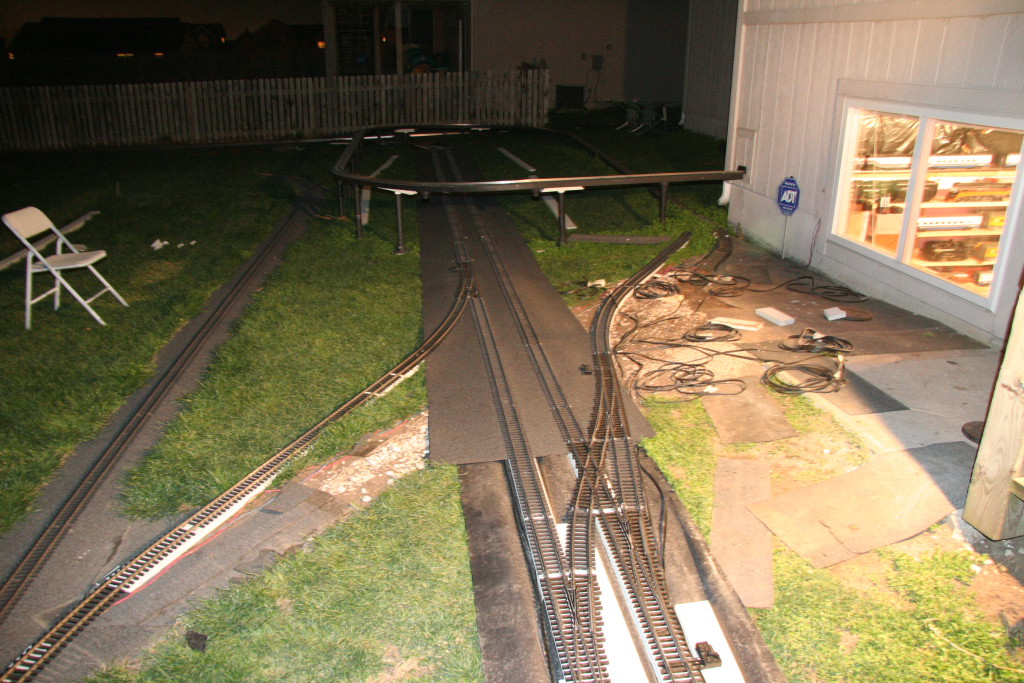
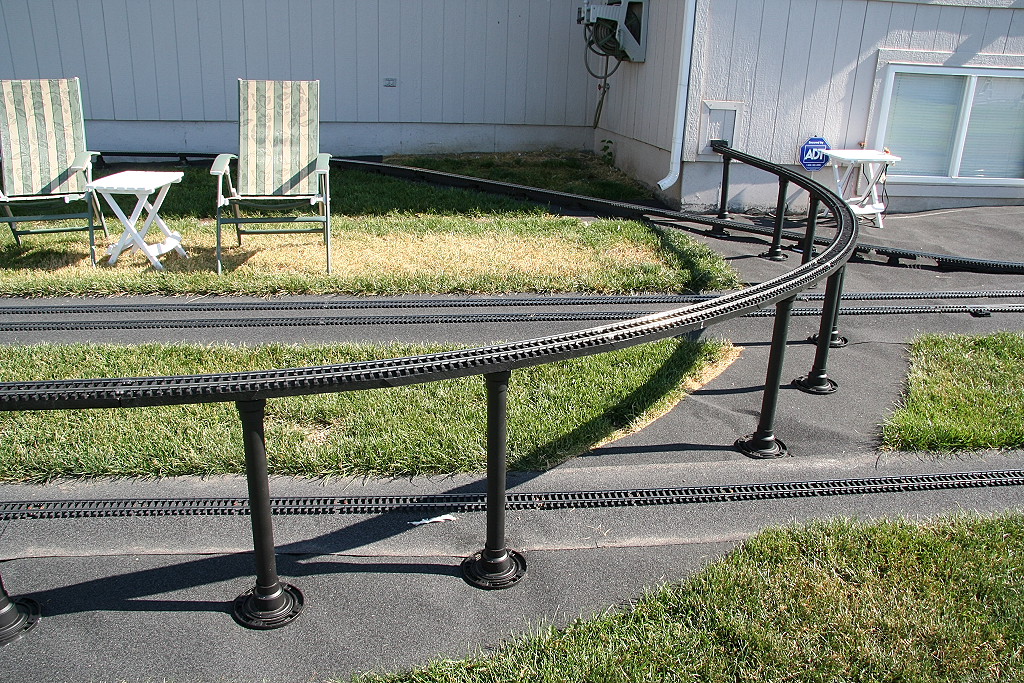
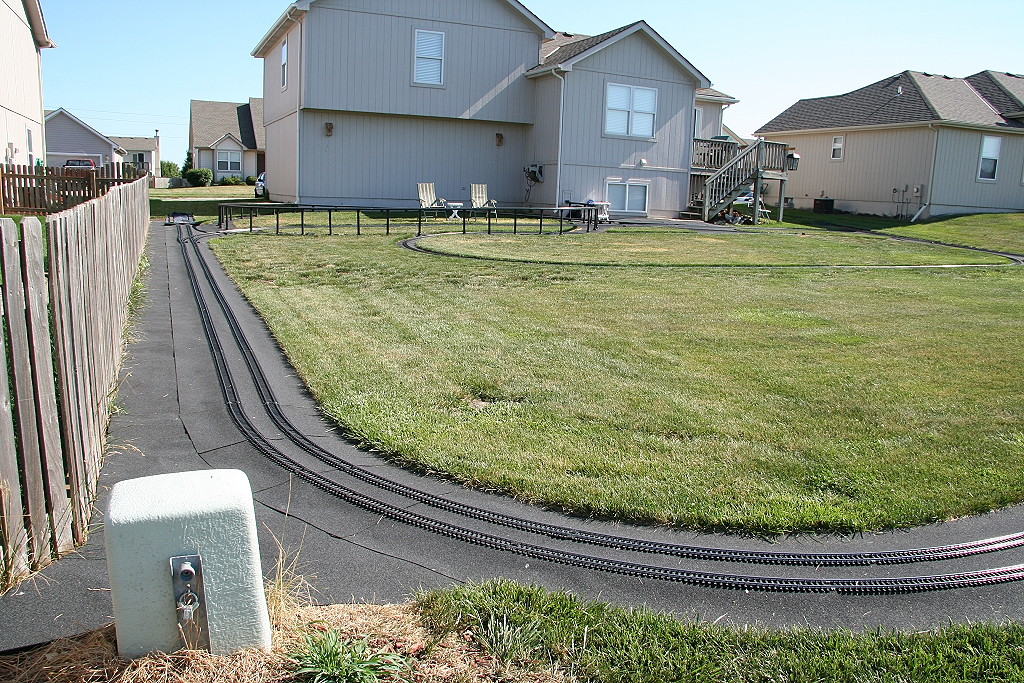
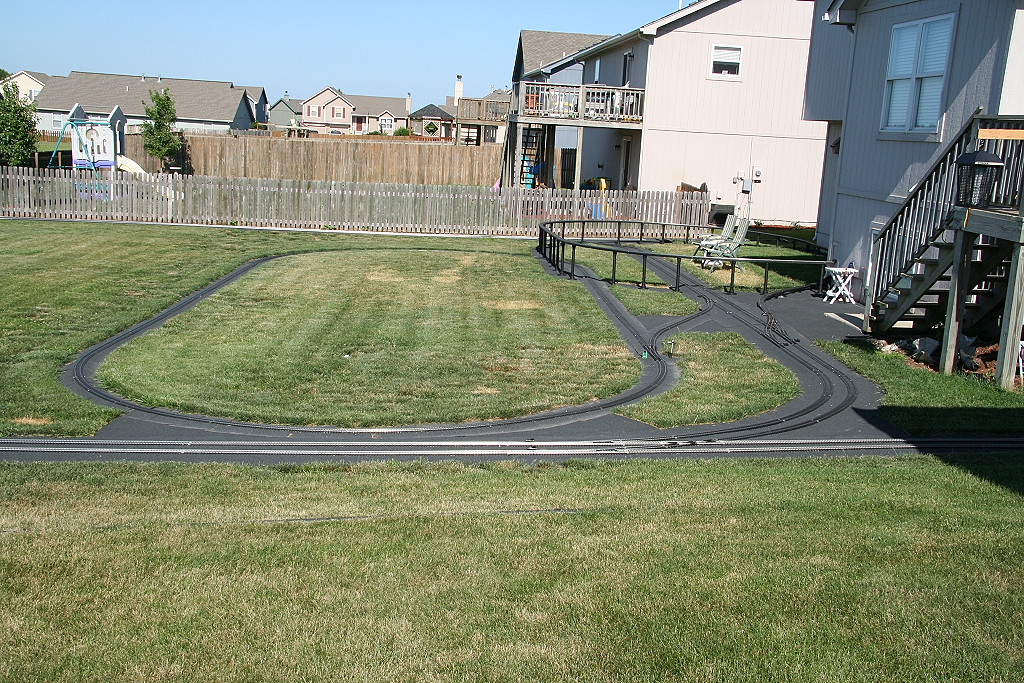
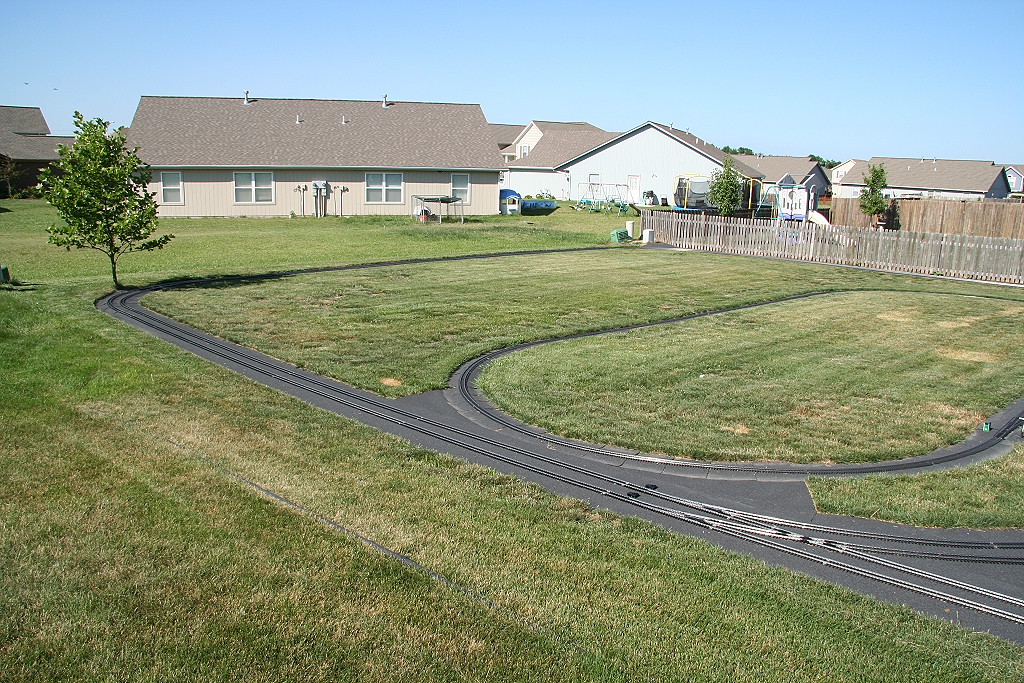
Part 2:
Loops are almost connected.
Hardi-plank is now under the entire length of both ovals.
Only one cut left on the inside track in one corner. All that is left is
to level and smooth out the grade on the straights and lay the feeder lines and
they will be ready to run. The rolled roofing will be final step.
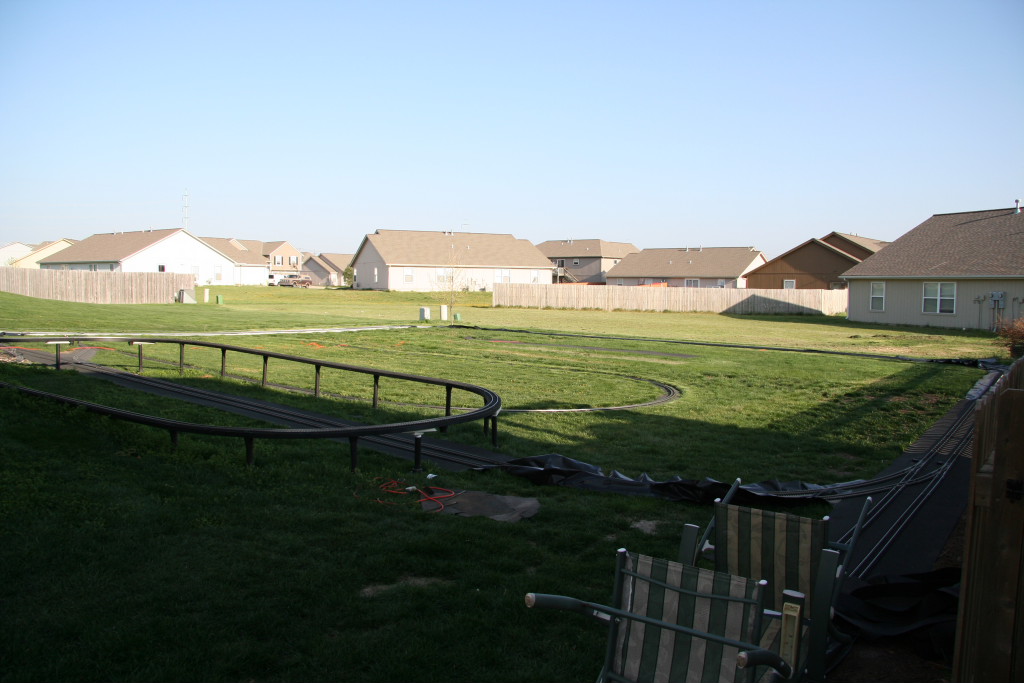
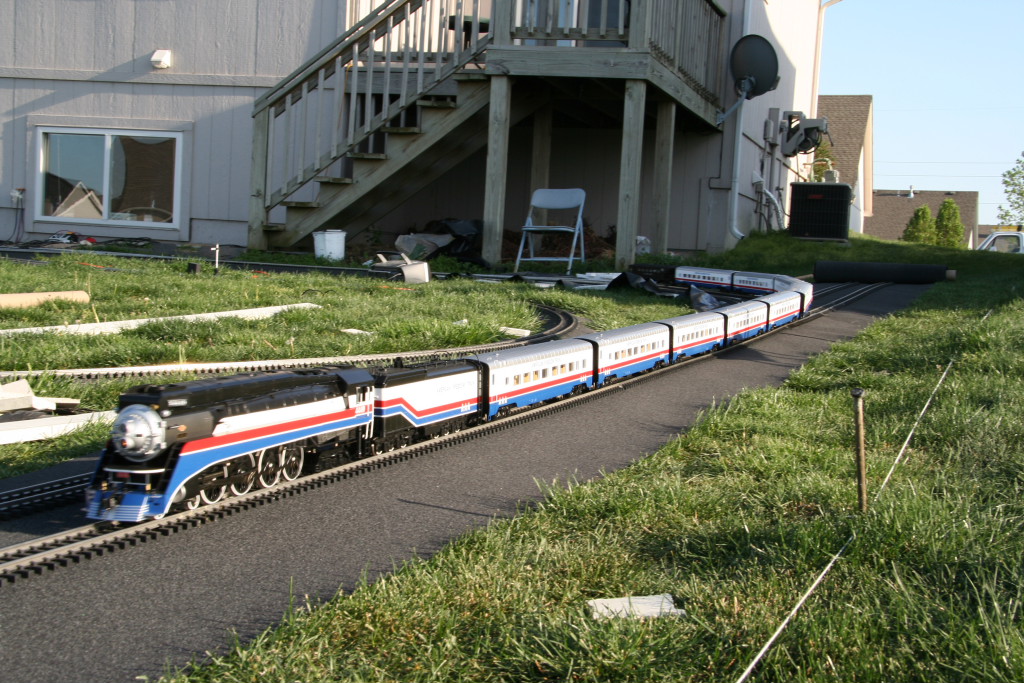
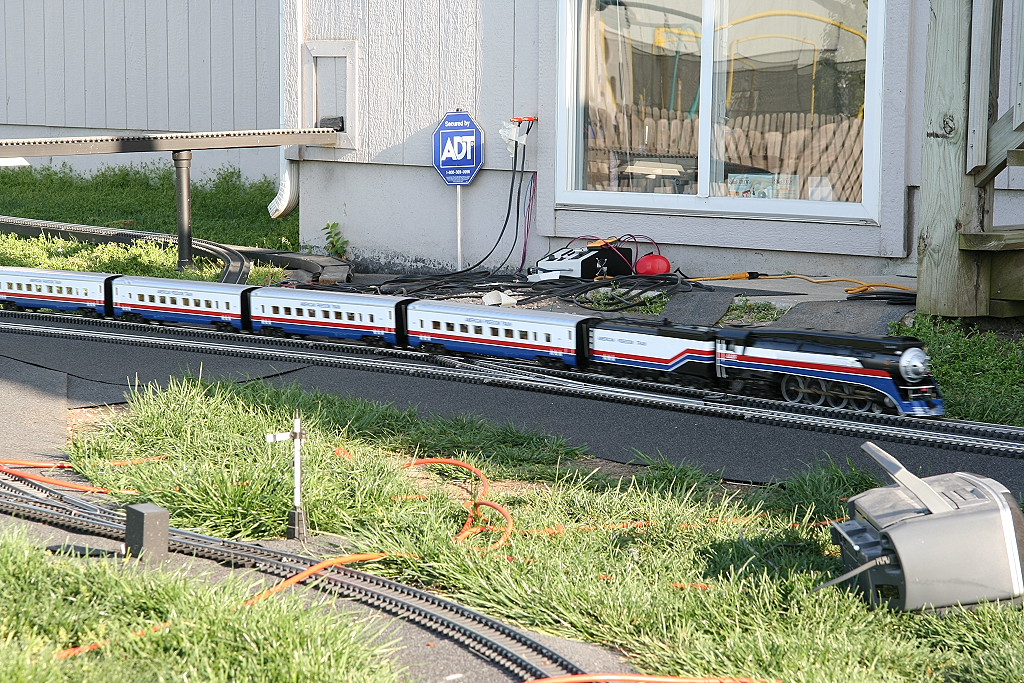
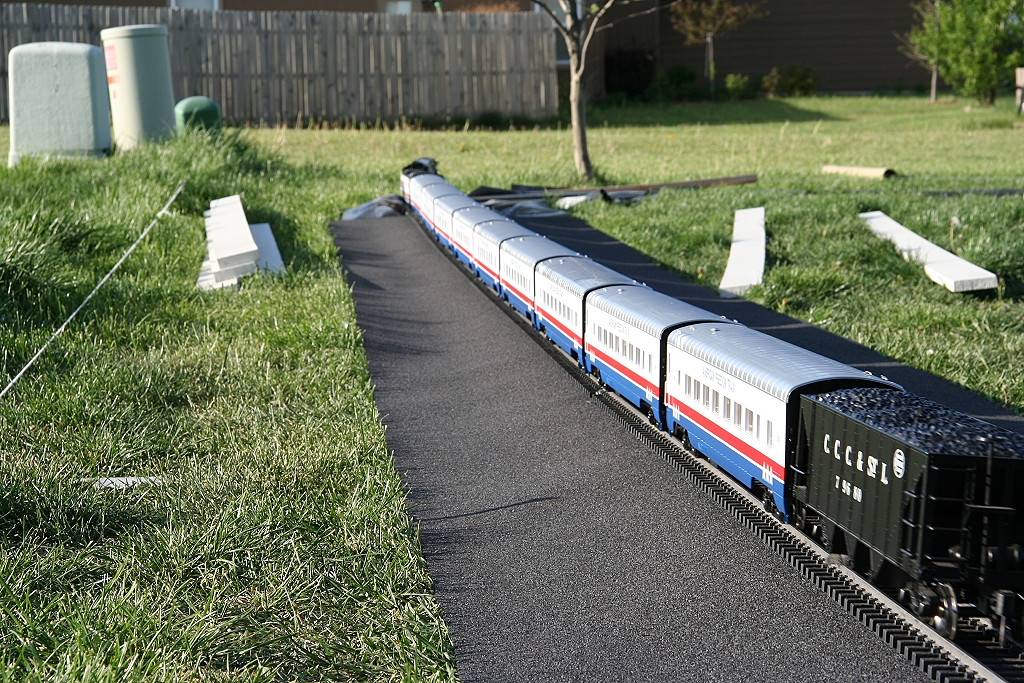
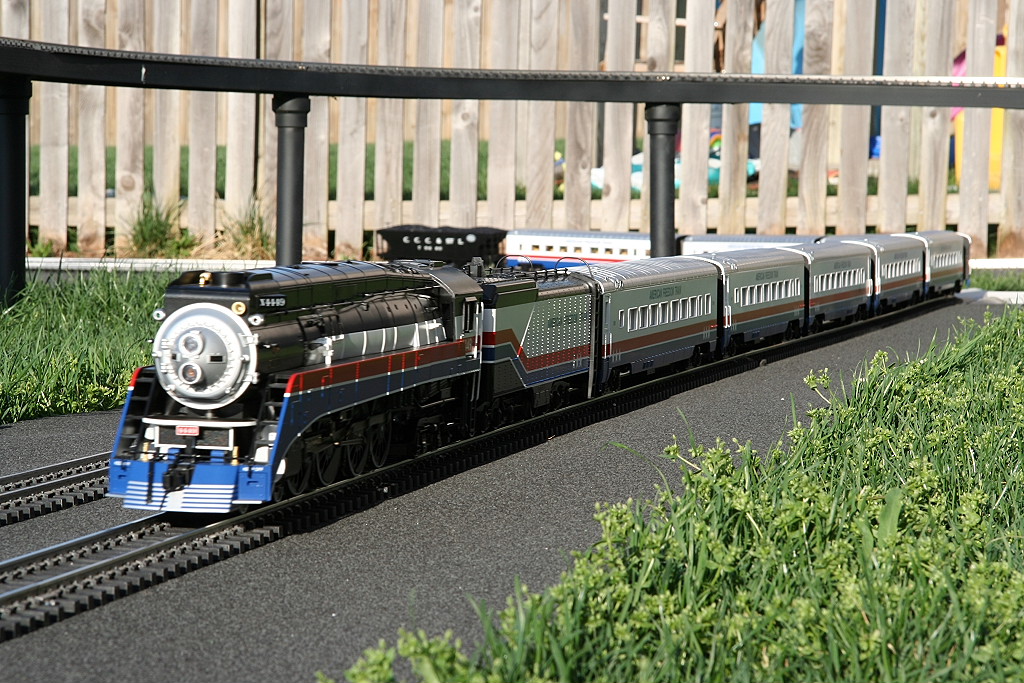
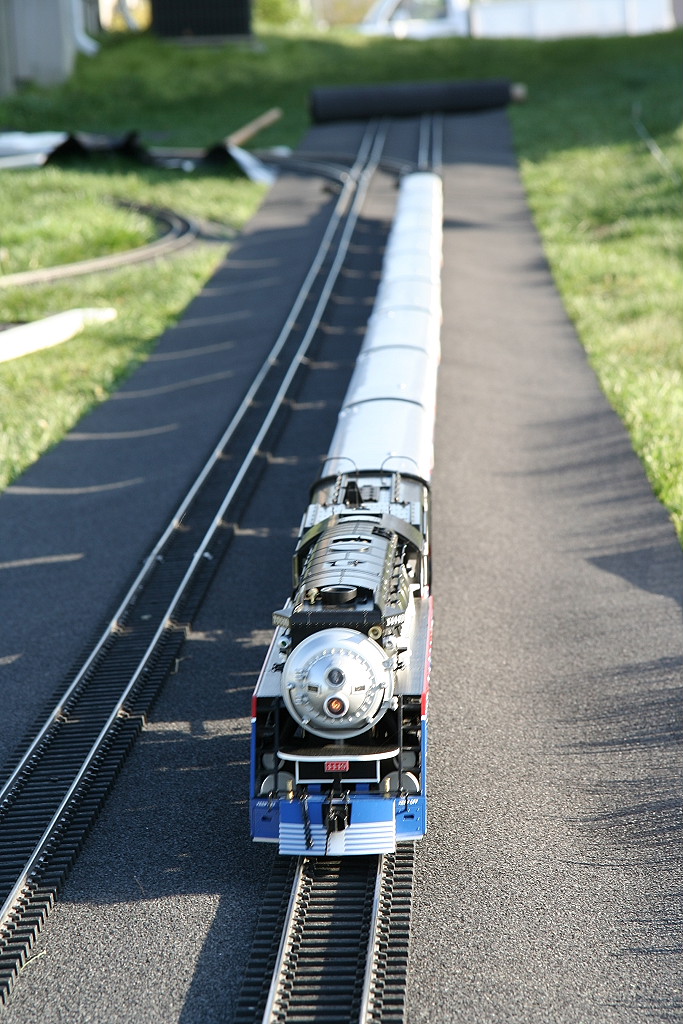
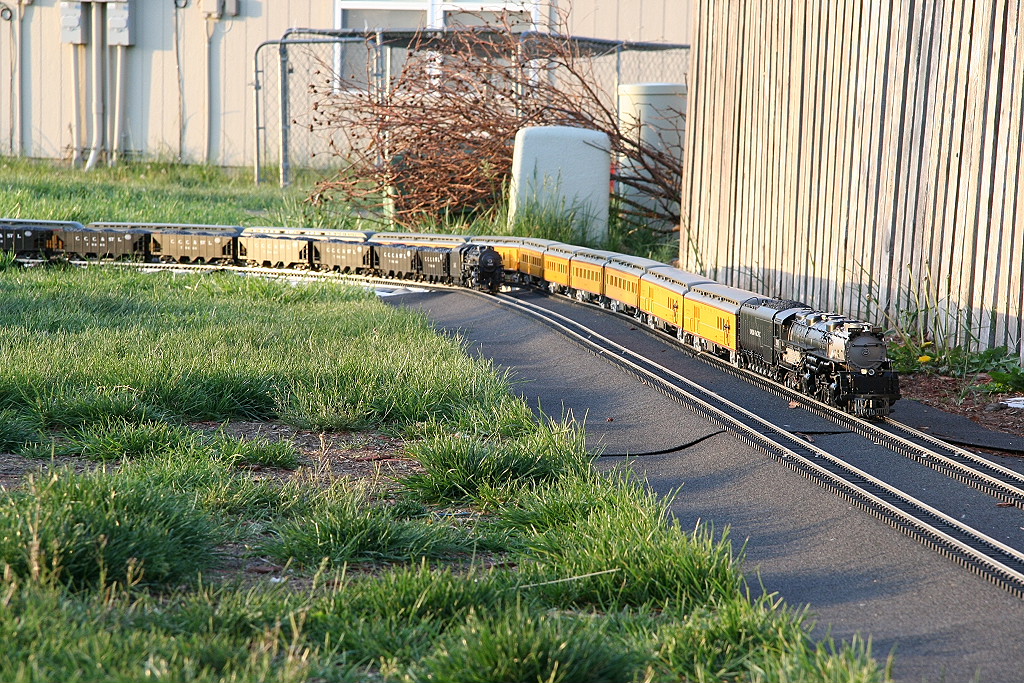
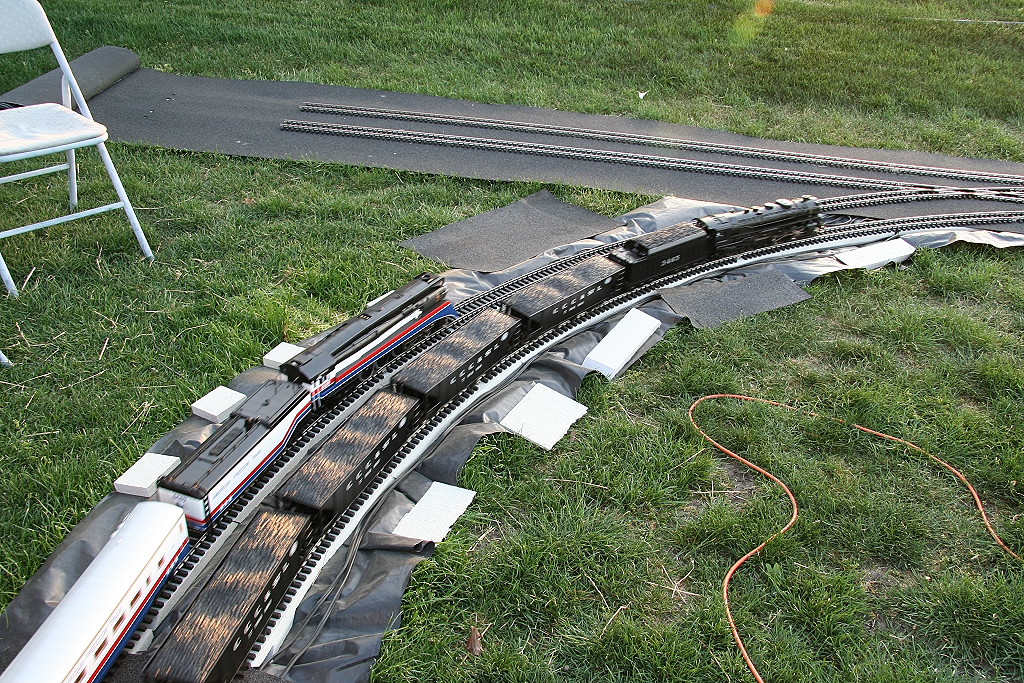
The first test run.
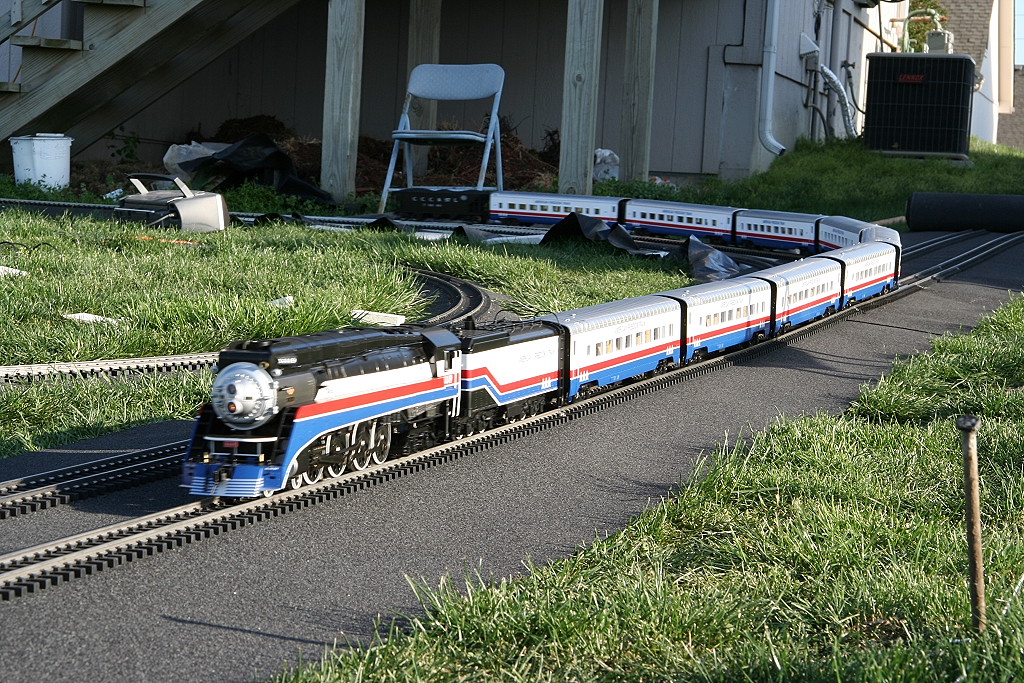
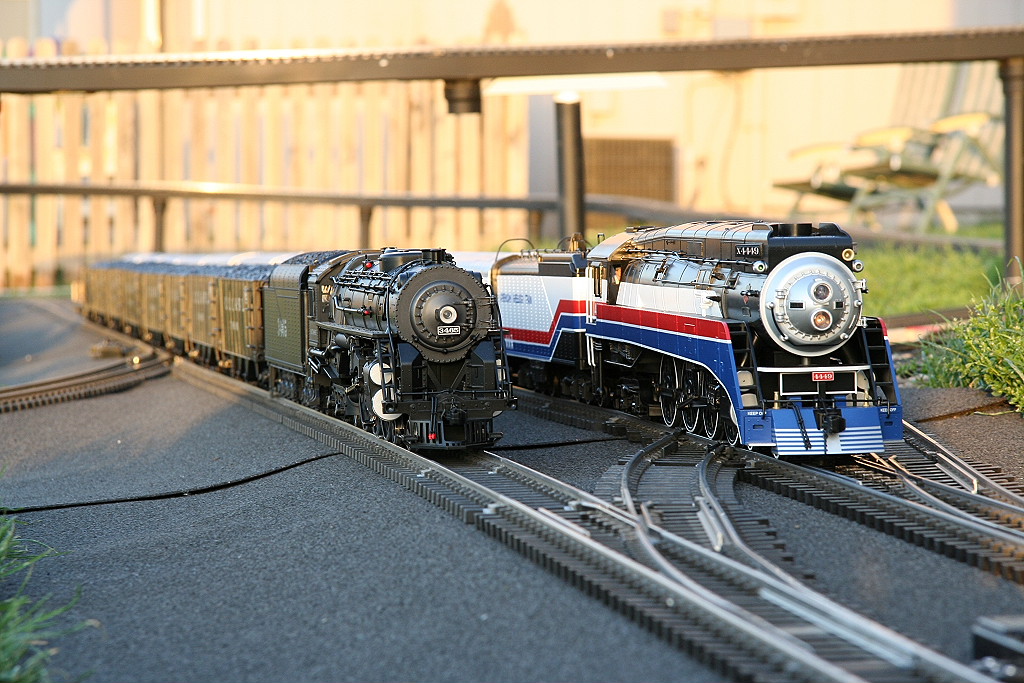
The first multi-train test.
Three corners done.
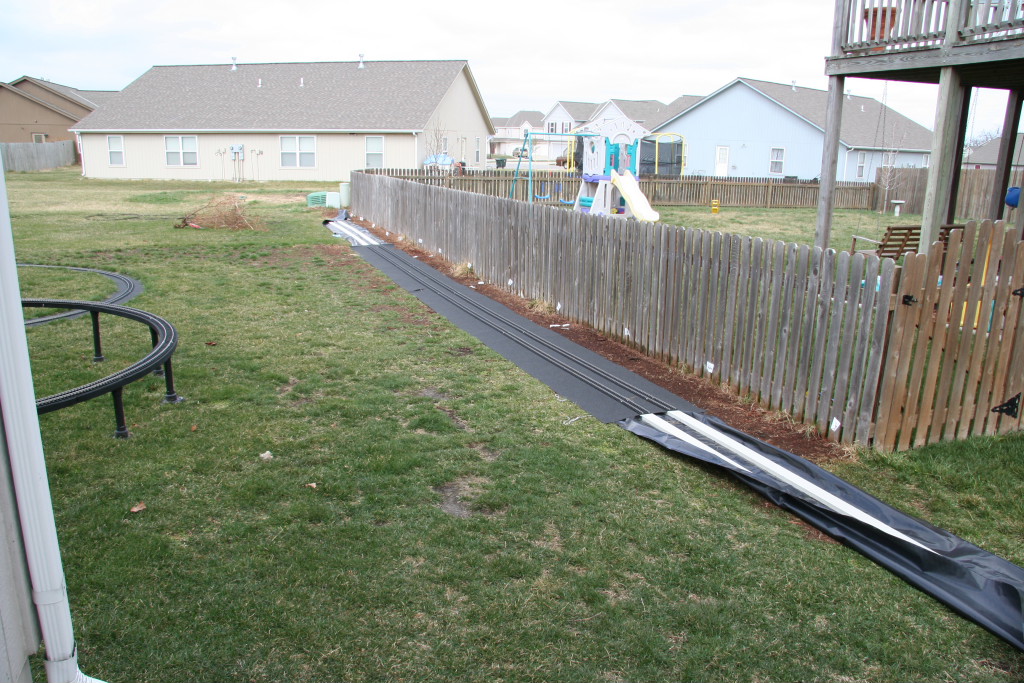
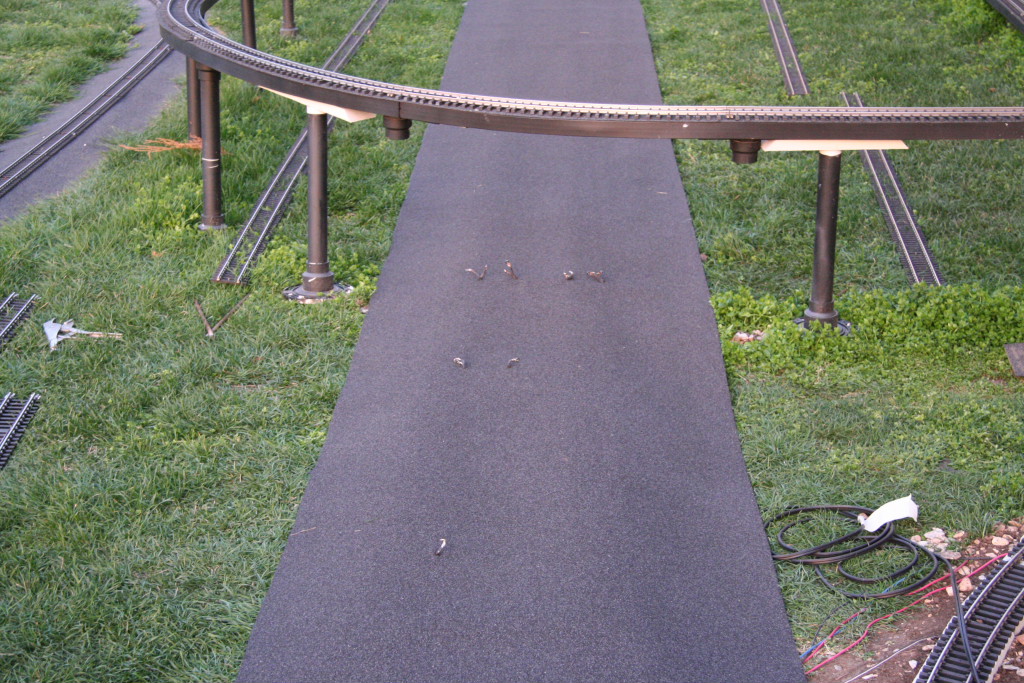
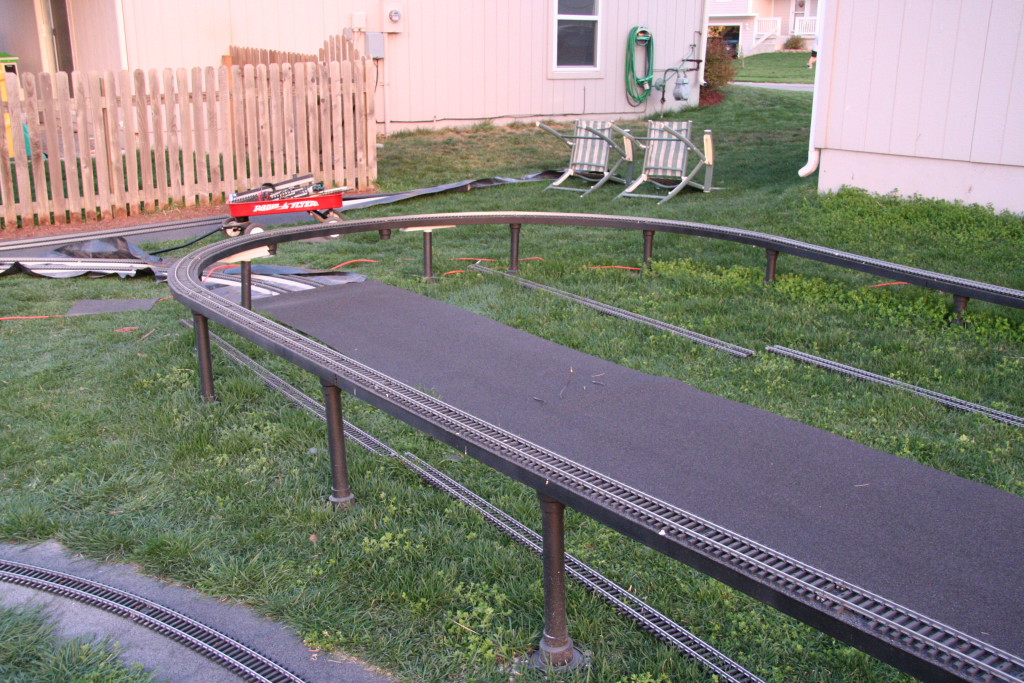
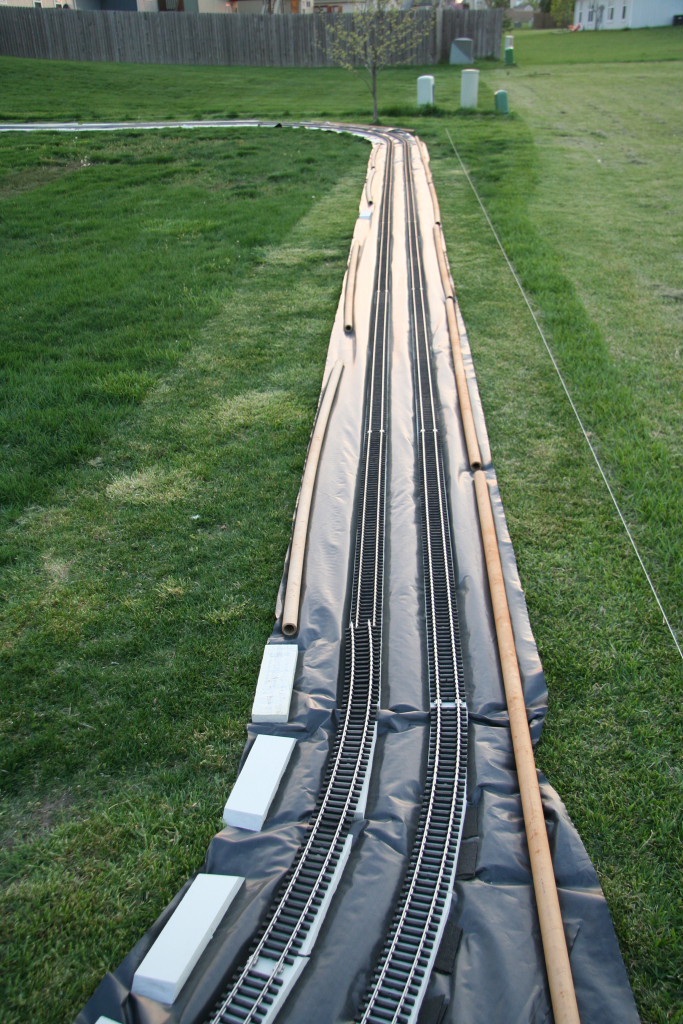
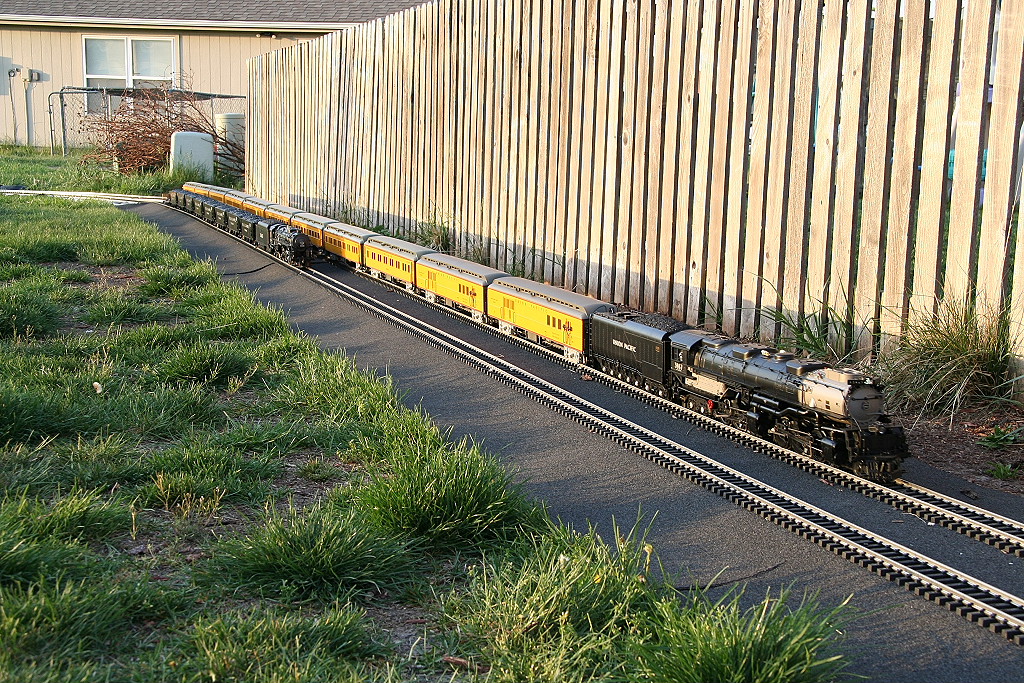
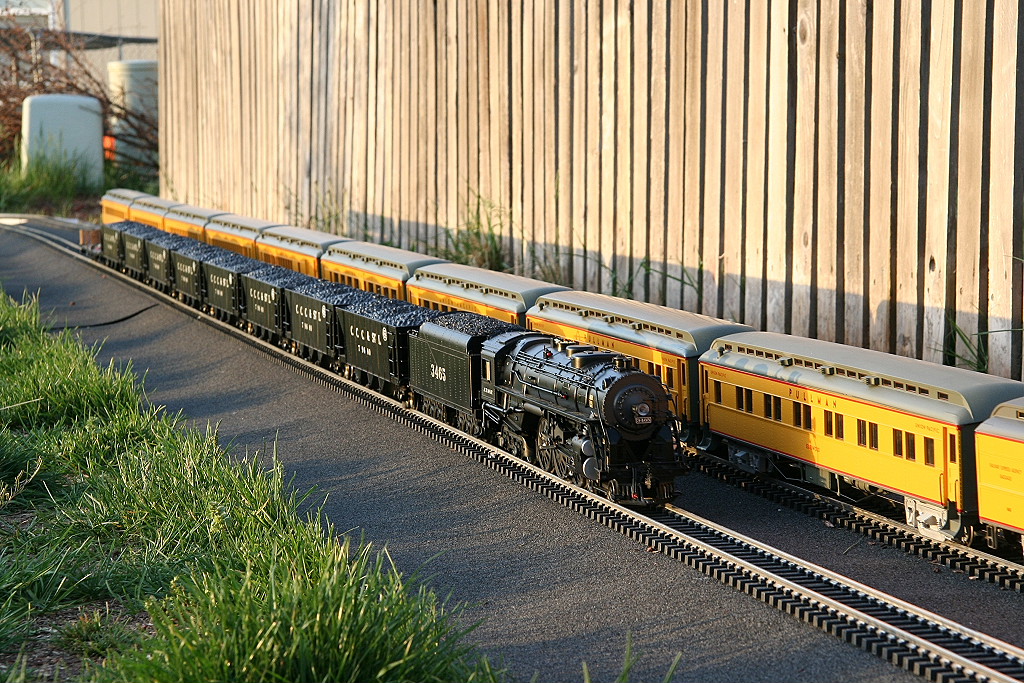
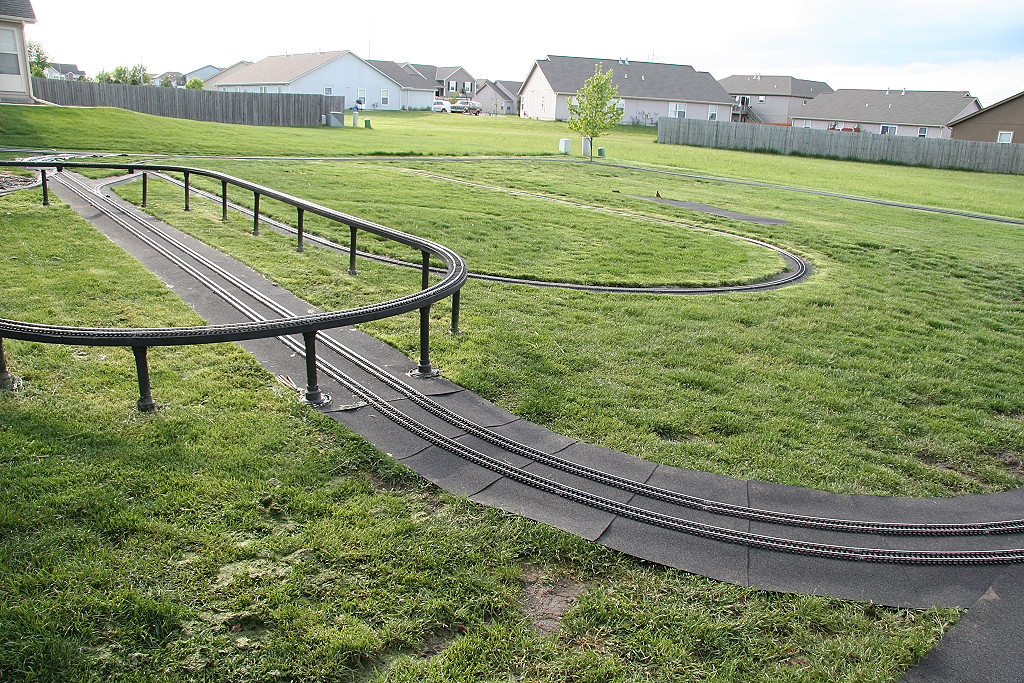
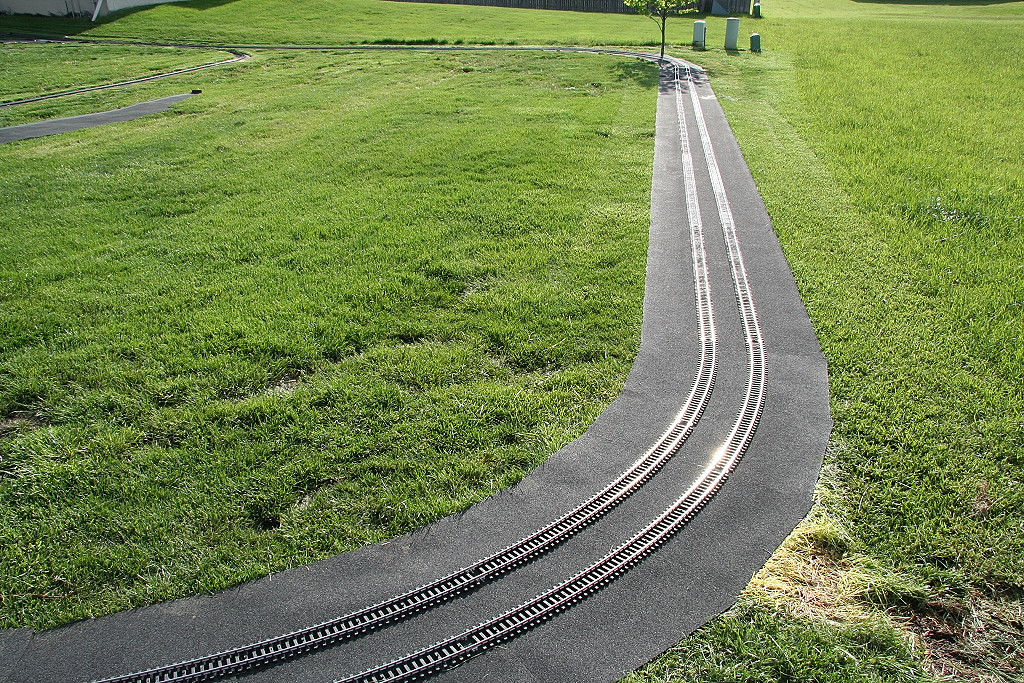
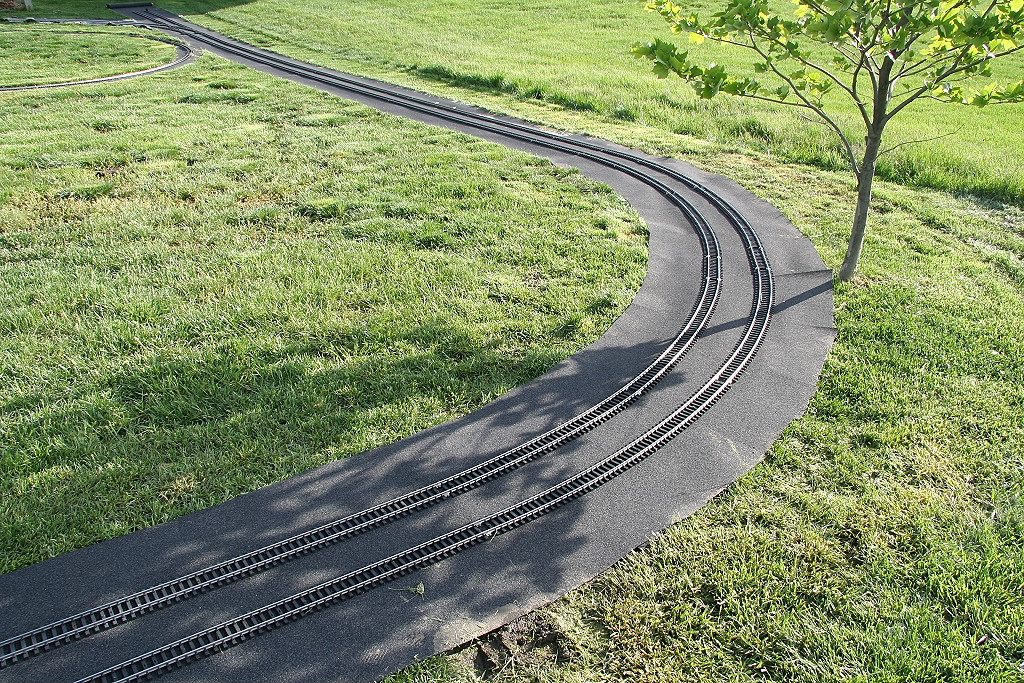
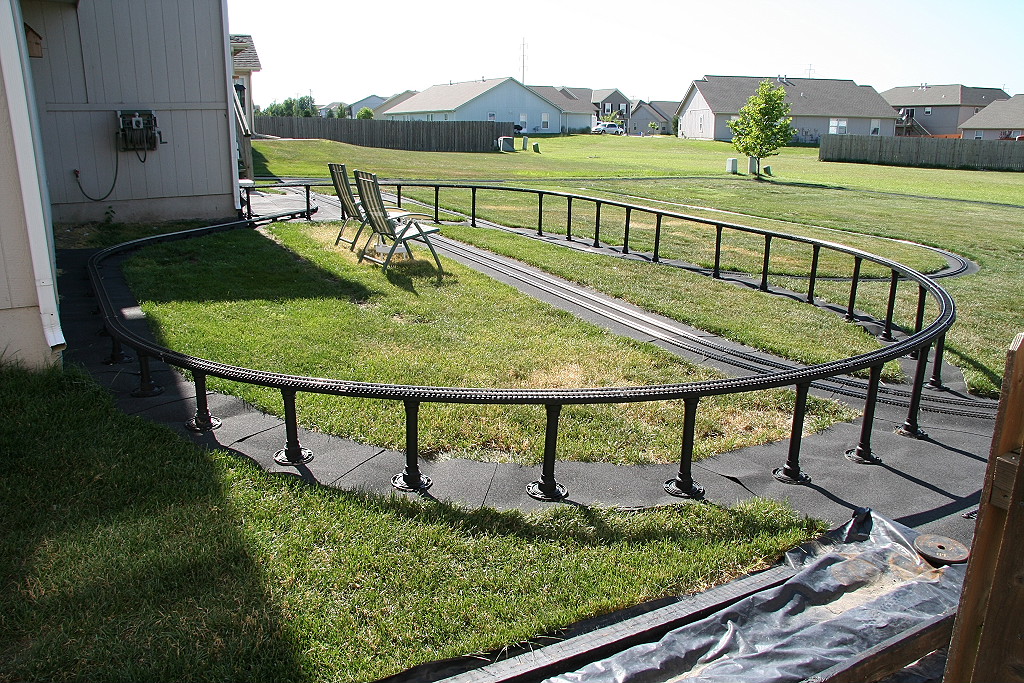
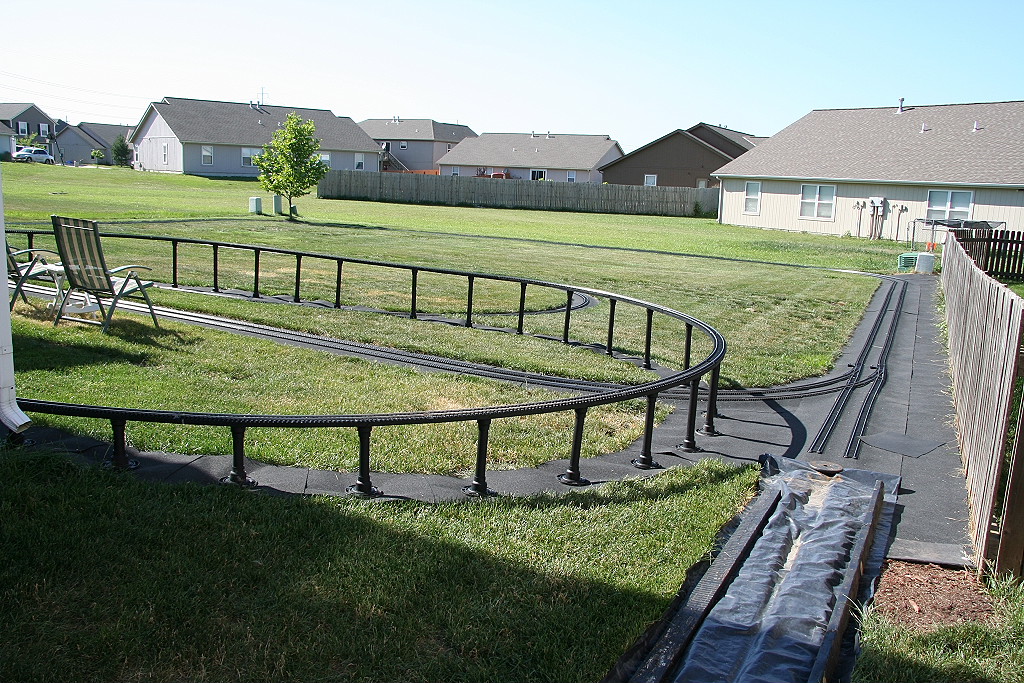
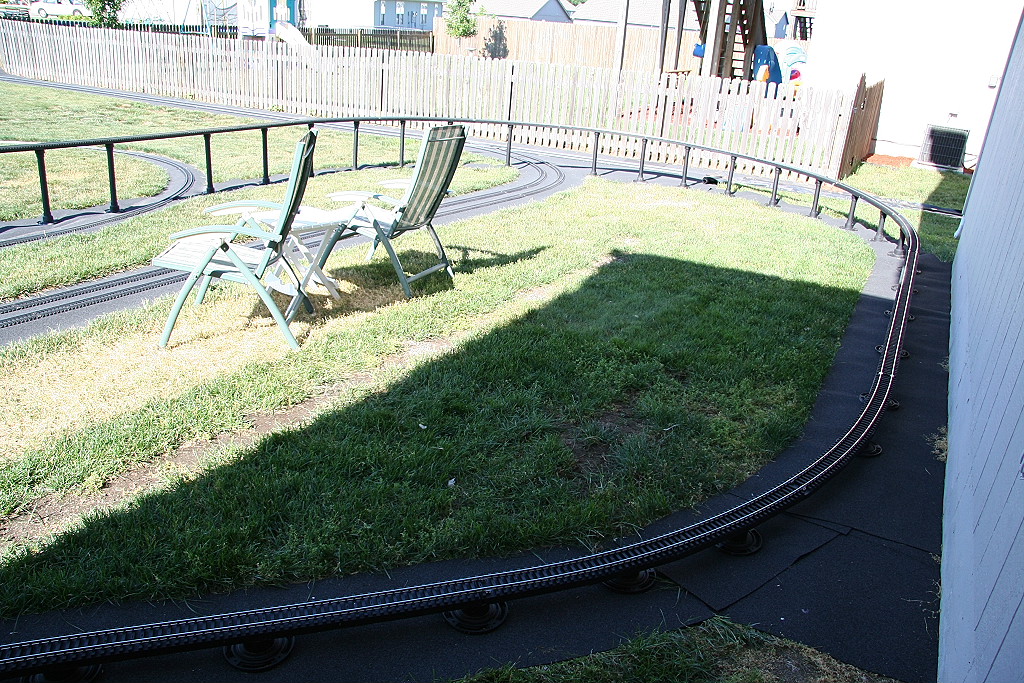
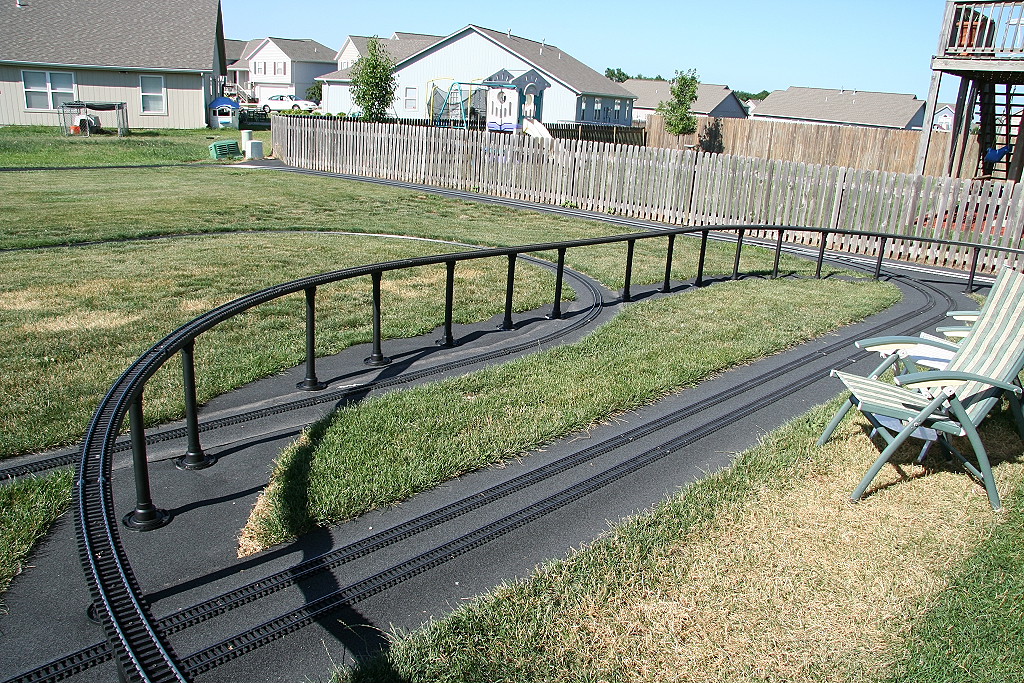
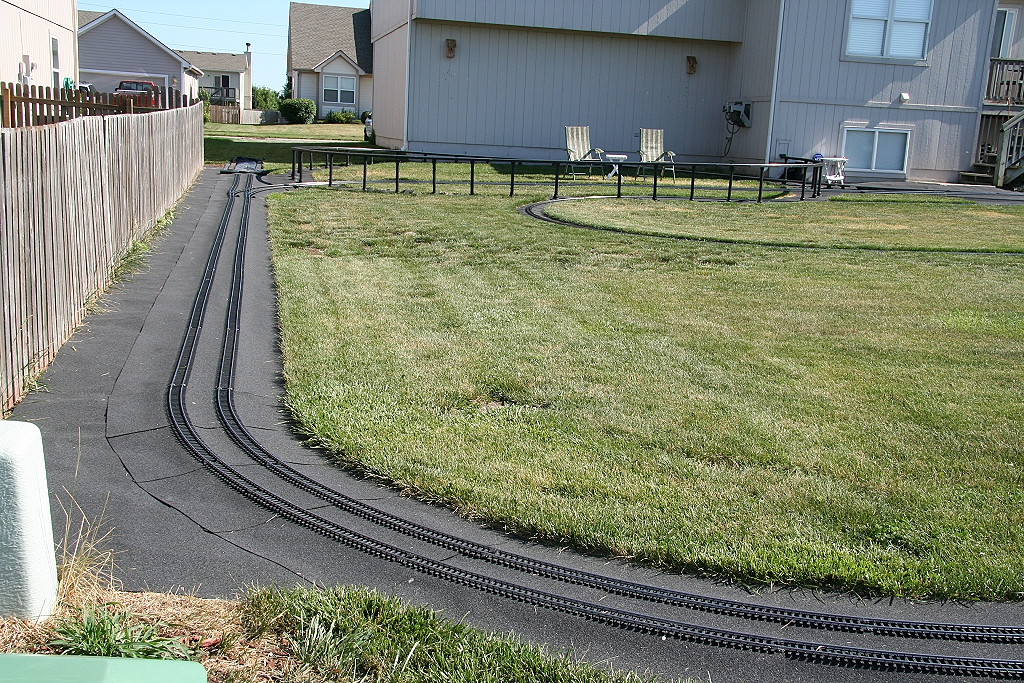
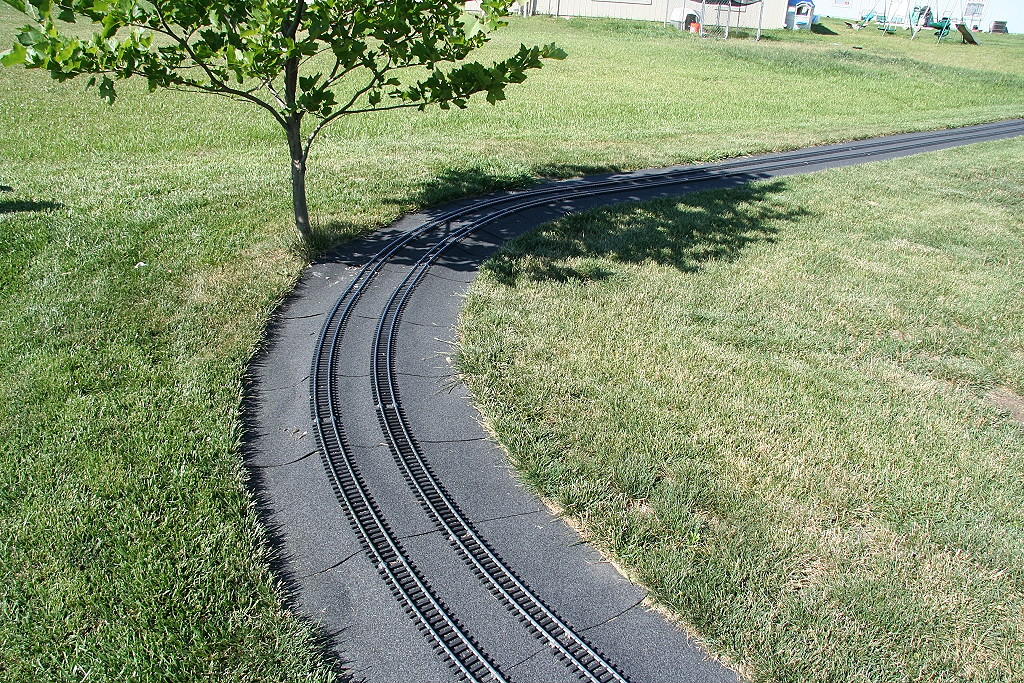
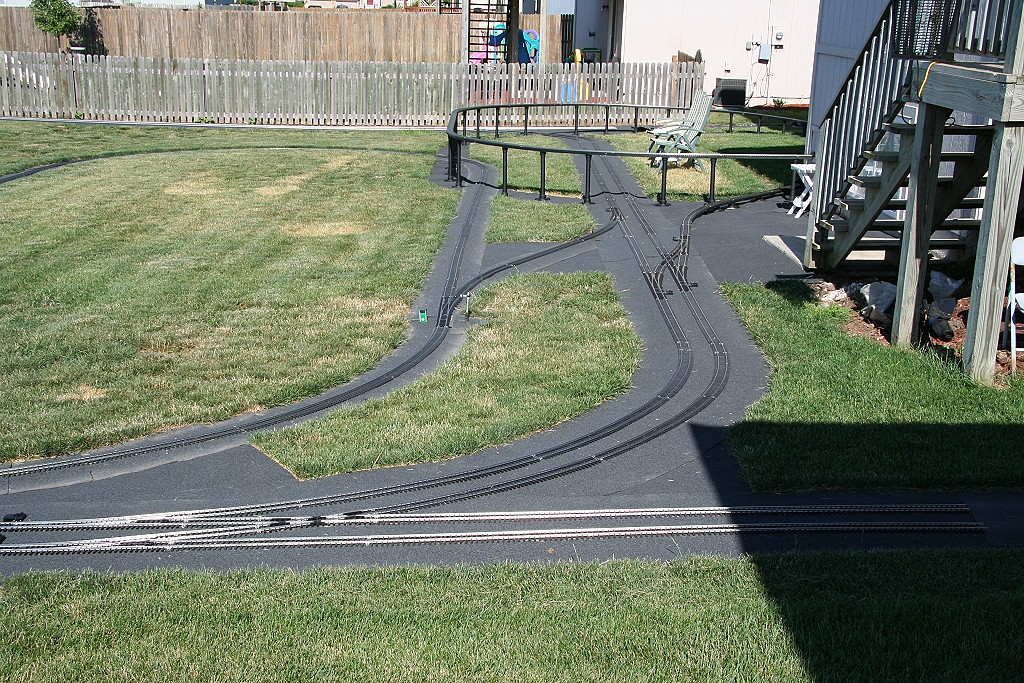
Completed the final rolled roofing sections.
With the rolled roofing in place there is no weed whacking required, just push
mow down the sides and use the rider on the rest. The layout is basically
maintenance free. (The right side is having some heat expansion
issues on the right side I need to address.)
Here it is.
Lessons Learned: (Post-Deployment)
If I had to do it over again I would have:
- Used two layers of rolled roofing to provide additional
strength on the sides and between the rails where people may step.
- Placed a Hardiplank board down between the two rails to
provide stability in case someone steps or walks between the rails
- Used a perforated plastic sheeting bottom later to allow
water to properly drain
- Painted the Hardiplank boards thoroughly with enamel
paint to protect them from moisture.
__________________________________________________________________________________
 2006 -
Basement Ramp Rebuild page
2006 -
Basement Ramp Rebuild page
__________________________________________________________________________________
Return to Garden Railroad
Modification page.

Web Counter