Garden Railroad:
Wiring and Connections to the track
____________________________________________________________________________________
Wire:
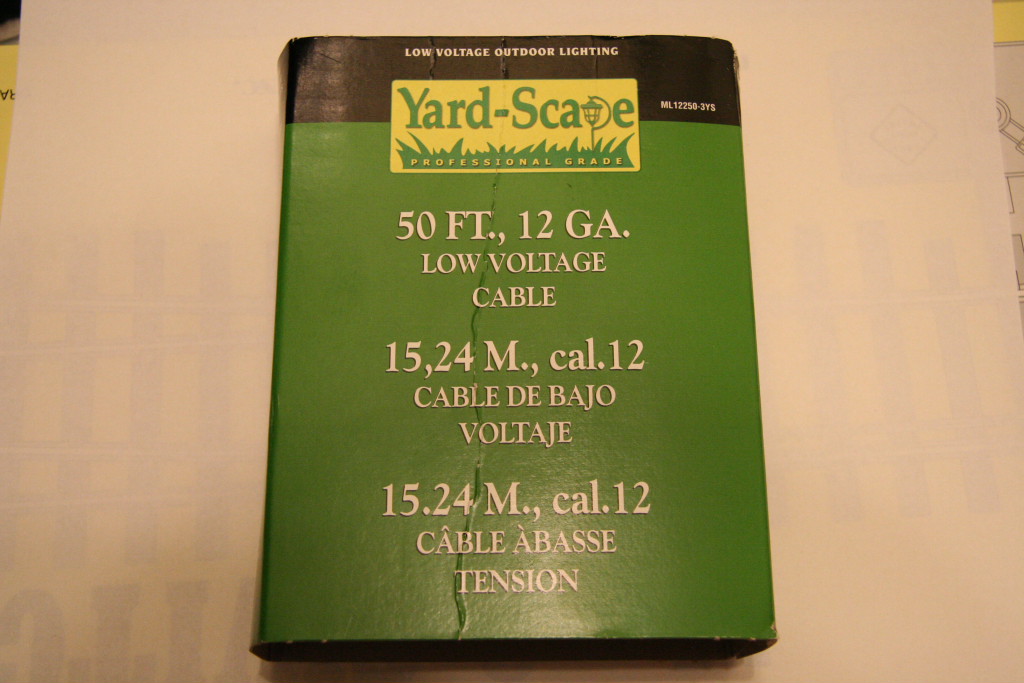
My layout is wired with this finely stranded 12 gauge outdoor low voltage
wire. (Low voltage wiring means the copper wires are finely stranded to
reduce voltage drop over long distances. Voltage drop is an important
consideration in low voltage applications which is why this wire is made.) It has a thick rubberized insulation and
has held up well outside after four years with no signs of degradation. It
can be purchased at Lowes in 100ft sections (and shorter) for about $0.30/foot or
at Home Depot in larger 500ft rolls for a lower per ft cost.
Connections to the track:
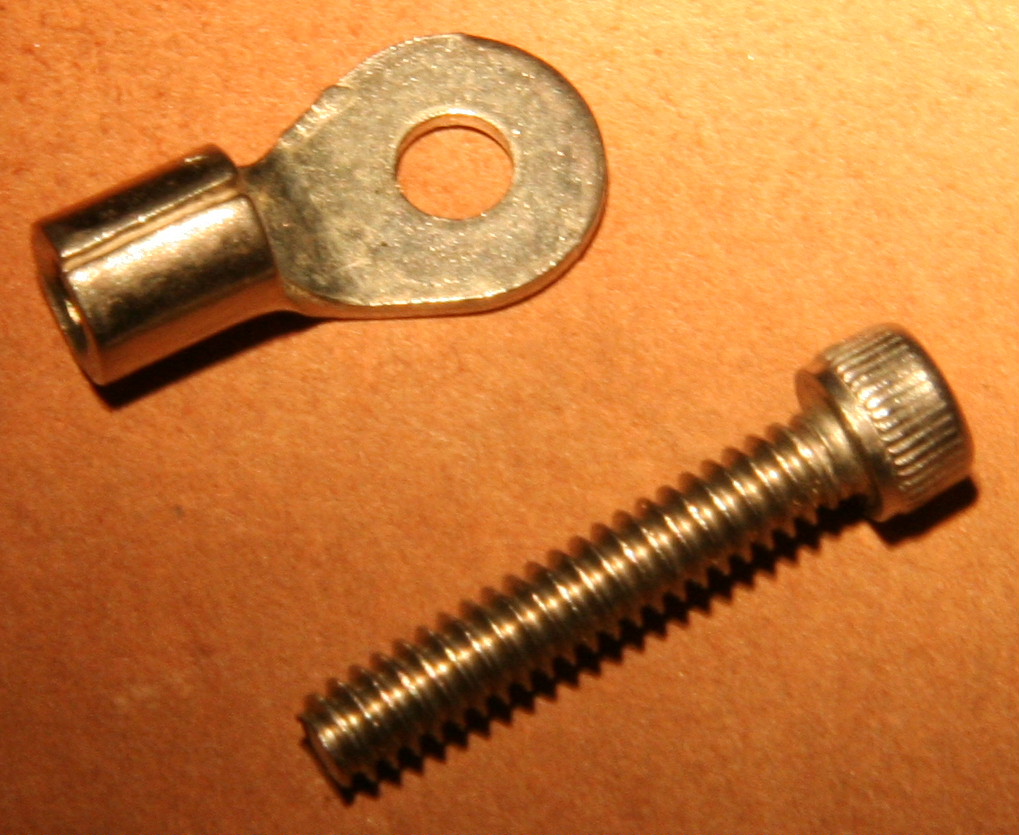
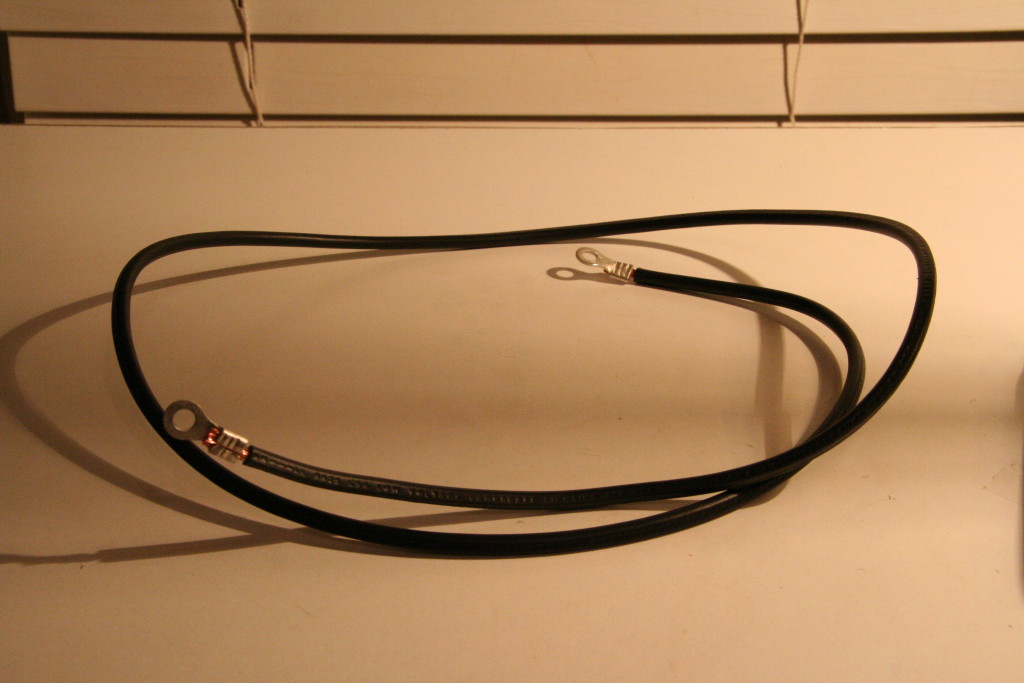
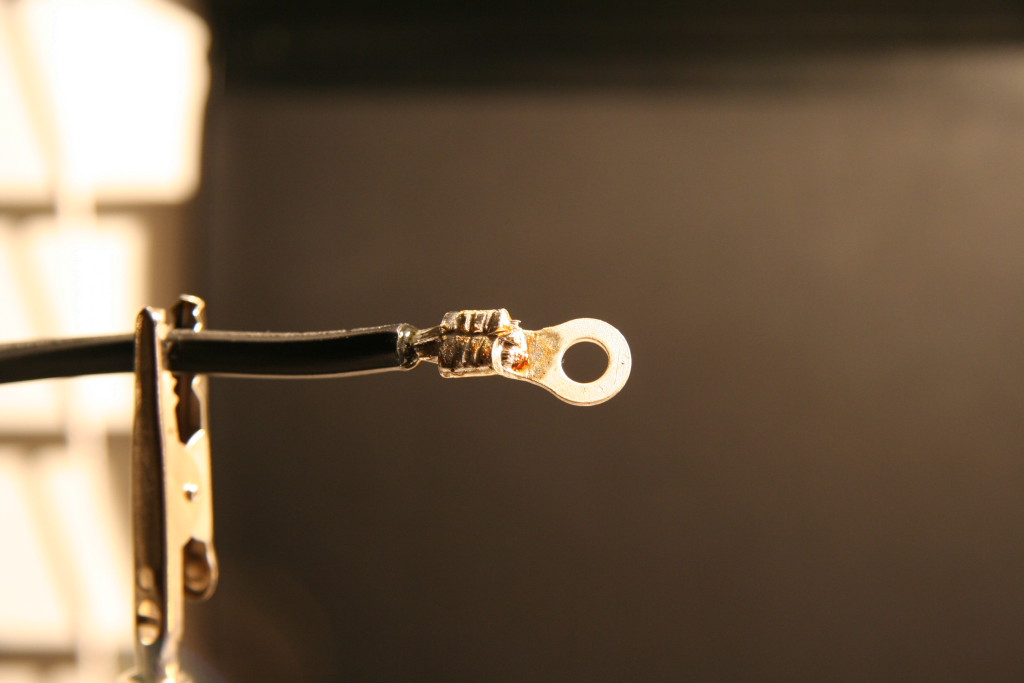
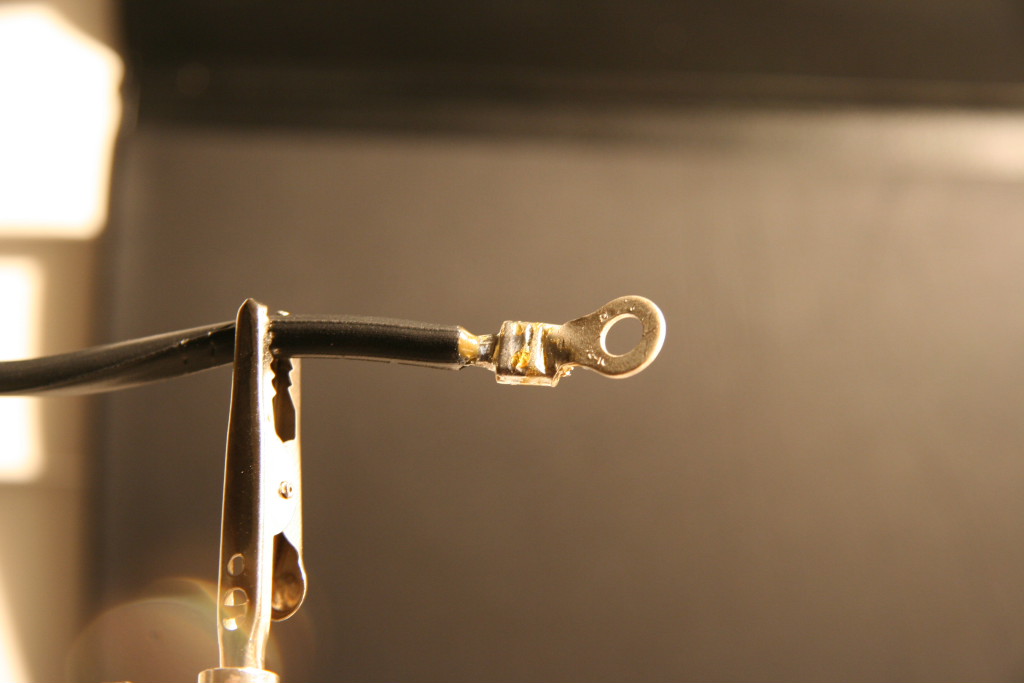
I've had great success using these ring
terminals from Ace Hardware for the feeder wire connections on the layout.
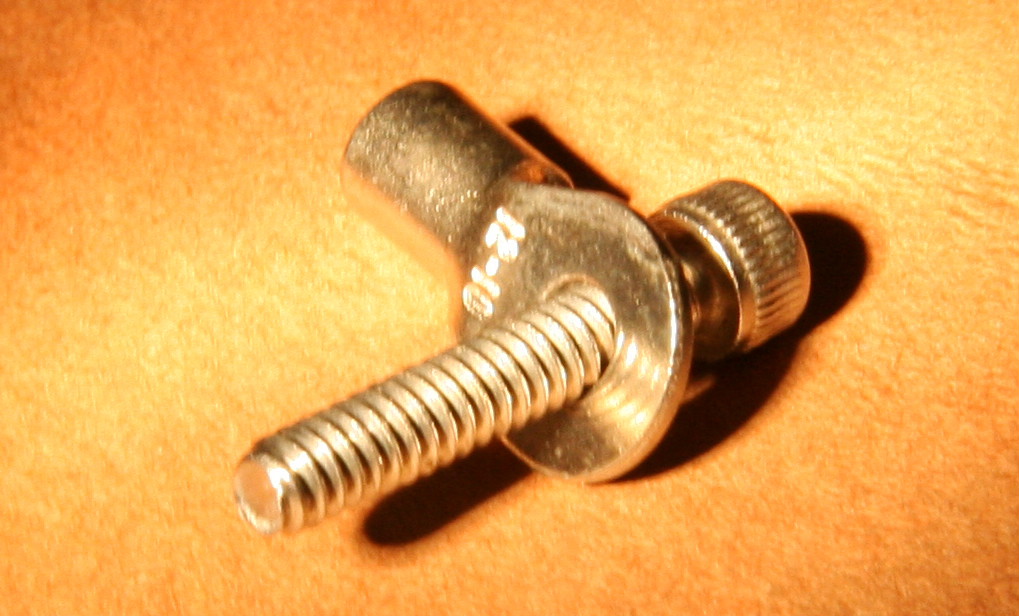
For simplicity and ease of future disassembly, I chose to bolt them to the side of the
split jaw clamps.
Example of connection to Split-Jaw clamp (with a different type
of ring terminal)
You may need to get a longer screw for those you are planning to
connect your ring terminal in this manner. A longer 3/4" version of this
screw (6-32 socket cap) can be purchased online or at your local hardware store
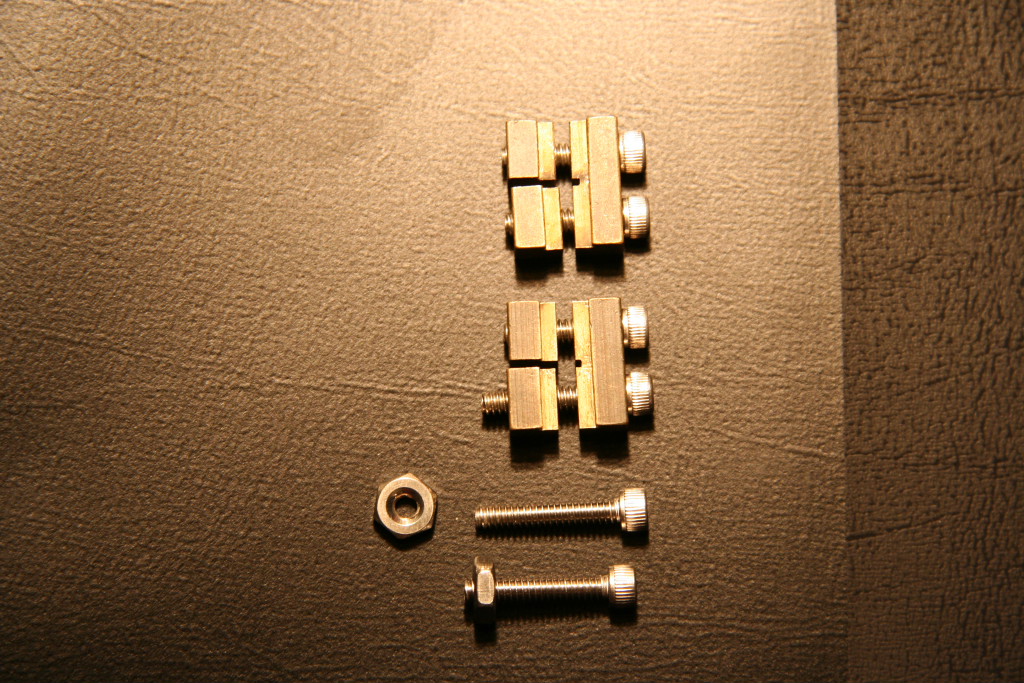
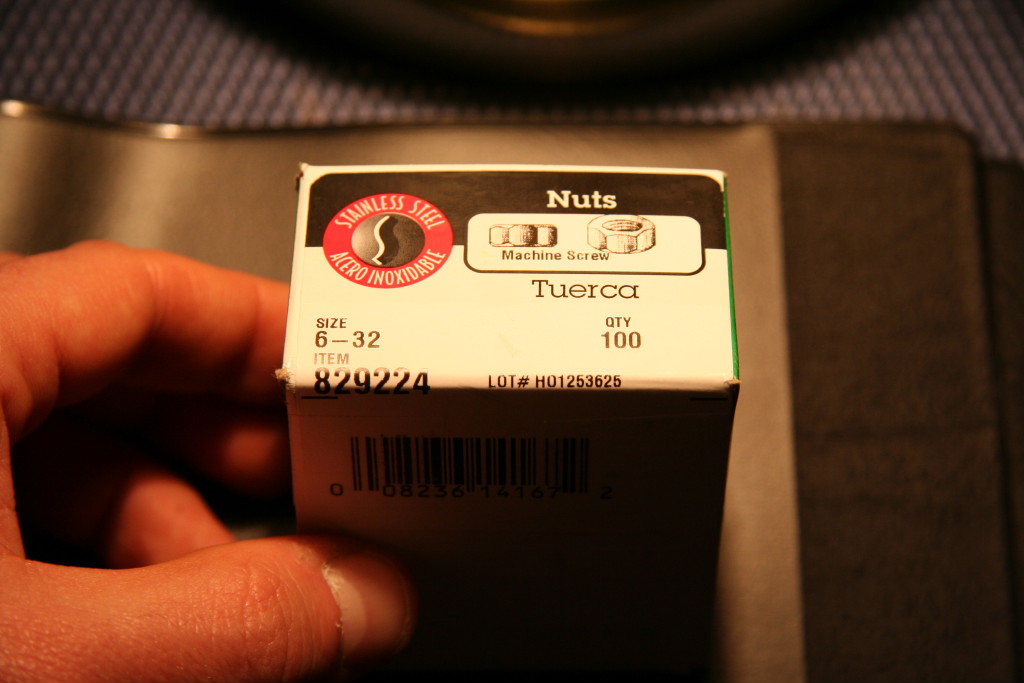
(Ace Hardware) If you want to connect the terminal on the back side on the
end of the screw, you will need a nut such as the Stainless steel
Hillman's pictured below (also purchased from Ace Hardware).
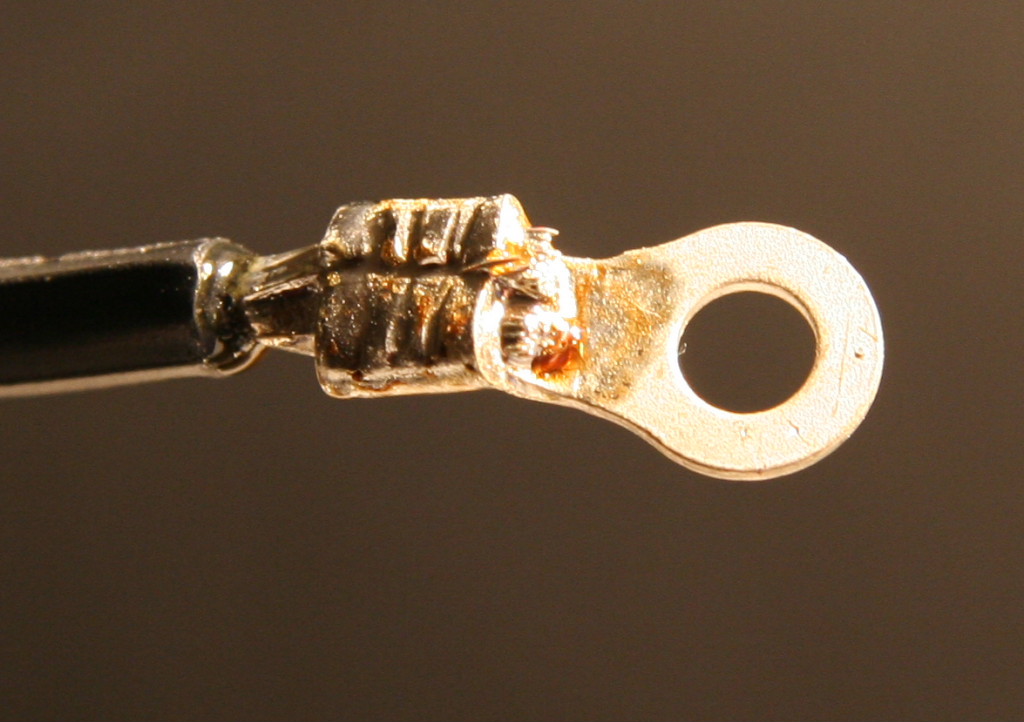
To protect the wire and connections from moisture, I thoroughly
soldered the terminal connections and wires leading back into the insulation.
____________________________________________________________________________________
Feeder wire configuration:
Typically if you
use Stainless steel track or use brass with slider joiners, you will need to run
feeder wires to more than one location on your ovals. Stainless steel track has
a relatively high electrical resistance compared to brass so the more
power you try to pass through longer linear feet of Stainless steel rail (even
when using 100% direct to rail SS split jaw clamps at all connections) you will
have more and more voltage drop.
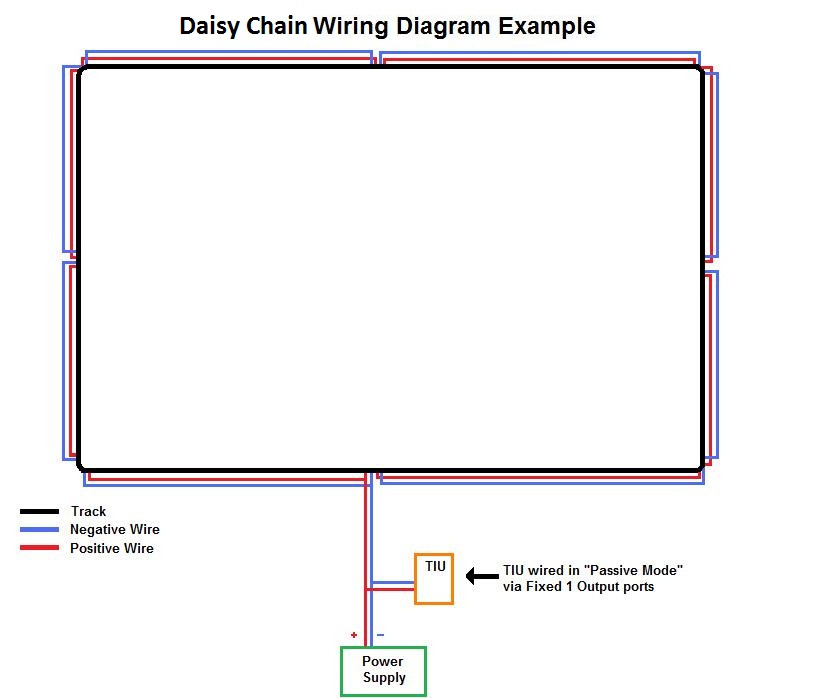
I have been
successful in addressing the voltage drop issue by providing power to my two
235ft ovals with running a single power feeder to one location the oval, then
daisy chaining jumper wires from that single location to other locations
~24-40ft from that main starting point. At each 24-40ft point you end one
jumper and start another till you come back around to the original feeder
point.
Here is an example
diagram of a daisy chain configuration and how my layout is wired. (Note:
Connections between jumper wires end and begin on the same split jaw clamp.
Spacing is pictured in the diagram to clearly mark out the different jumper wire
connections.)
__________________________________________________________________________________
Return to Garden Railroad
Modification page.
Web Counter